Hello everyone!
It took me almost two months to make time to update my blog. Recently, my child got hand, foot, mouth disease again, for the second time in less than four months. Meanwhile, my workload at the end of the year was also very high. However, I still tried to take advantage of many lunch breaks to go out and take photos. For the past few weeks, I have switched to using the Nikkor-H 50mm f/2 and Zoom-Nikkor 28-50mm f/3.5 AI-S lenses. In the future, I will talk about those lenses. But today, I will continue with part 2 of the article about the 35mm f/2 AI lens. You can read part 1 here.
As mentioned in the previous part, in this second part, I tested the Nikkor 35mm f/2 AI lens with a Nikon D3X camera. Similar to part 1, the photos are also arranged in the same order, with each test including all 8 aperture stops, from f/2 to f/22. However, this time I will also include the previous photos for your convenience in comparison.
Test 1
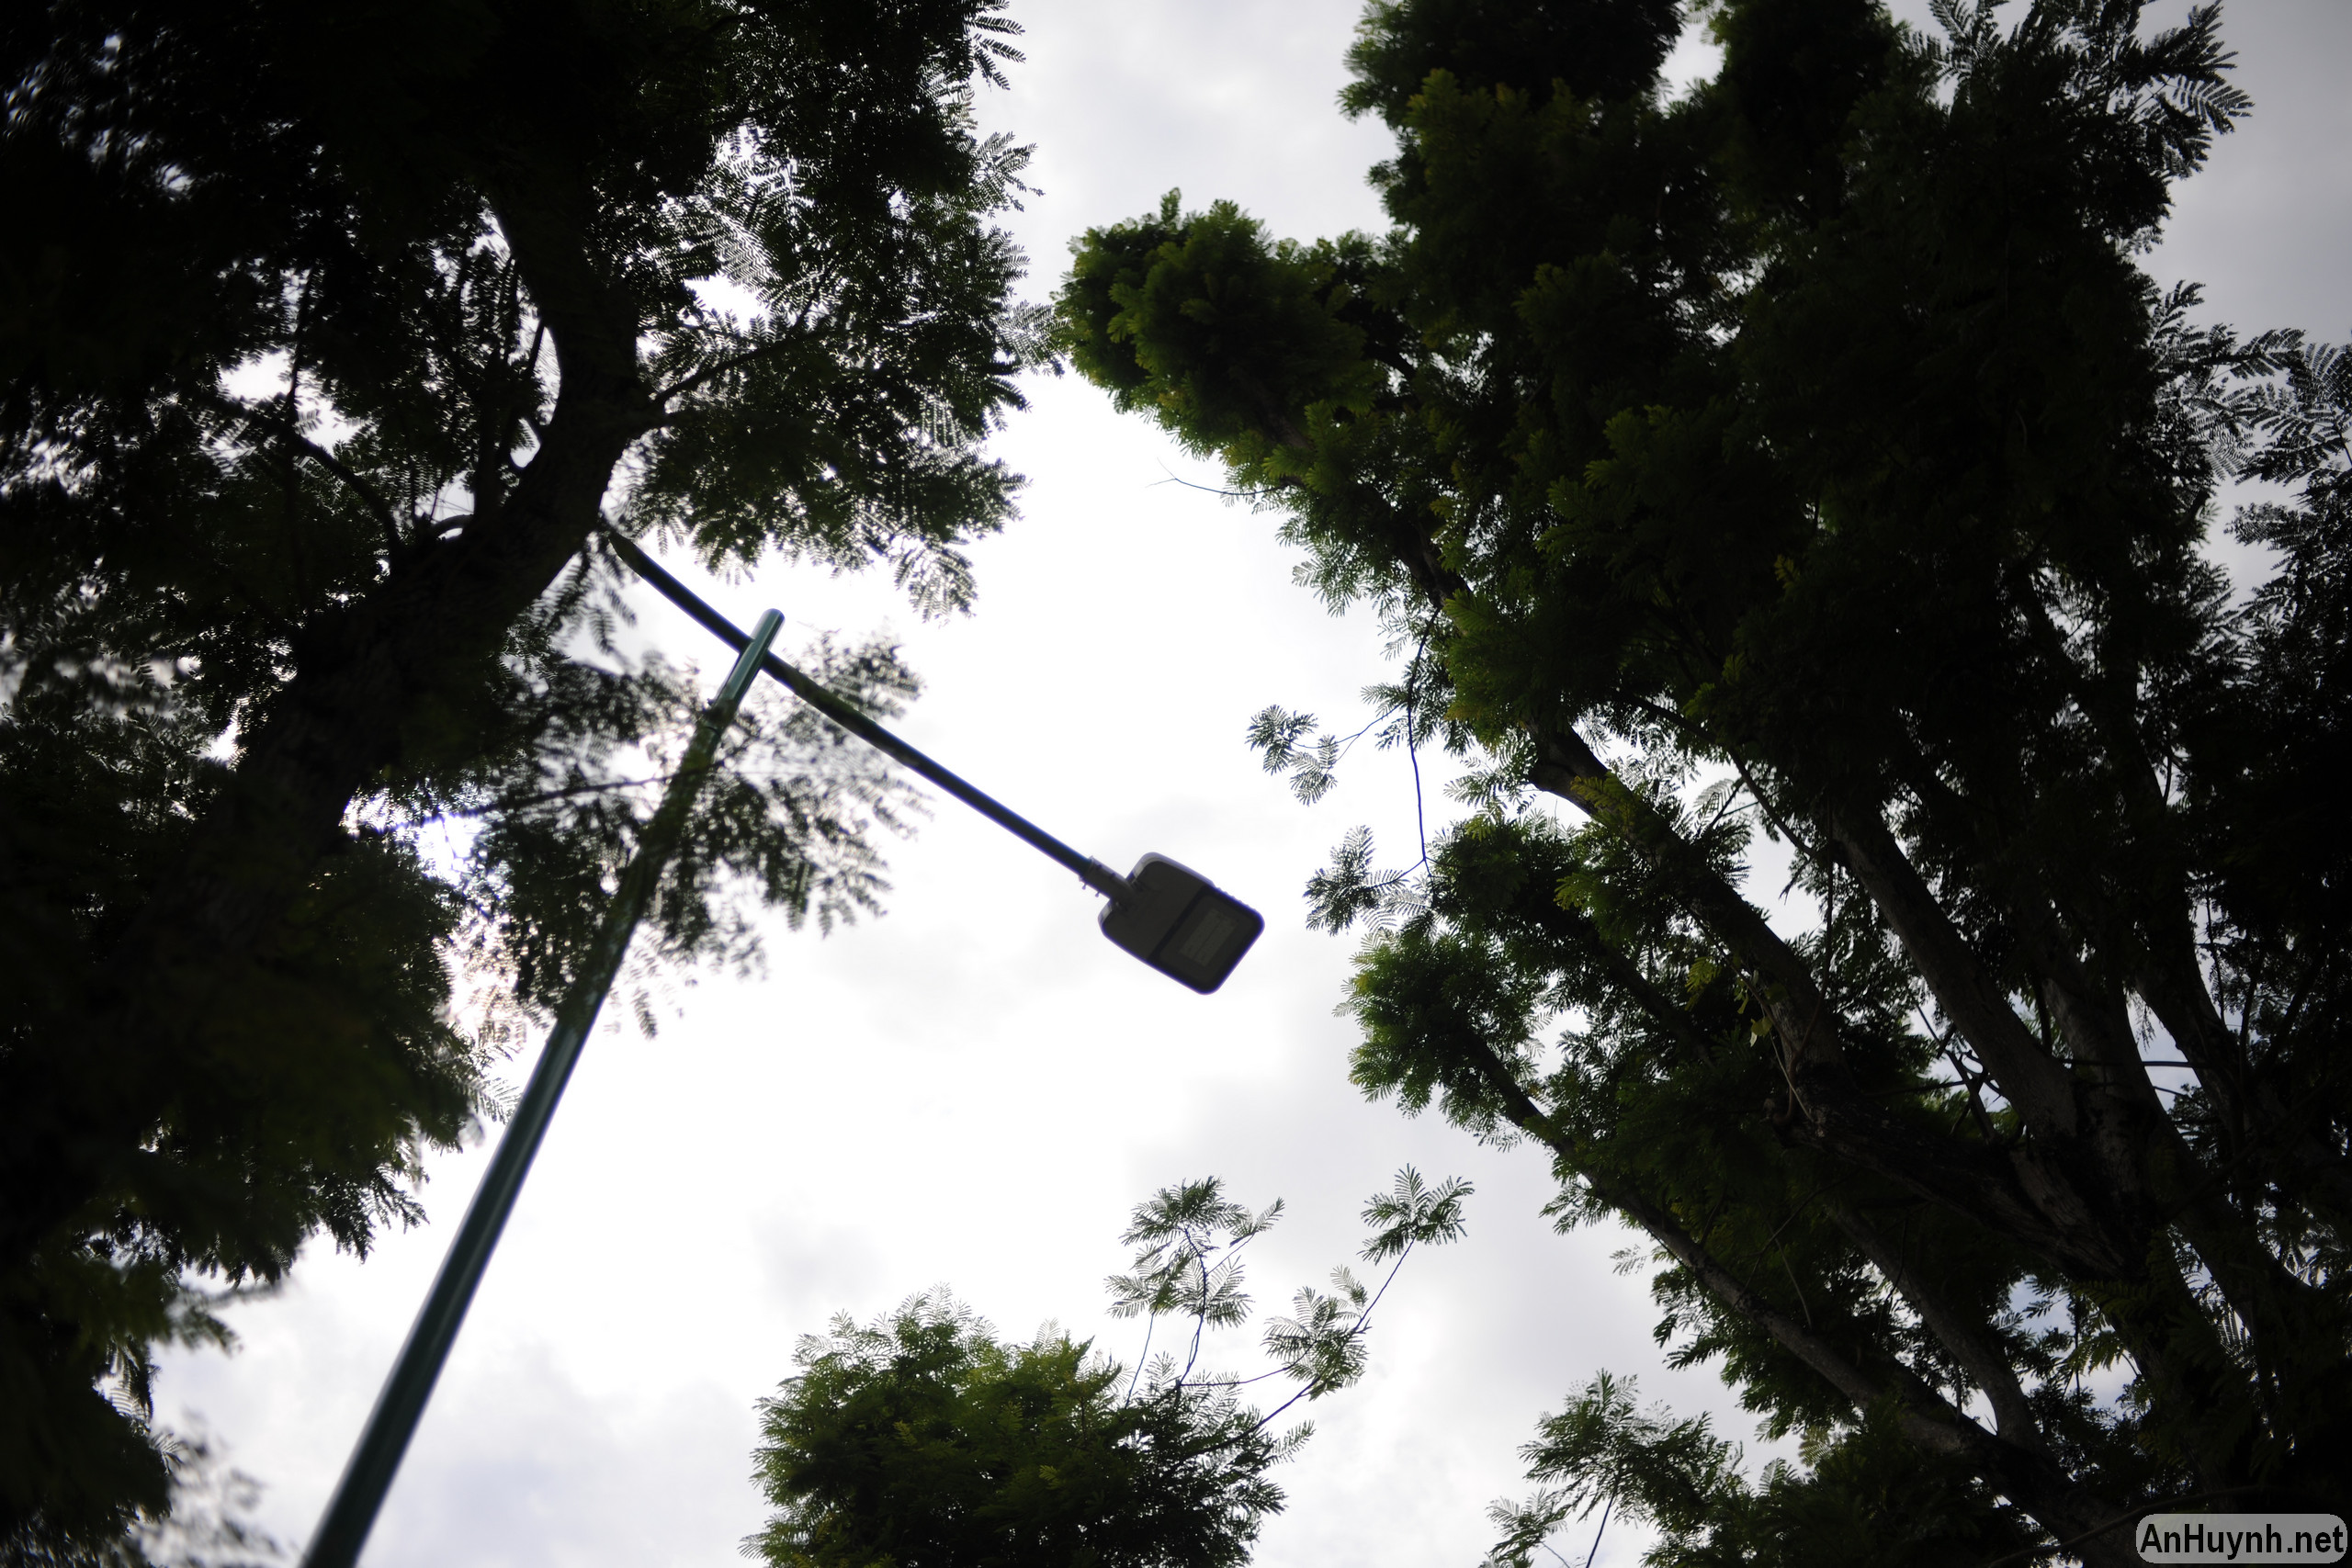
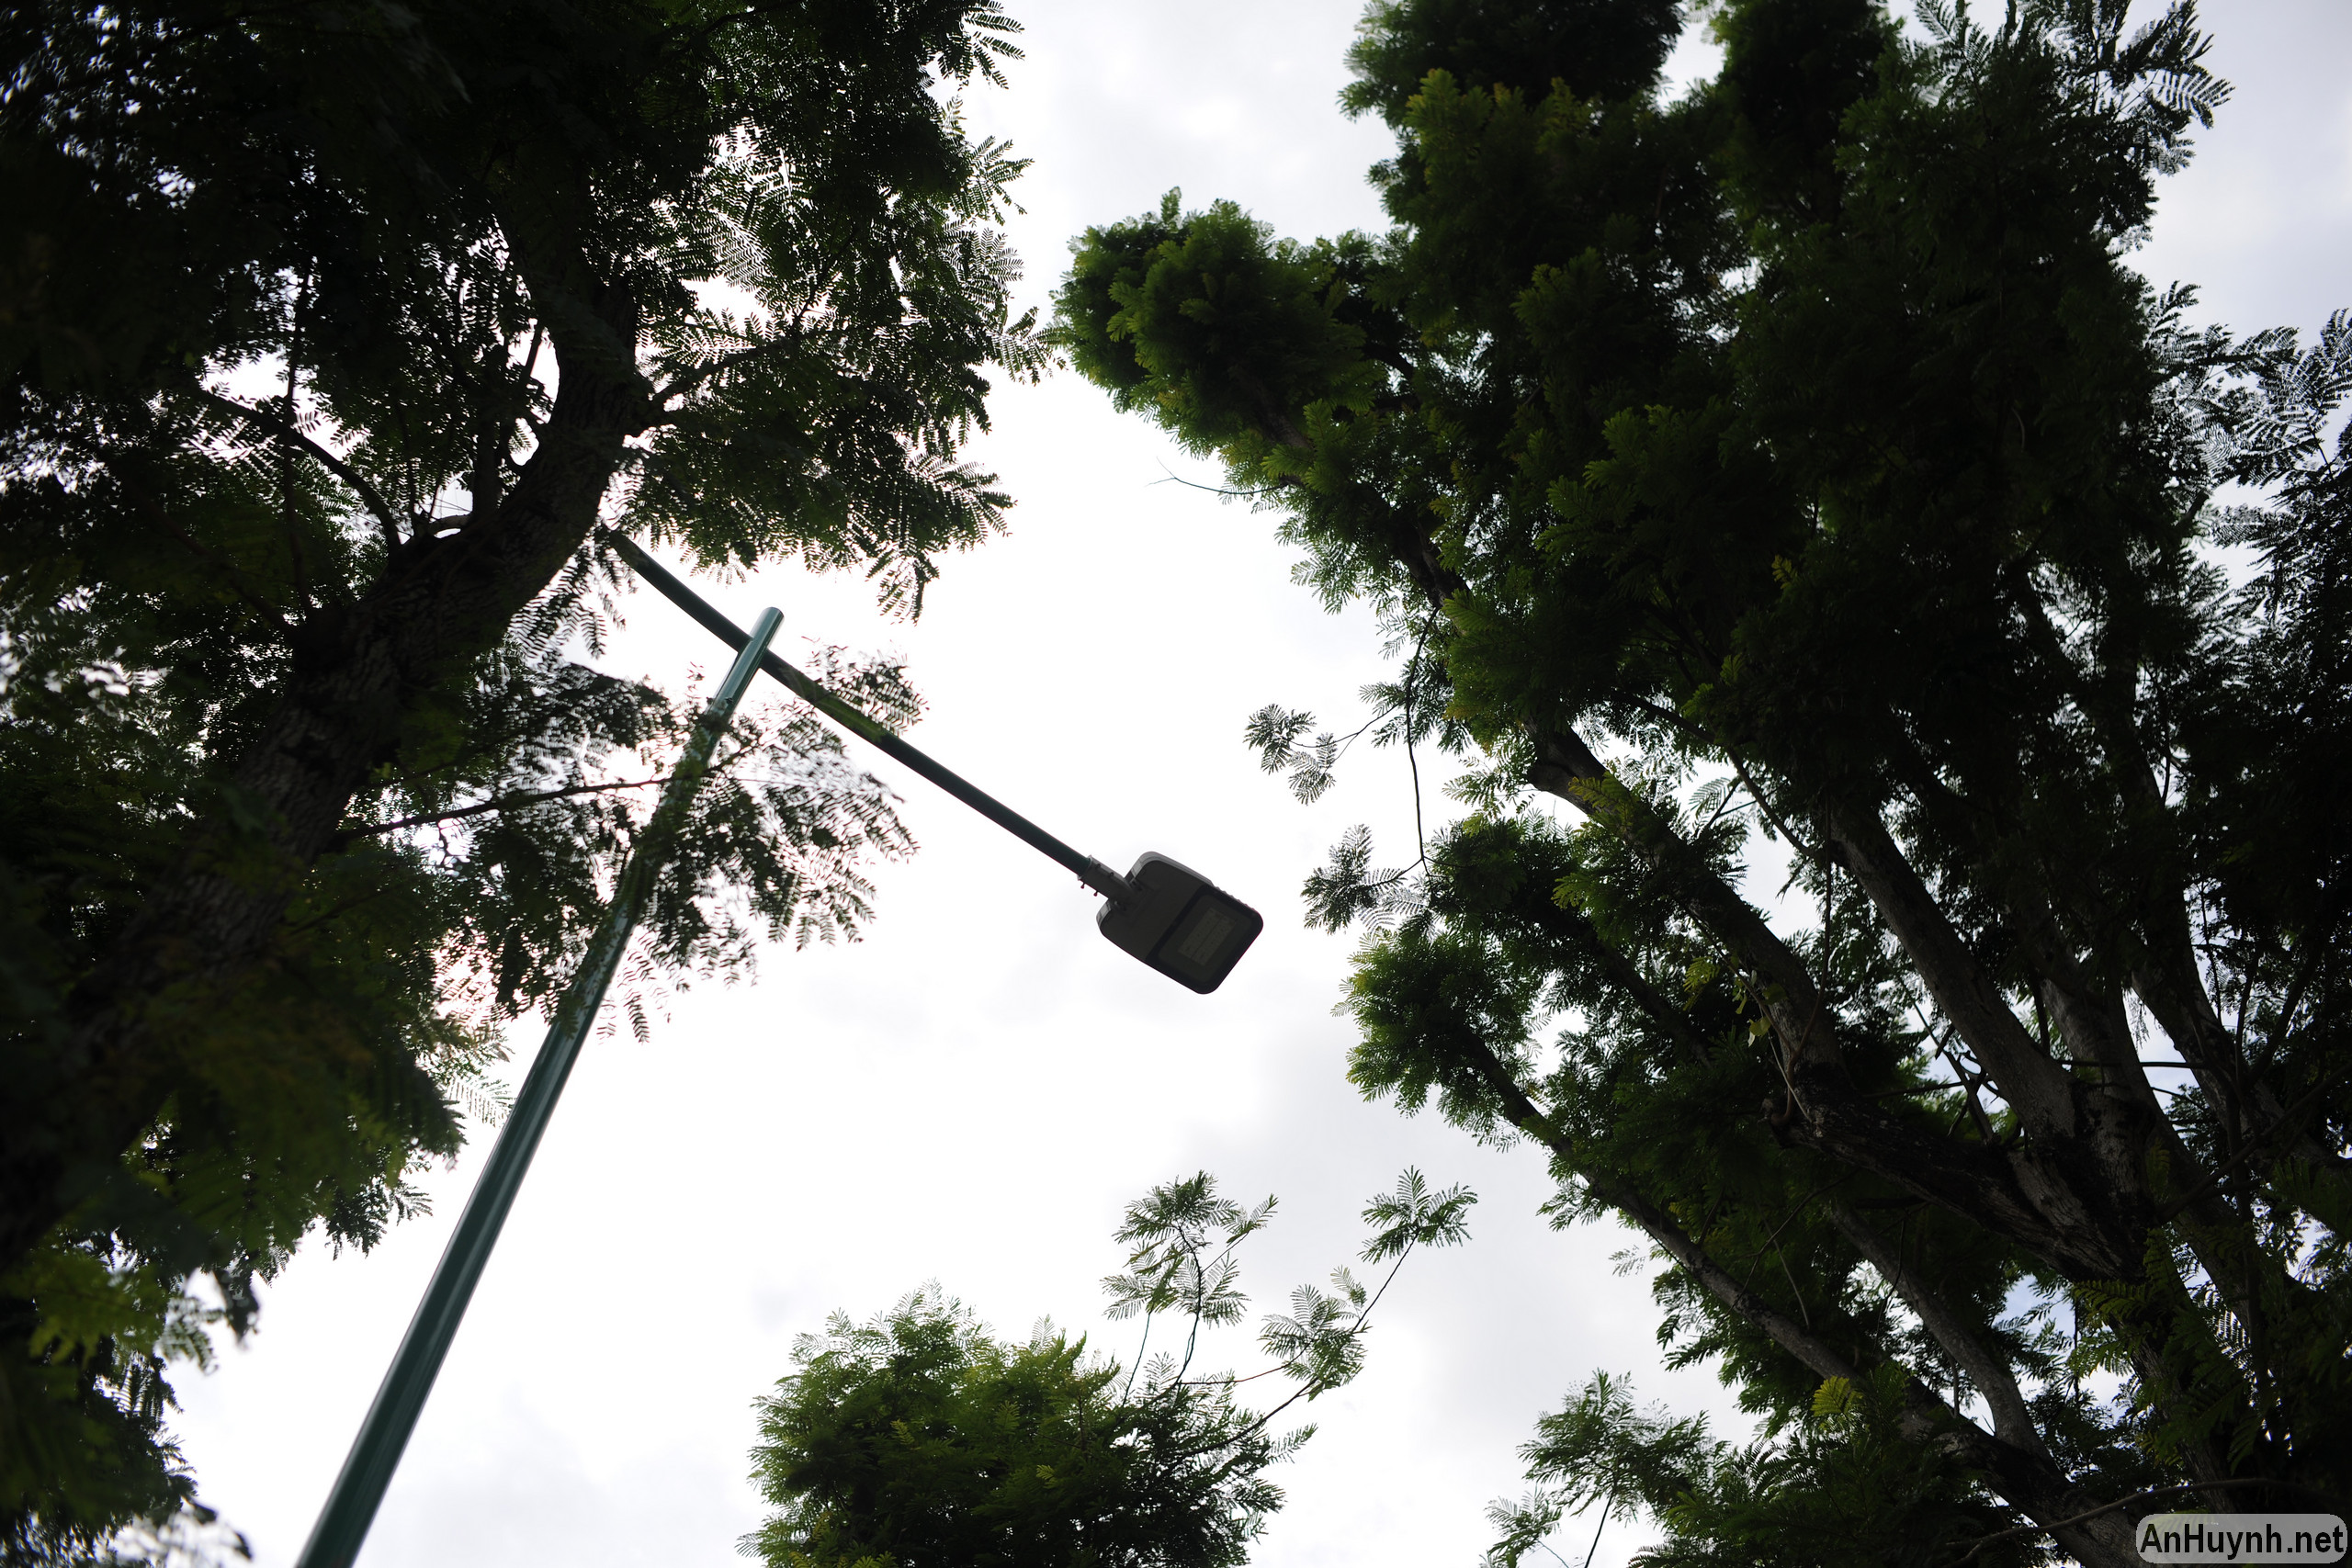
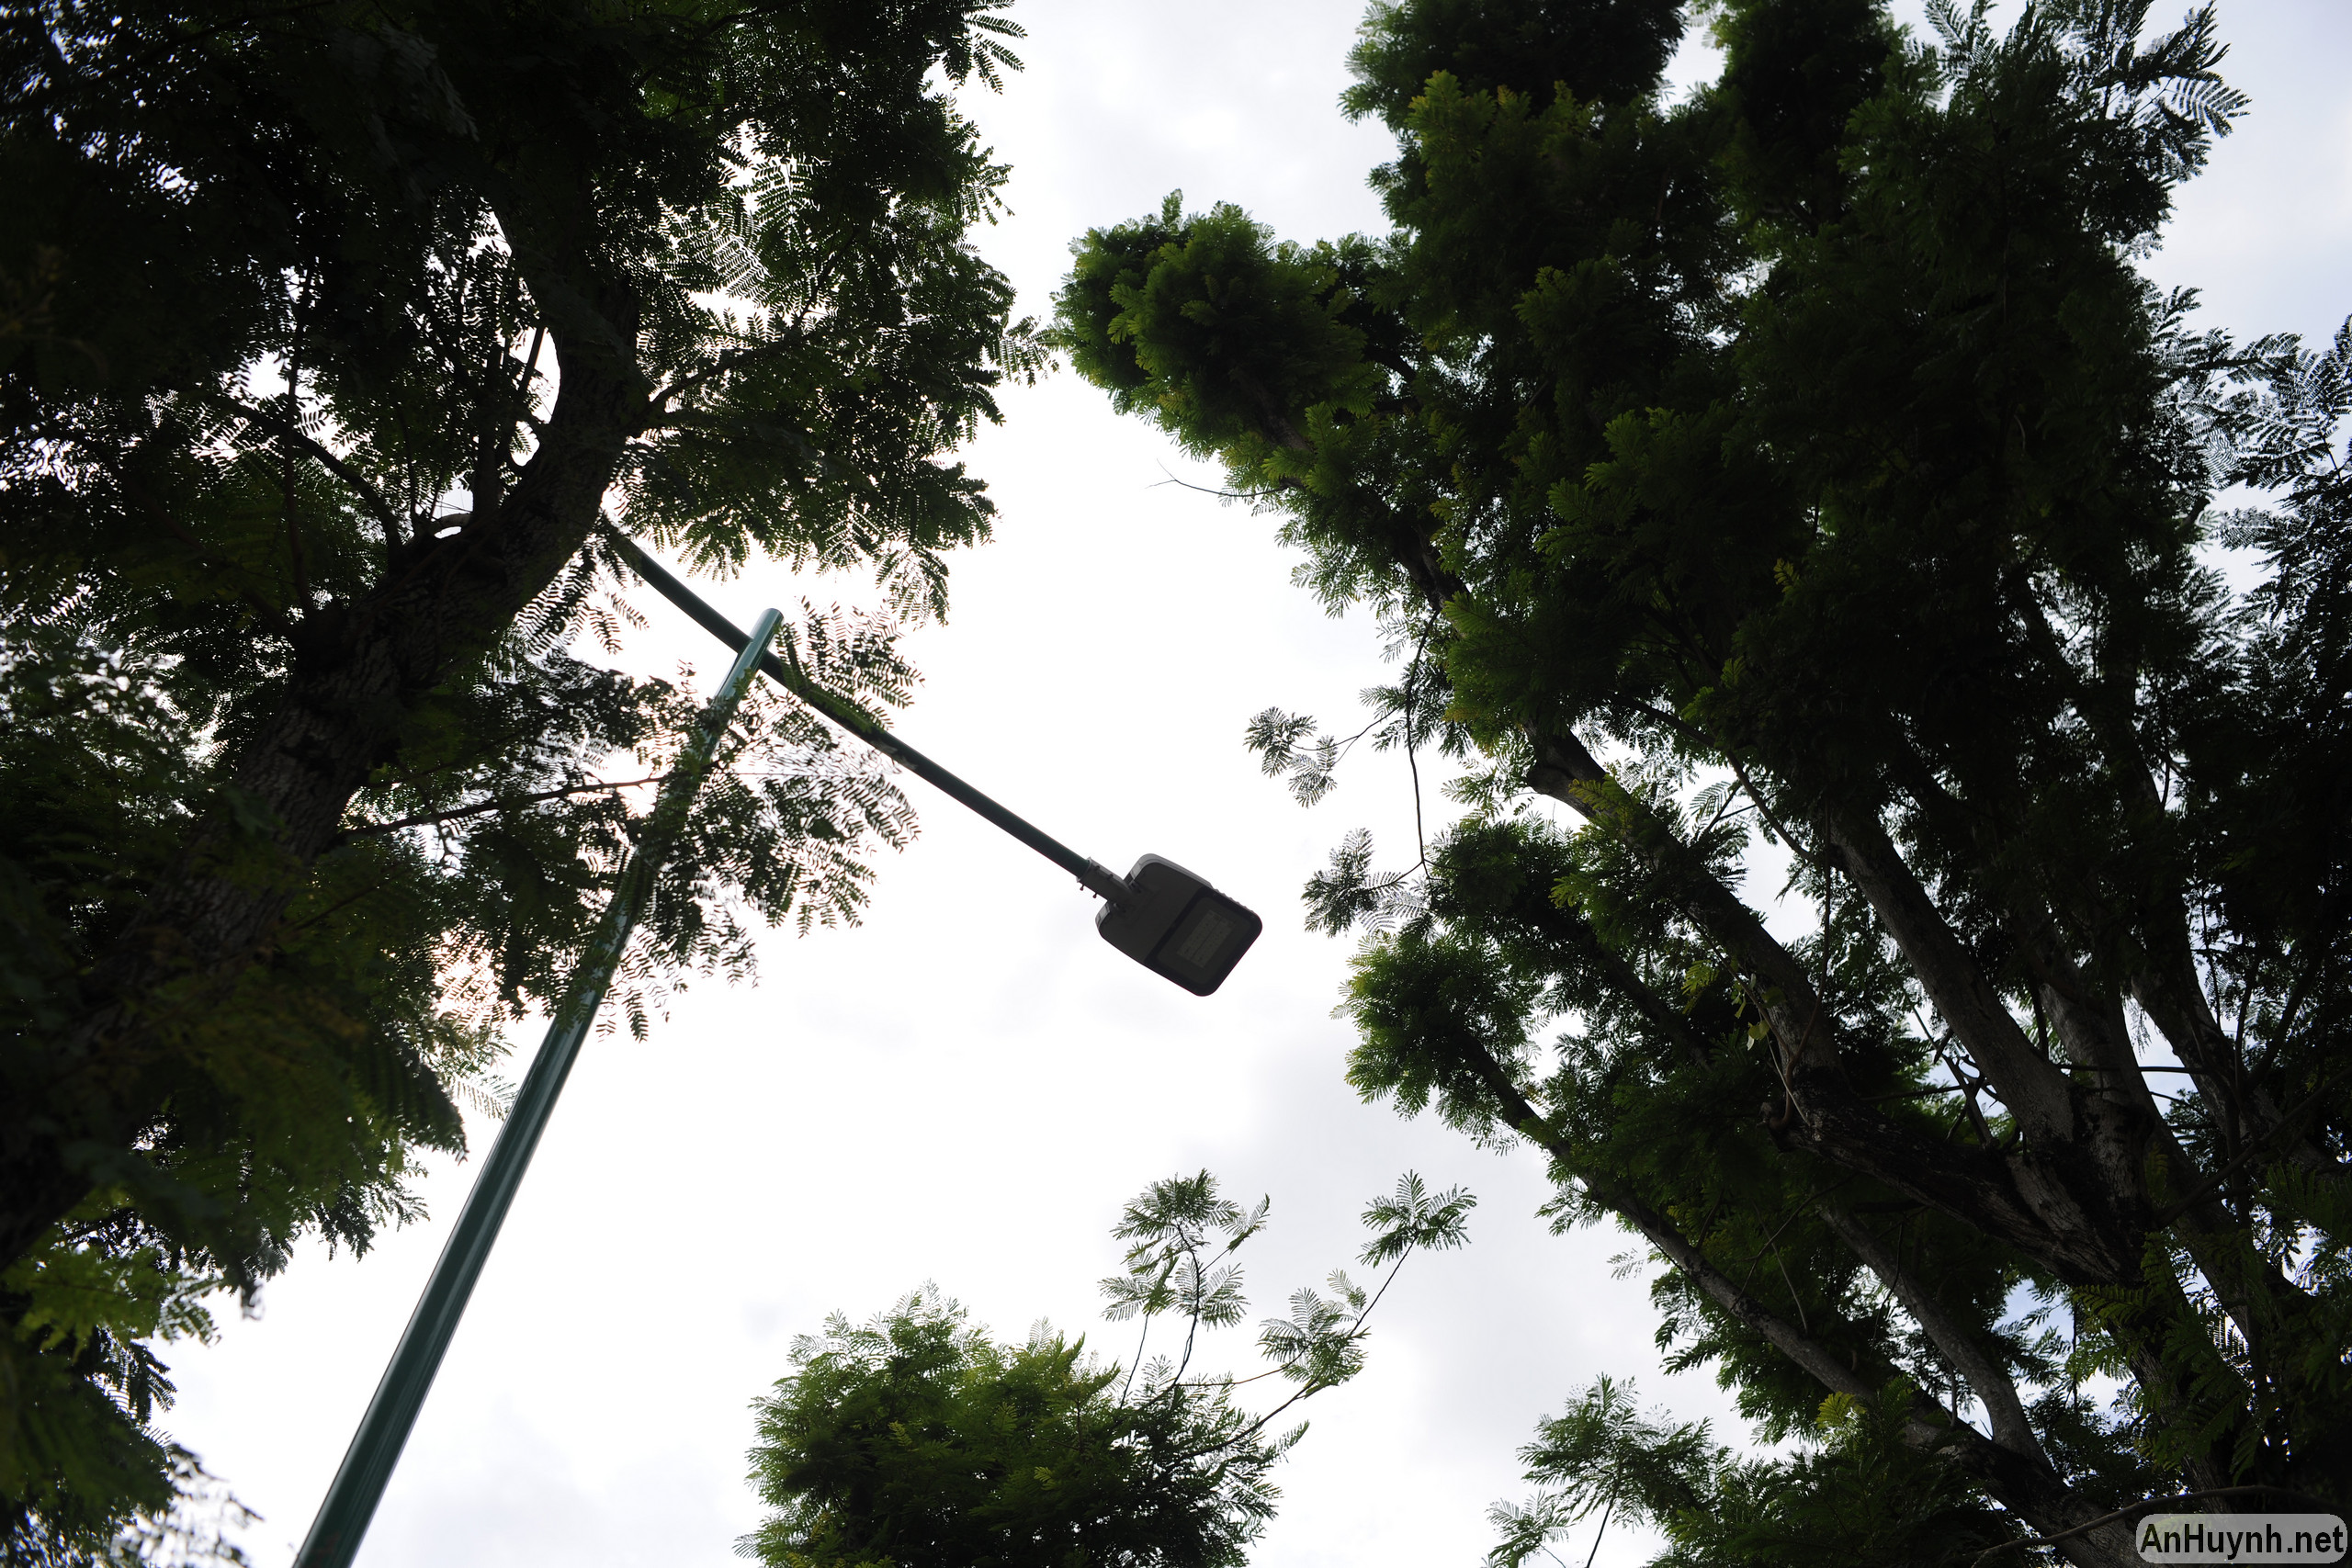
First, these are photos taken of the sky, focused at infinity. At f/2, the four corners are noticeably darkened. Stopping down to f/2.8, this situation improves, and by f/4, it is no longer significant. This result is similar to when using the lens on my Fujifilm X-T3 with a Speed Booster adapter. The difference is that from f/8 onwards, I no longer see the image becoming significantly washed out. Last time, I suspected that the Speed Booster adapter caused this issue, possibly due to diffraction.


Now, I will arrange the images from the D3X camera and the X-T3 camera with Speed Booster side by side.


Test 2
Next is a series of photos of a test chart, focusing distance is about 0.6 m. At f/2, the image is very blurry, sharpness is very poor, spherical aberration is quite severe, and there is a bit of chromatic aberration. Gradually stopping down the aperture significantly reduces these phenomena. I noticed that compared to using a Speed Booster, the chromatic aberration (purple fringing) this time is very minimal, and it’s almost gone when stopped down to f/2.8. Regarding sharpness, I’m not sure if it’s because my focusing wasn’t precise, but these photos are significantly less sharp compared to the previous test, especially in the center. It seems that when using a Speed Booster, the sharpness in the center of the image is greatly improved. However, on the other hand, when using a Speed Booster, except for the center of the image, the chromatic aberration is much more severe.


I cropped these photos in three places: right in the center, left edge (9 o’clock position), and bottom left corner to make it easier for you to see.
Below are the crops from the center. You will see that at f/2, chromatic aberration is quite severe, but it quickly improves when stopping down the aperture.


Following are the images from two cameras placed side-by-side for your comparison. Looking at them this way, I think that with the photos taken by the D3X, I didn’t really nail the focus – even though I’m sure that when shooting, the camera indicated focus, with the small dot appeared in the left corner of the viewfinder. At f/2, purple fringing was very severe when using the lens with the Speed Booster adapter. Just by stopping down one stop, this phenomenon significantly decreased.


Next are the cropped images from the left edge (9 o’clock direction). At f/2, I noticed the lines were very blurry, with faint, double edges that suggest astigmatism aberration. I had to stop down to f/11 for this phenomenon to disappear, at which point the lines became sharper.





And the comparison between the two tests. You will see that when using the lens with a Speed Booster adapter, even when stopped down to the smallest aperture, purple fringing still appears at the edges of the image.


Next are the cropped images from the bottom left corner. Overall, the quality in the corners is very poor, it’s only marginally acceptable at f/11.


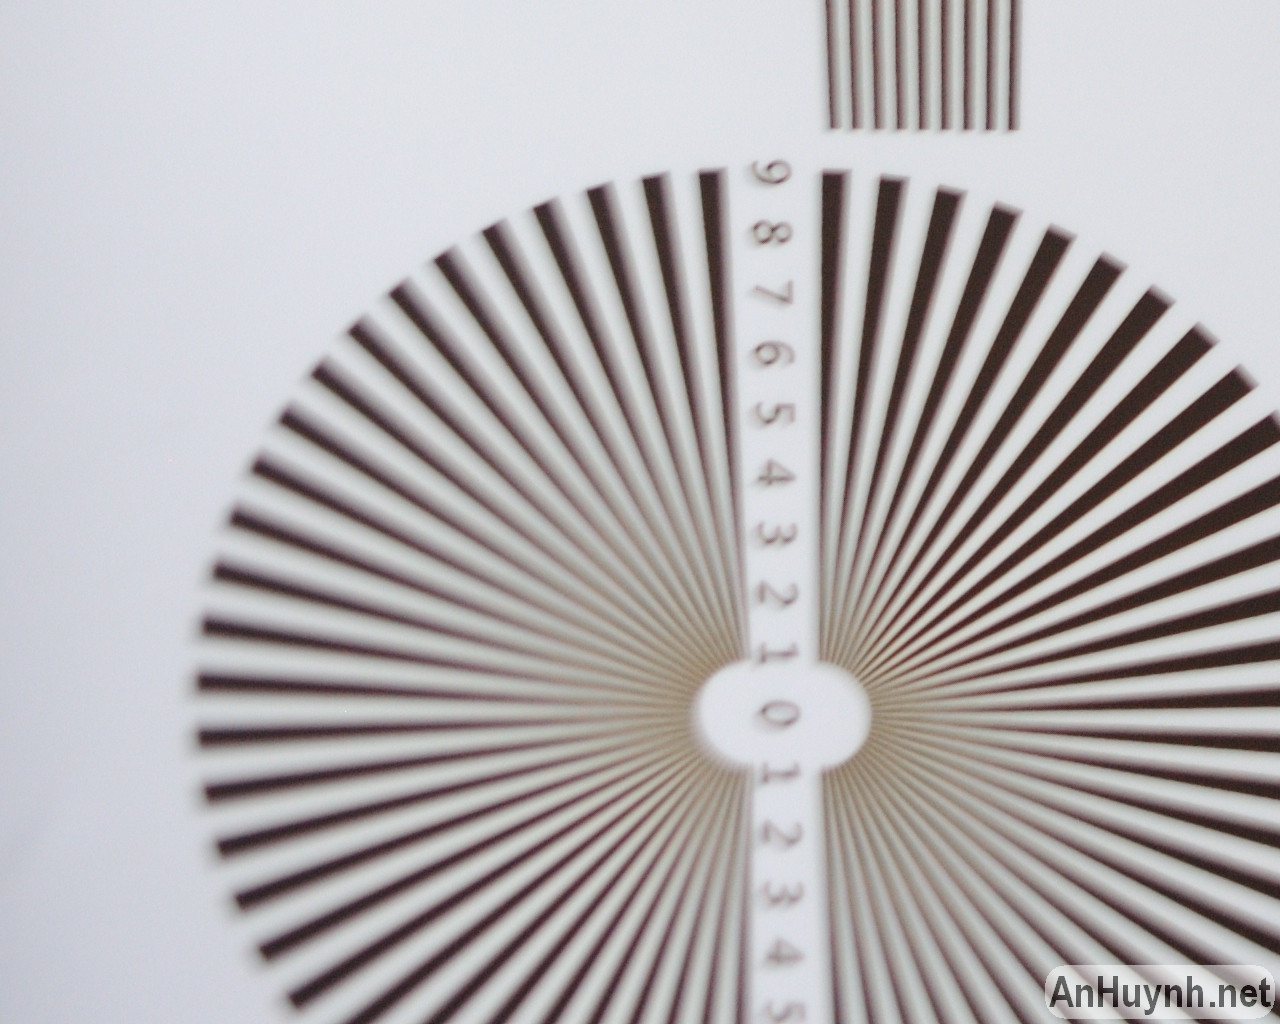


And the comparison between the two tests. Similarly as above, when using the lens with a Speed Booster adapter, purple fringing still appeared even when stopped down to the smallest aperture.




And now, still the same test chart, but with photos taken at a minimum focusing distance of 0.3 m.





And the comparison between the two tests.


Test 3
Now the second test chart, I took these photos at the minimum focusing distance. Chromatic aberration is not as severe as when using a Speed Booster adapter.


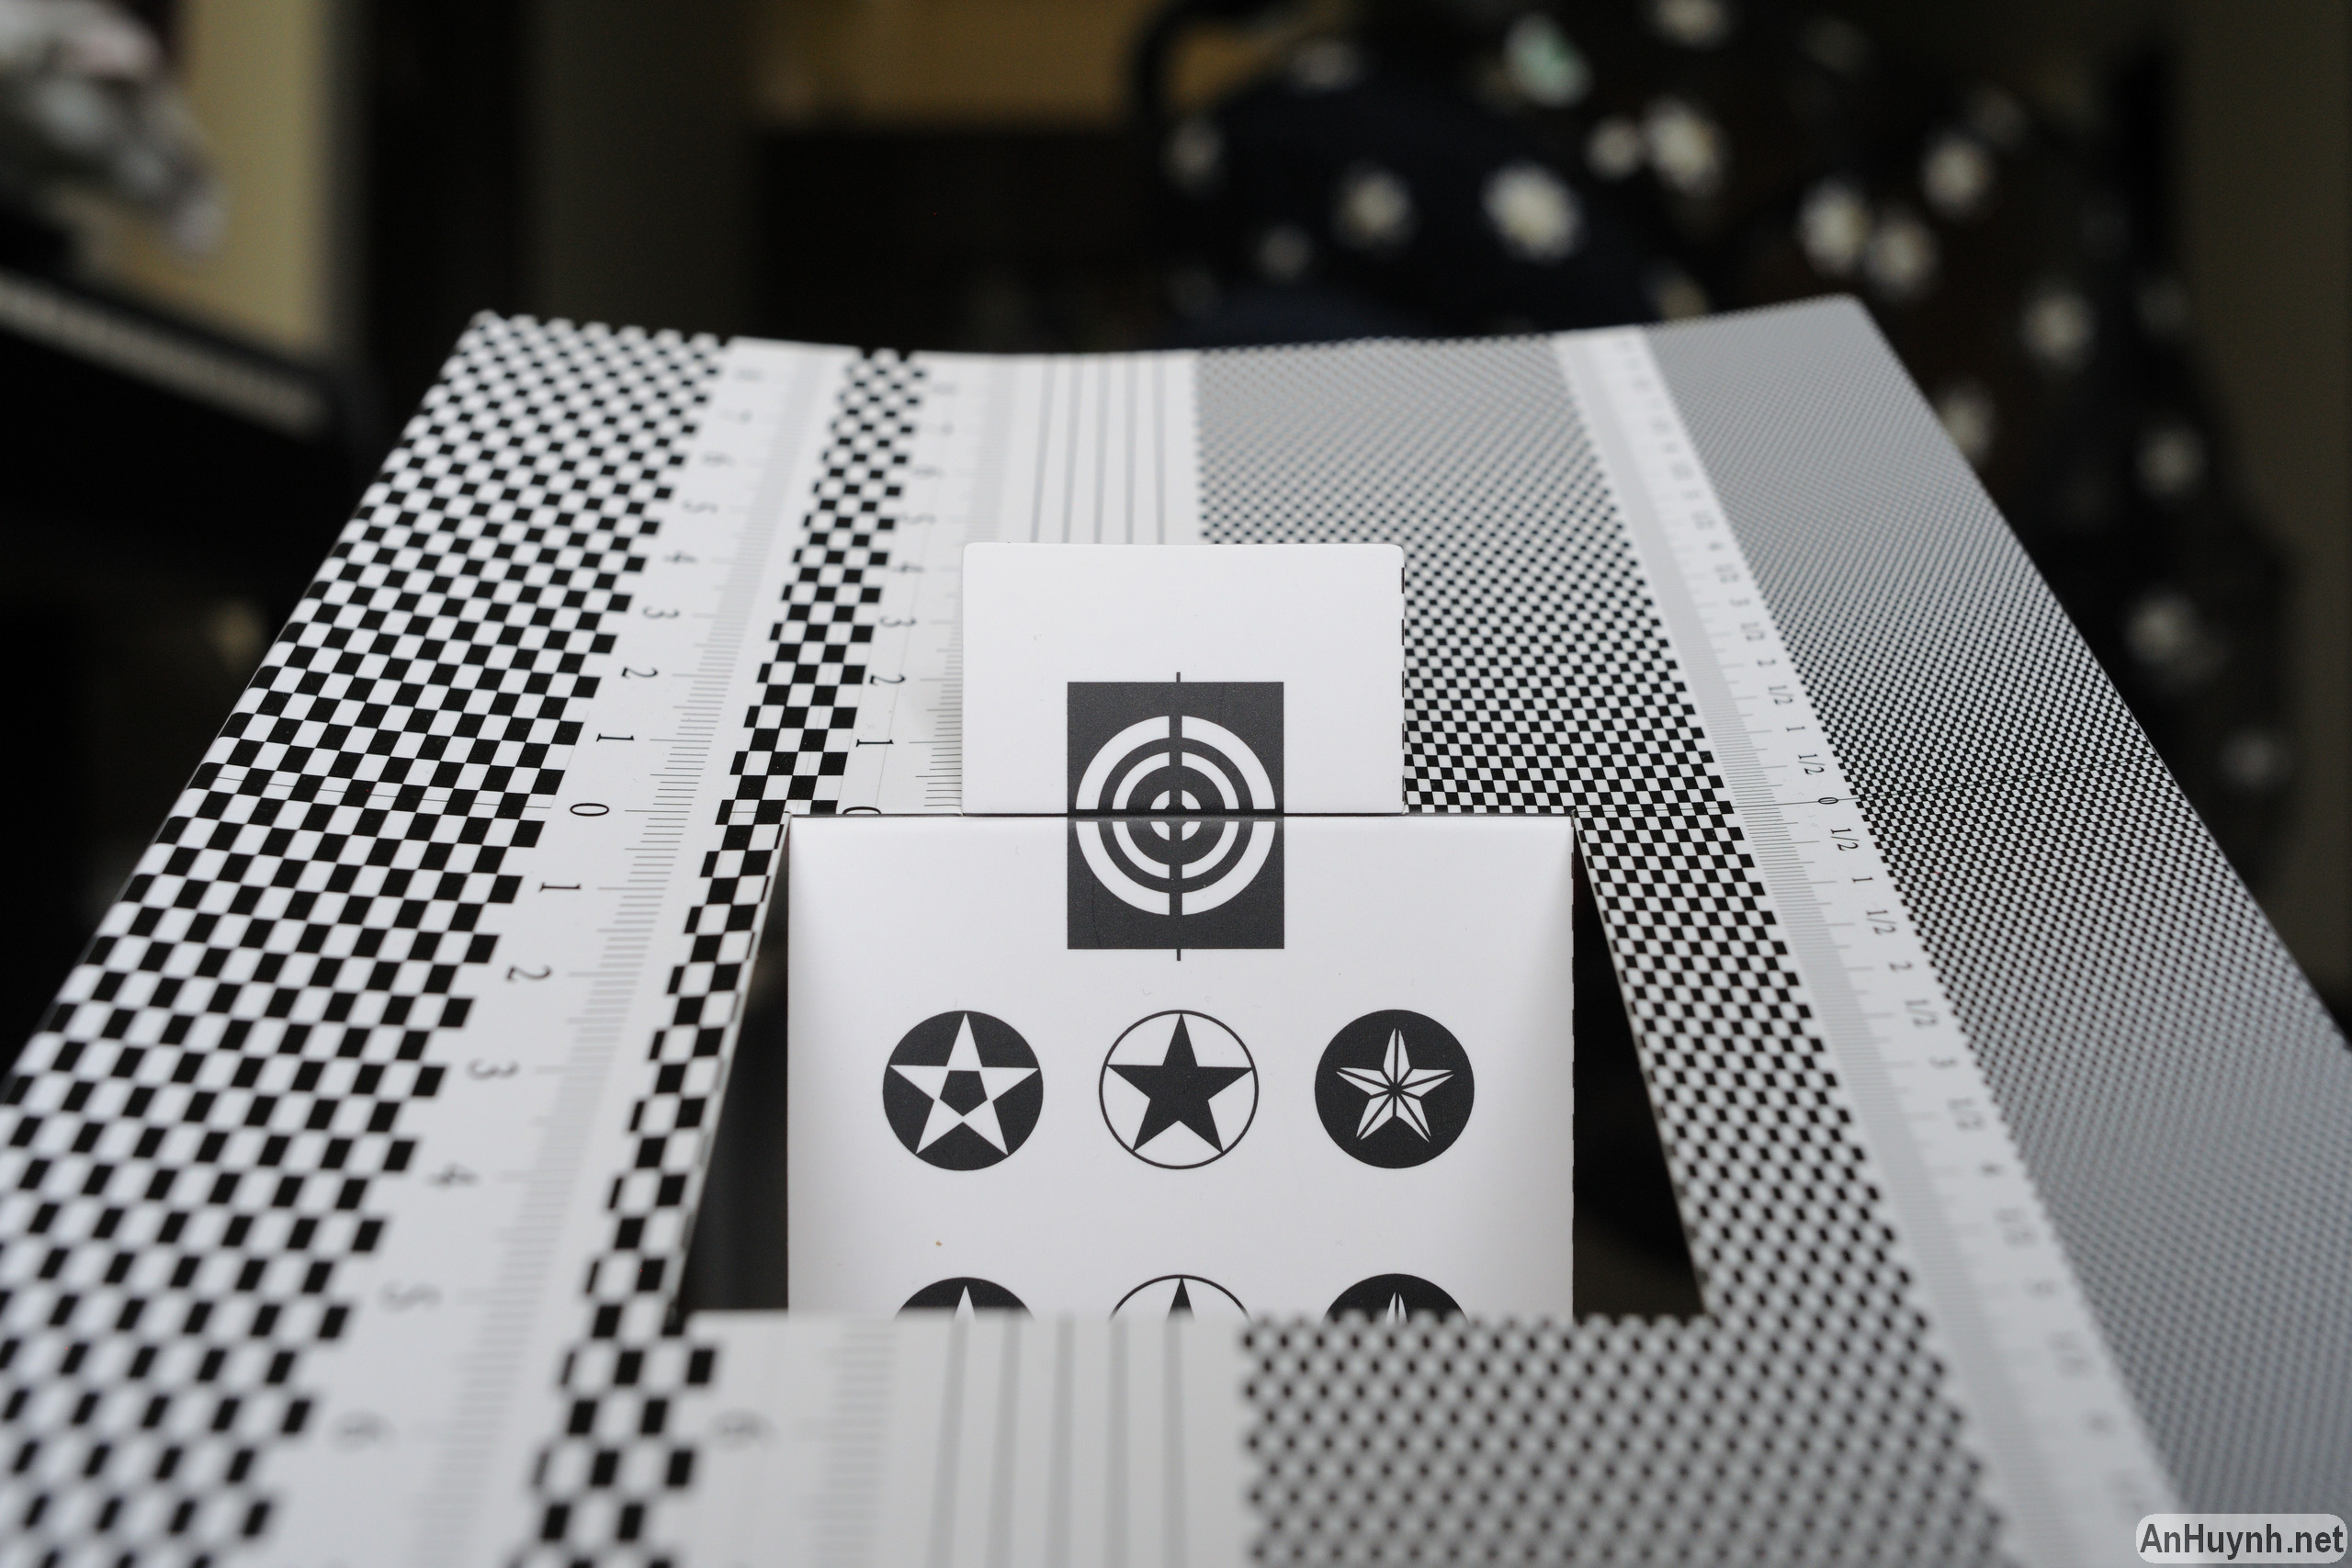


As last time, I cropped these in two places: right in the center and the middle-left area (9 o’clock direction), along with the photos from the previous test for your comparison.
First are the images cropped right in the center.


And the comparison between the two tests. For the center part of the image, I don’t see too many differences.


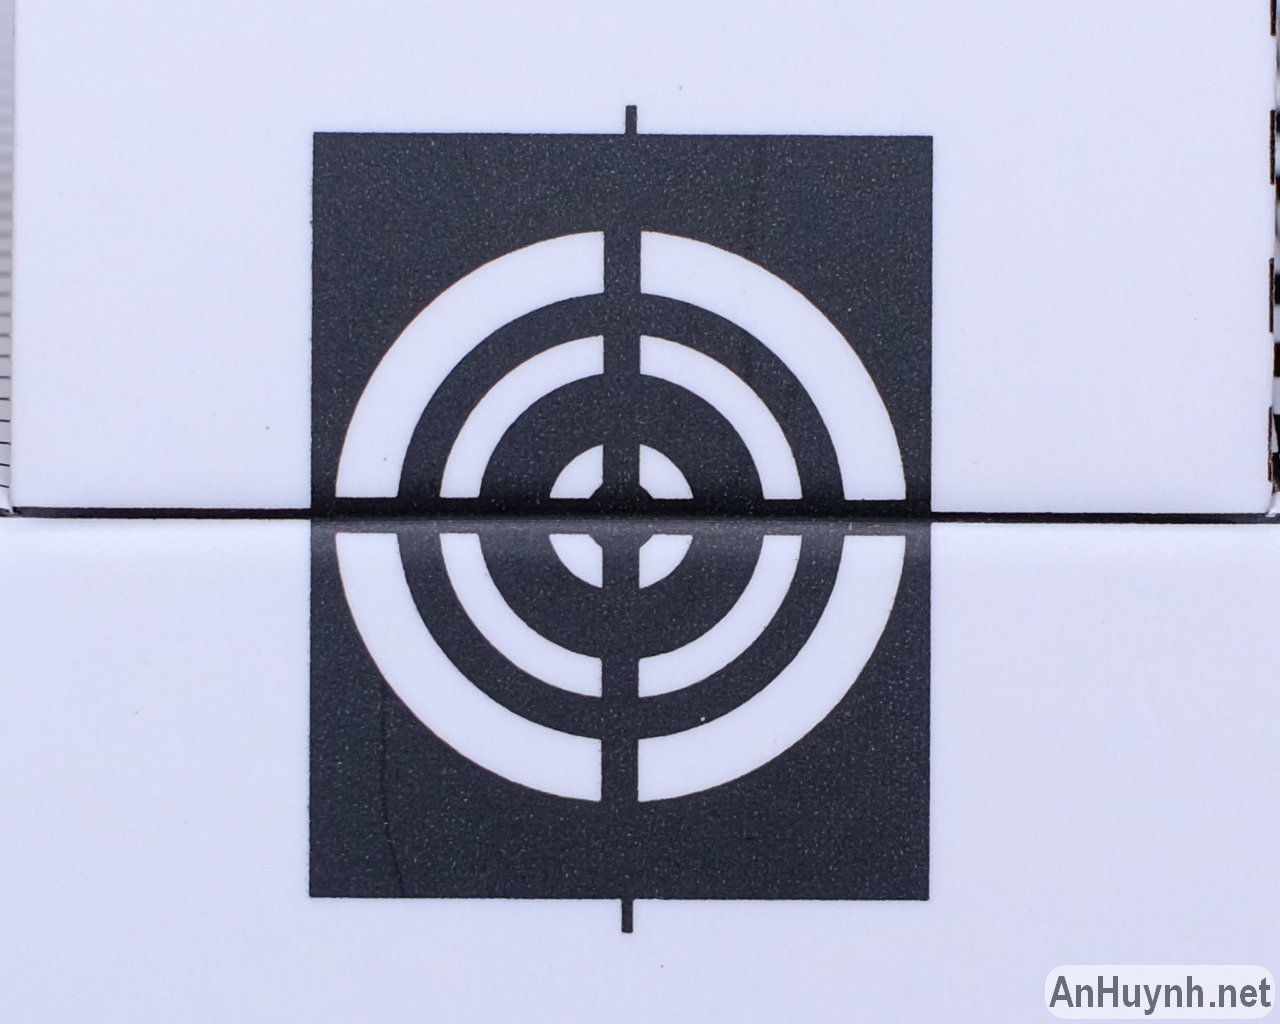


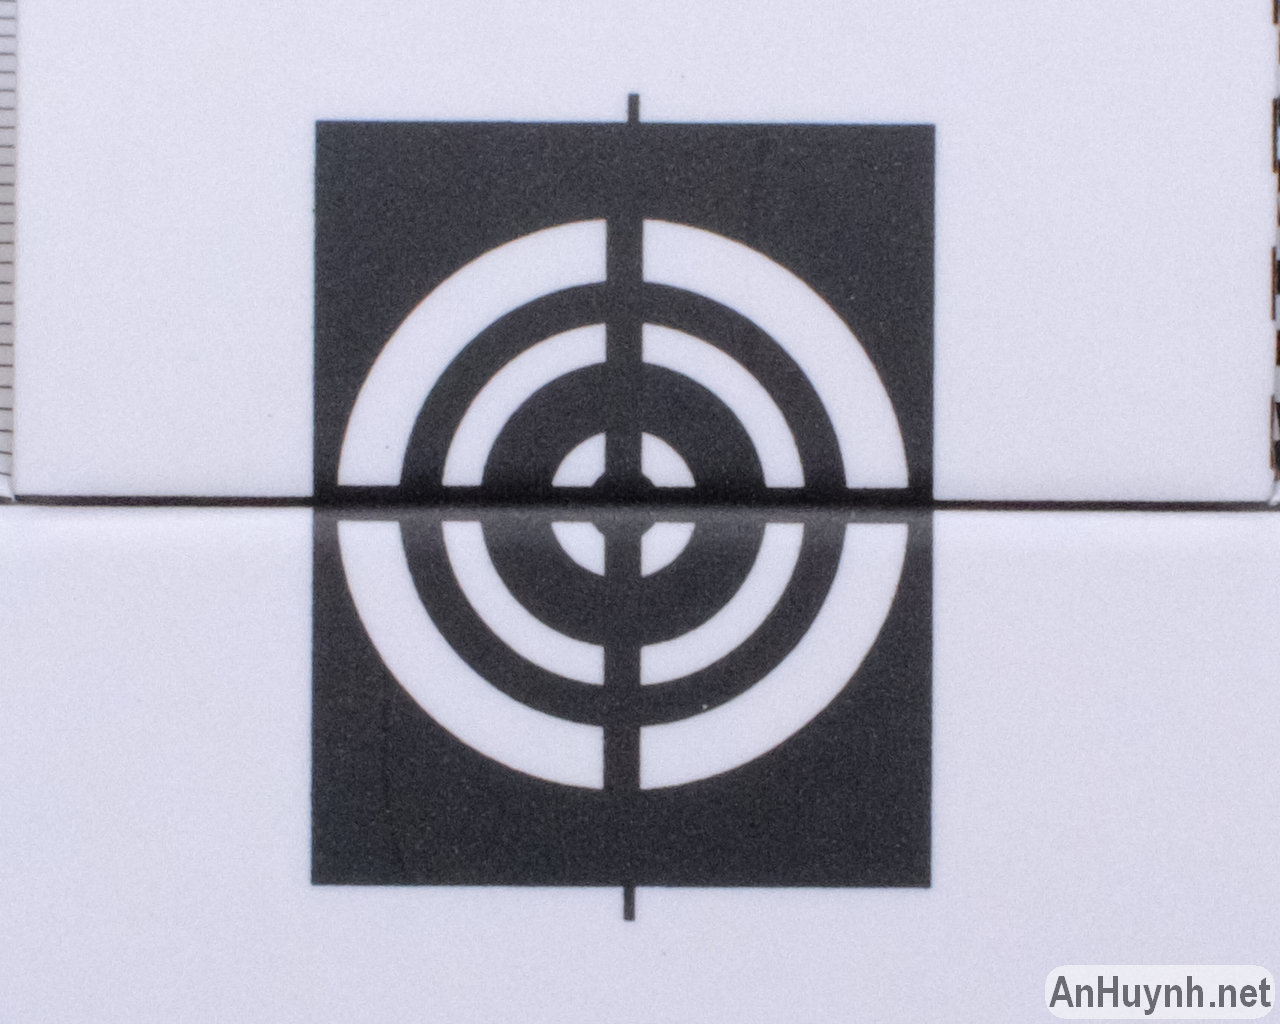
Next are the cropped images from the mid-frame left side area (9 o’clock direction).


And the comparison between the two tests. As noted above, when using the lens with a Speed Booster adapter, purple fringing always appears at any aperture.


Test 4
Alright, here’s a series of photos of the familiar brick wall from last time.


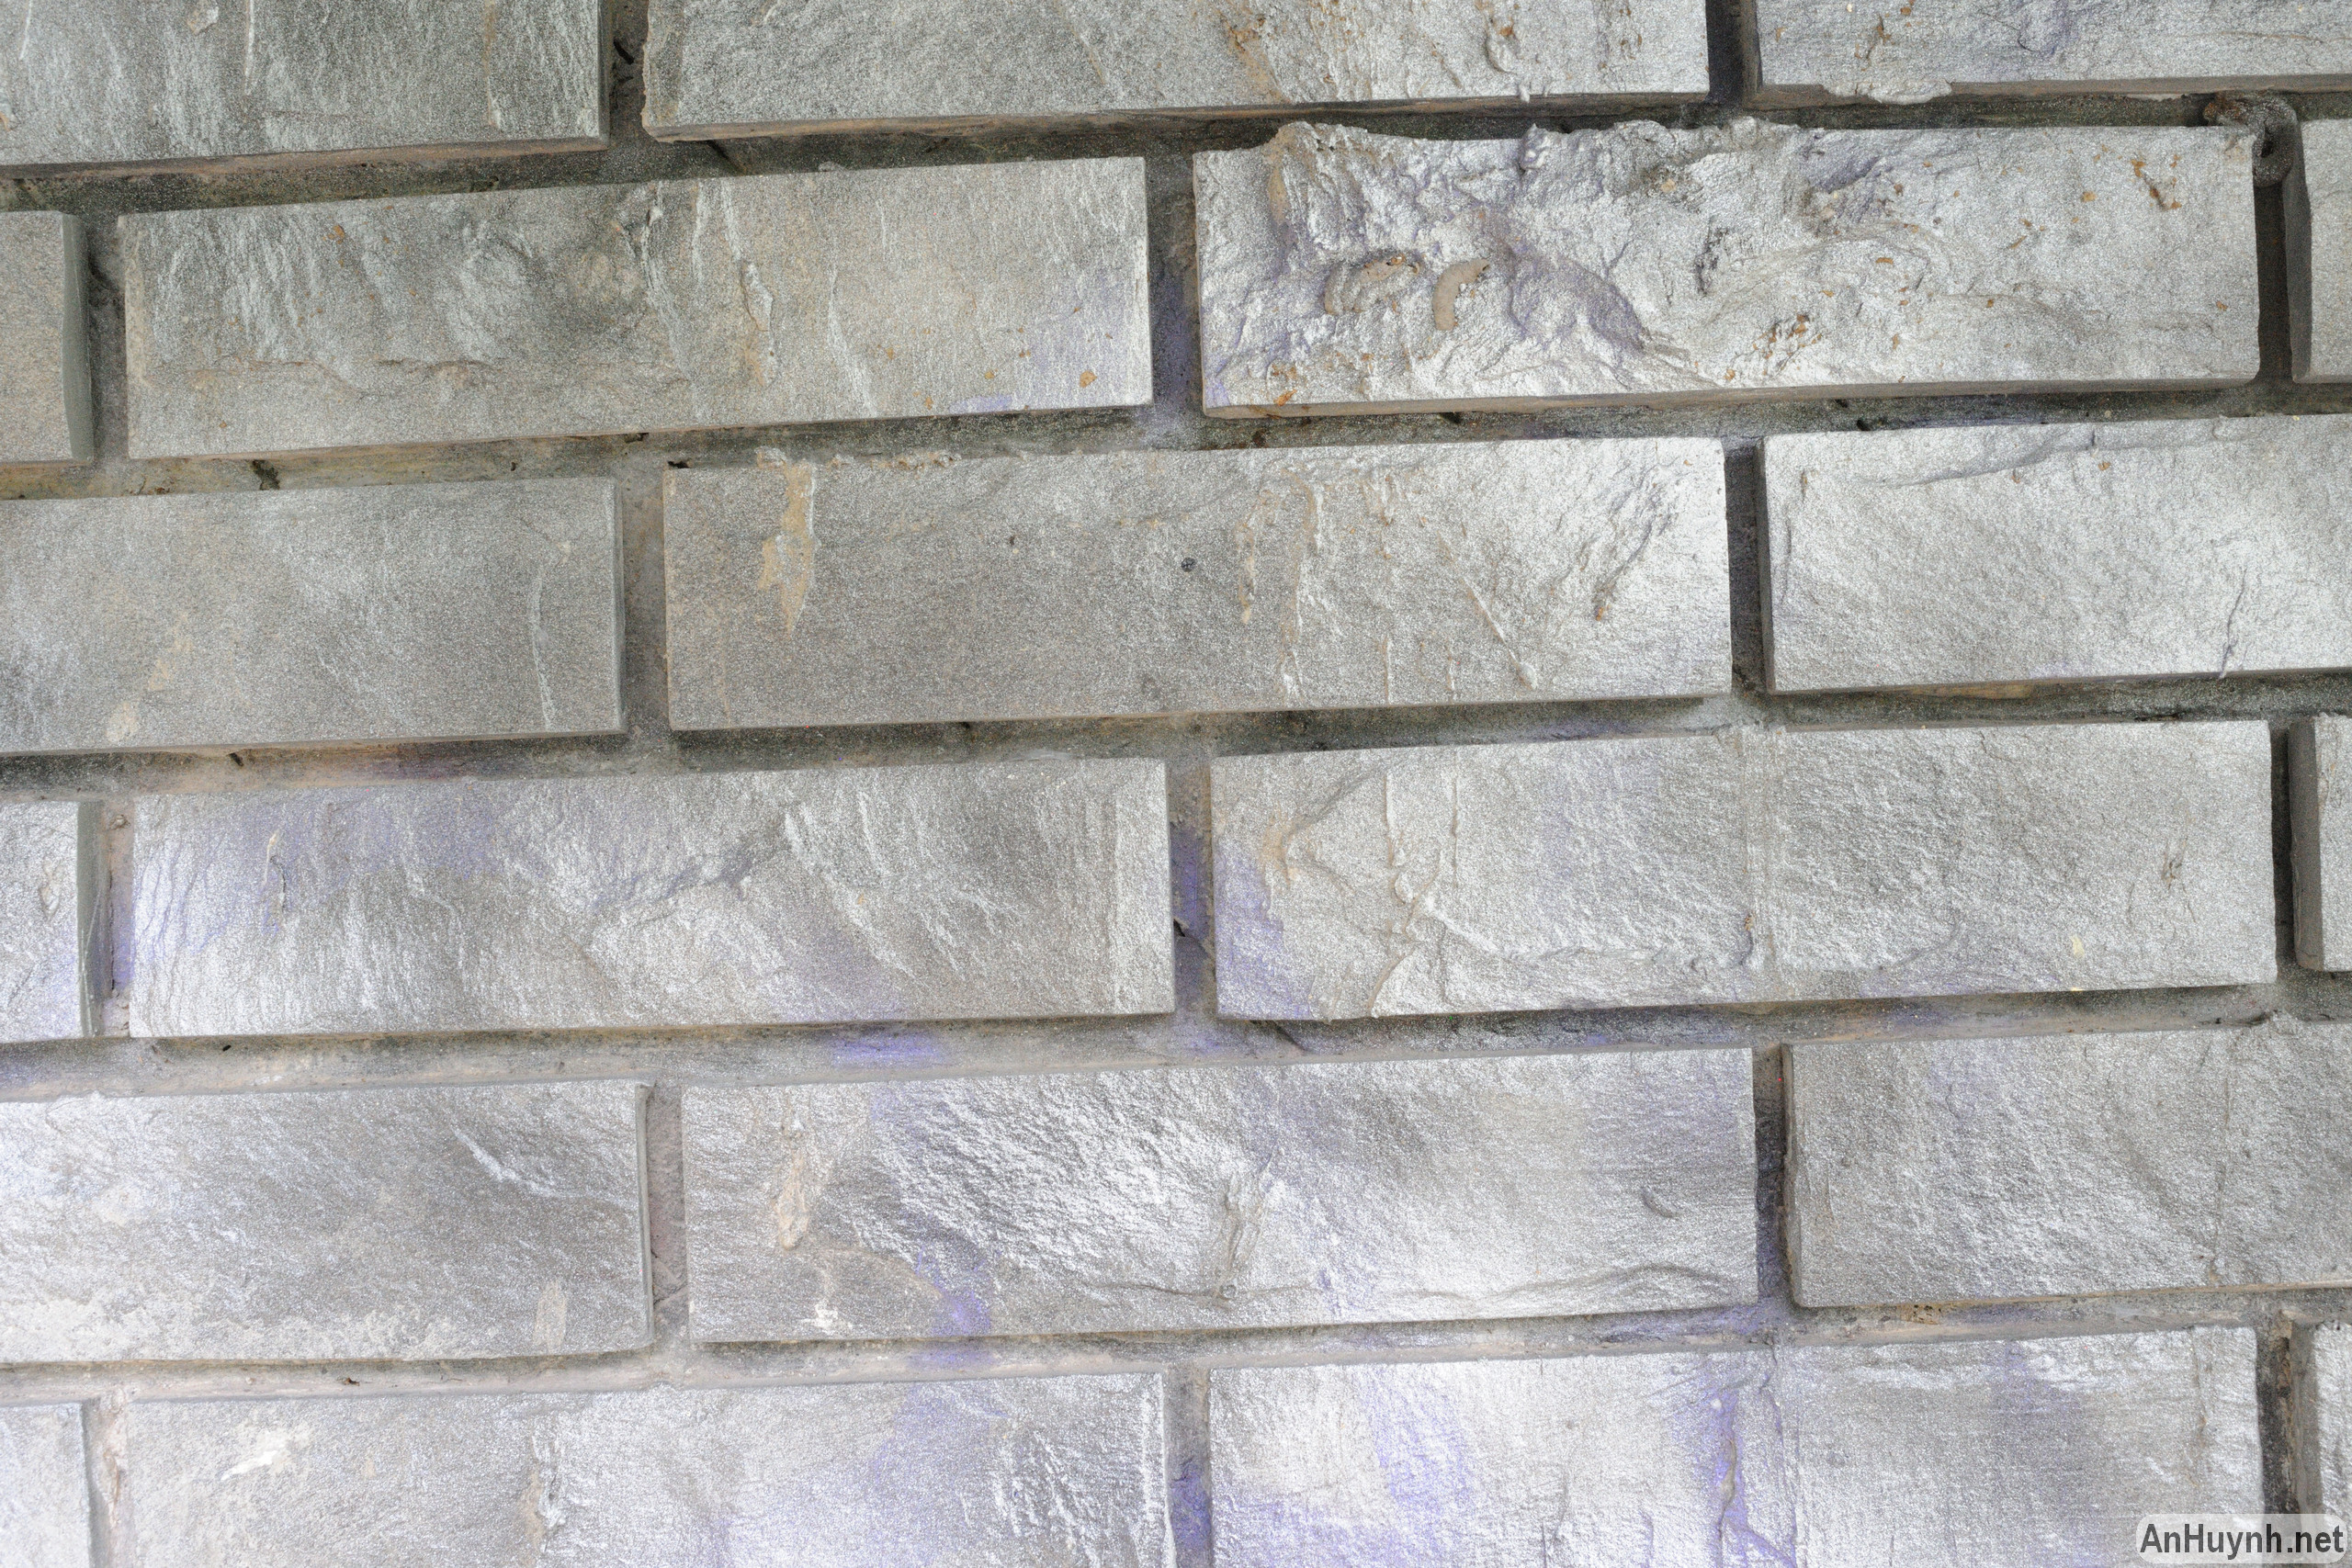

After reviewing these photos, I don’t see the issue where the mid-frame is blurred while the extreme corners are slightly sharper, as was the case last time. My previous assessment that the field curvature phenomenon became more severe when using the Speed Booster adapter might have been inaccurate. I believe that thanks to using the adapter, the sharpness at the four corners of the image was actually slightly improved, which is why we see a situation where the very center of the image is very sharp, then the sharpness decreases significantly as we move away from the center area, but then improves slightly at the four corners.
Regarding distortion, there is barrel distortion, but such distortion is not too bad.
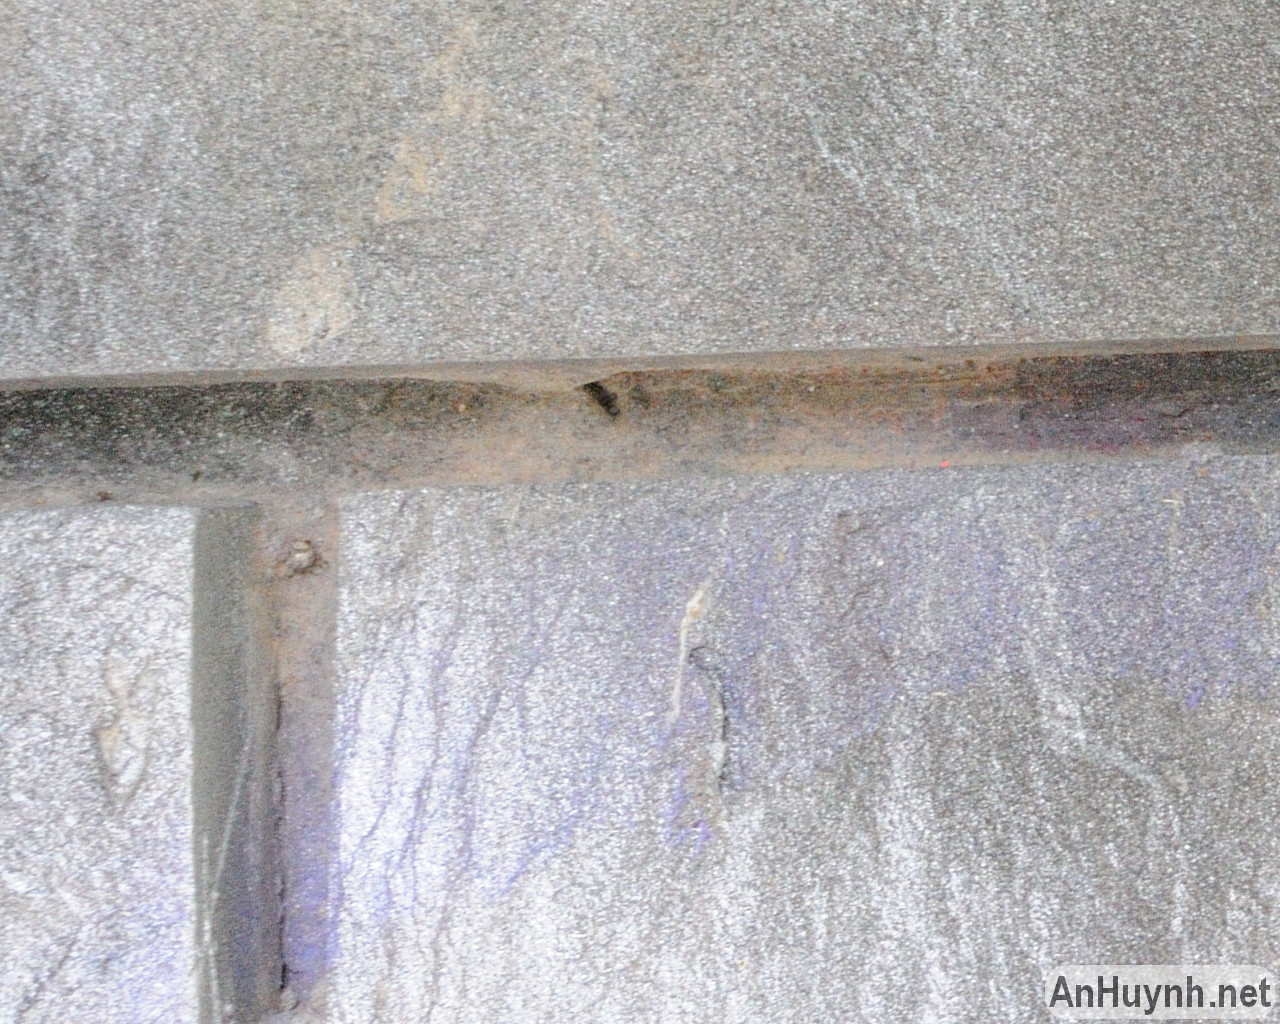
Below are the four crops: the very center, mid-frame left side area, left edge, and the bottom left corner. However, this time I will present these images a little differently. I will arrange four cropped images simultaneously from left to right as follows: 1. left edge, 2. mid-frame left side area, 3. very center, and 4. bottom left corner. This series of images will be arranged into eight rows, corresponding to apertures from f/2 to f/22 (it will display differently when viewing on phone though).
At f/2, the sharpness at the edges and corners is very poor. It’s not until f/8 that the edge sharpness becomes relatively acceptable.

















Real world samples
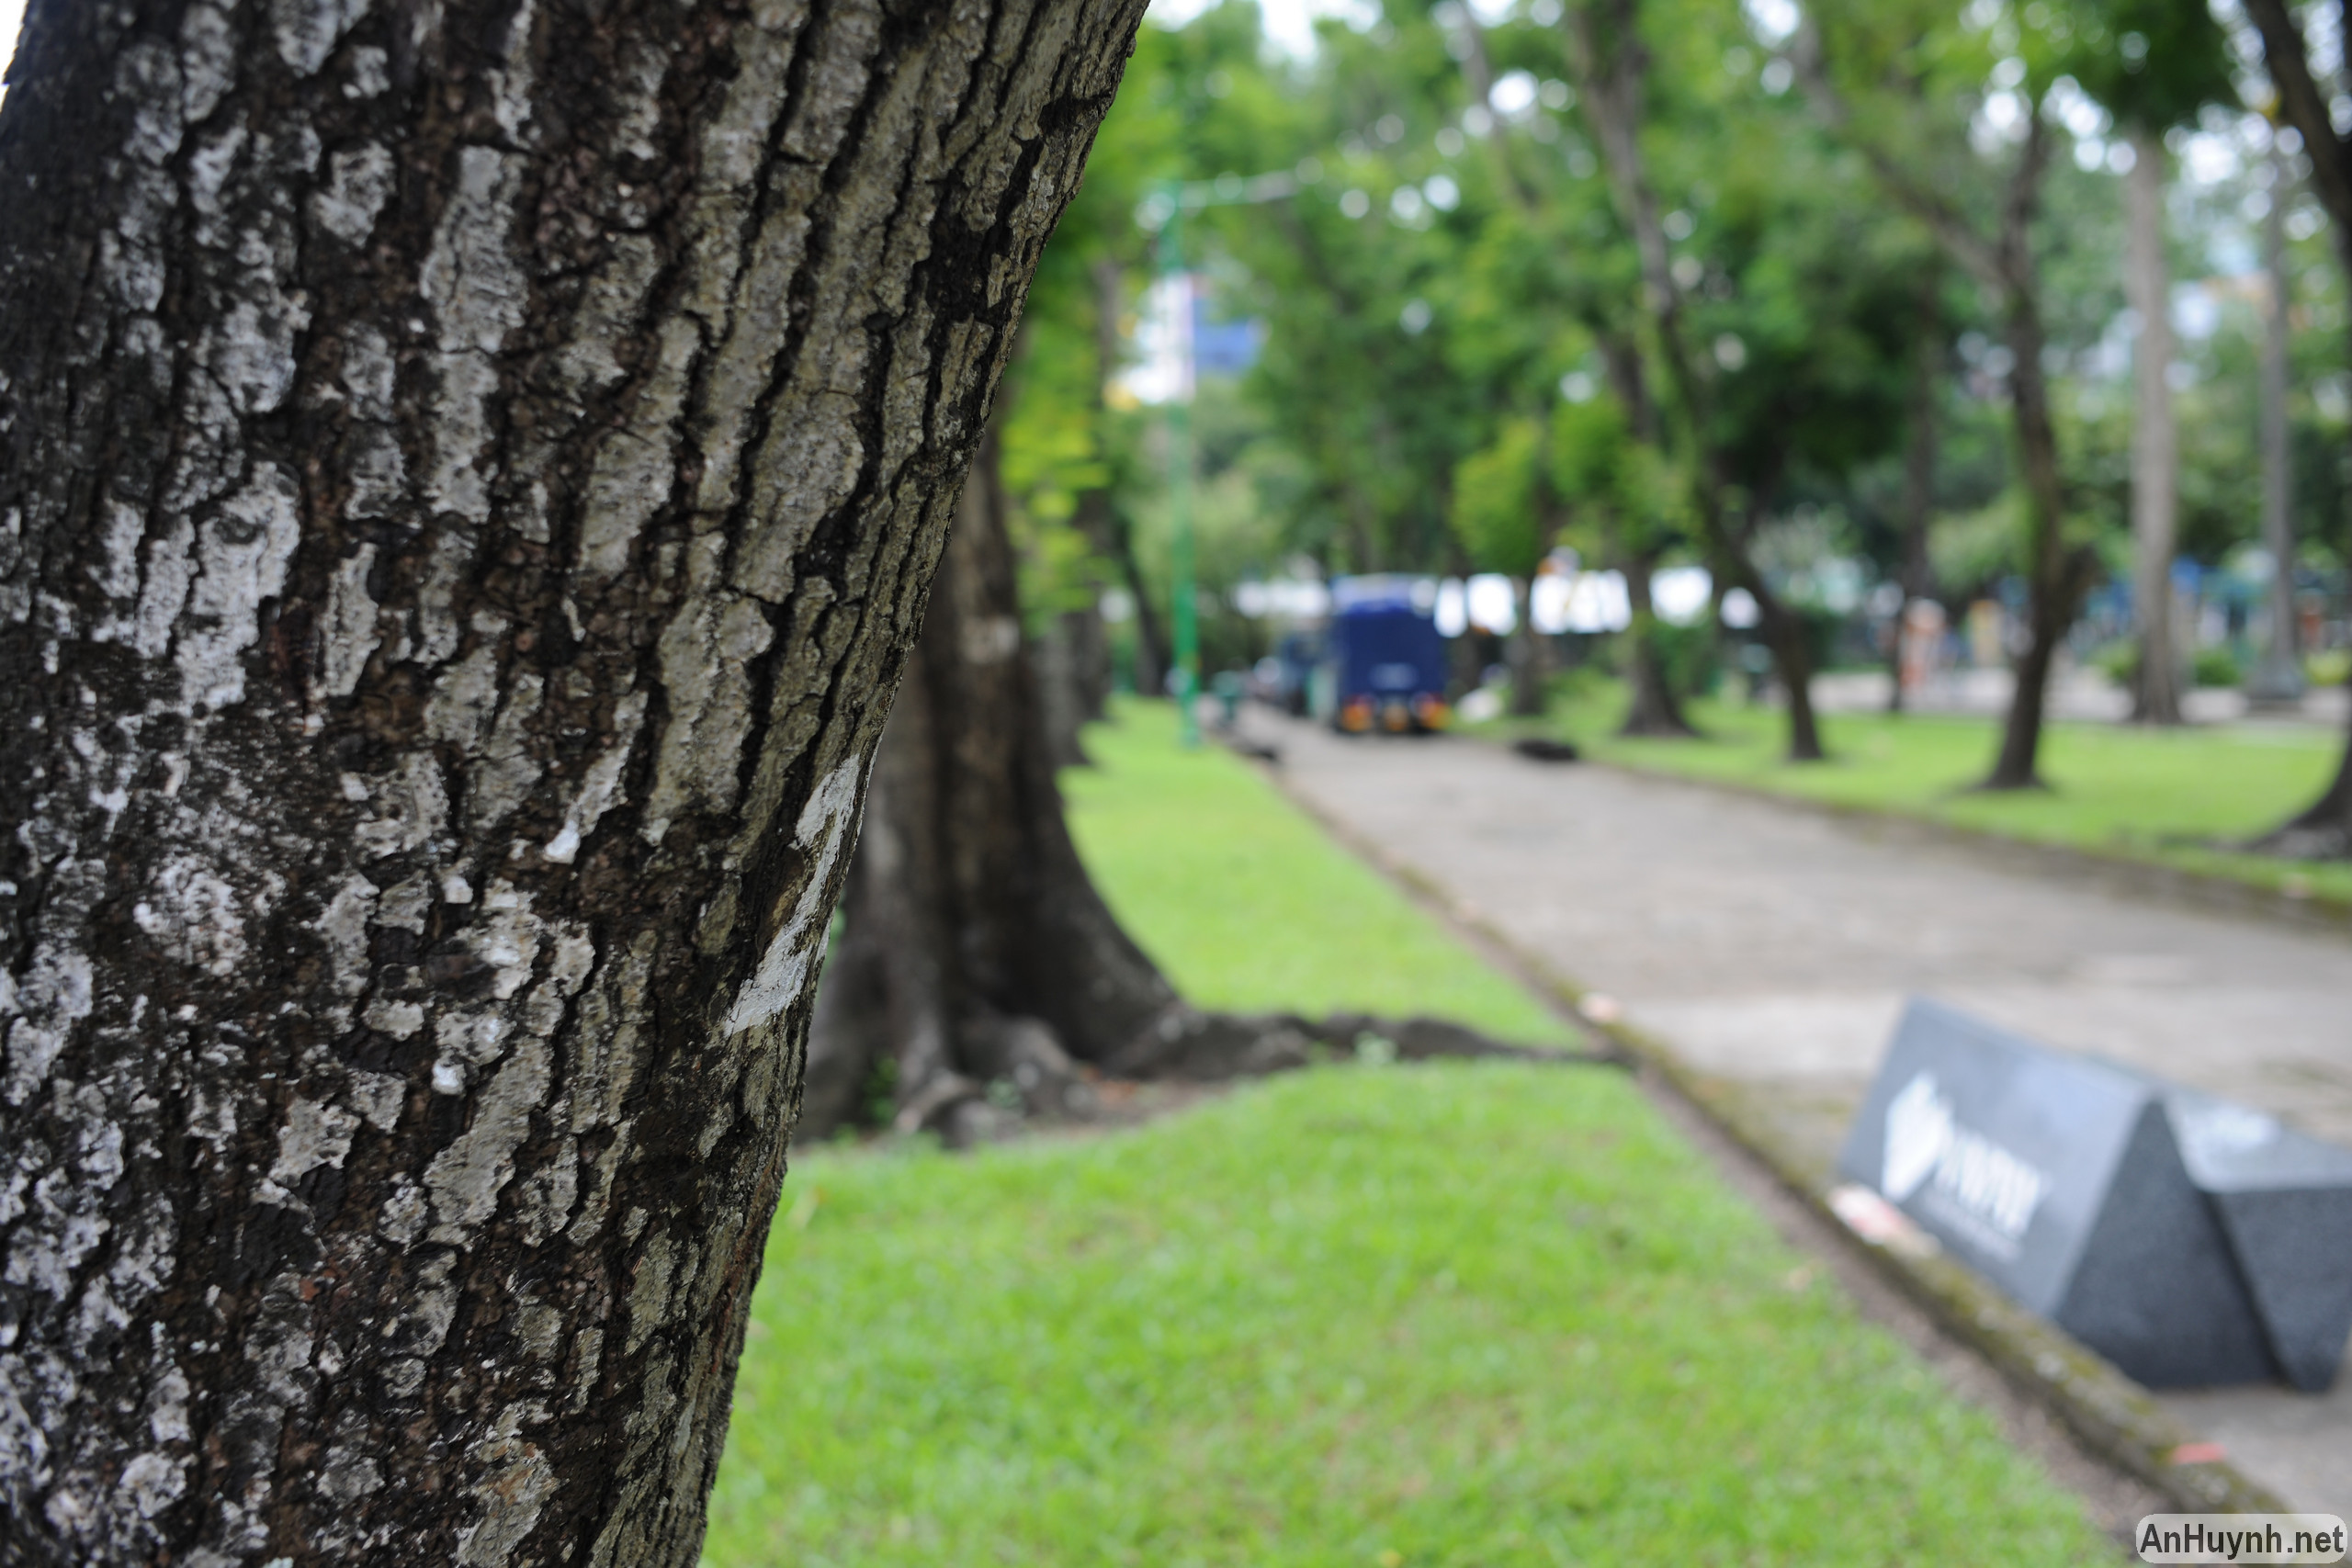
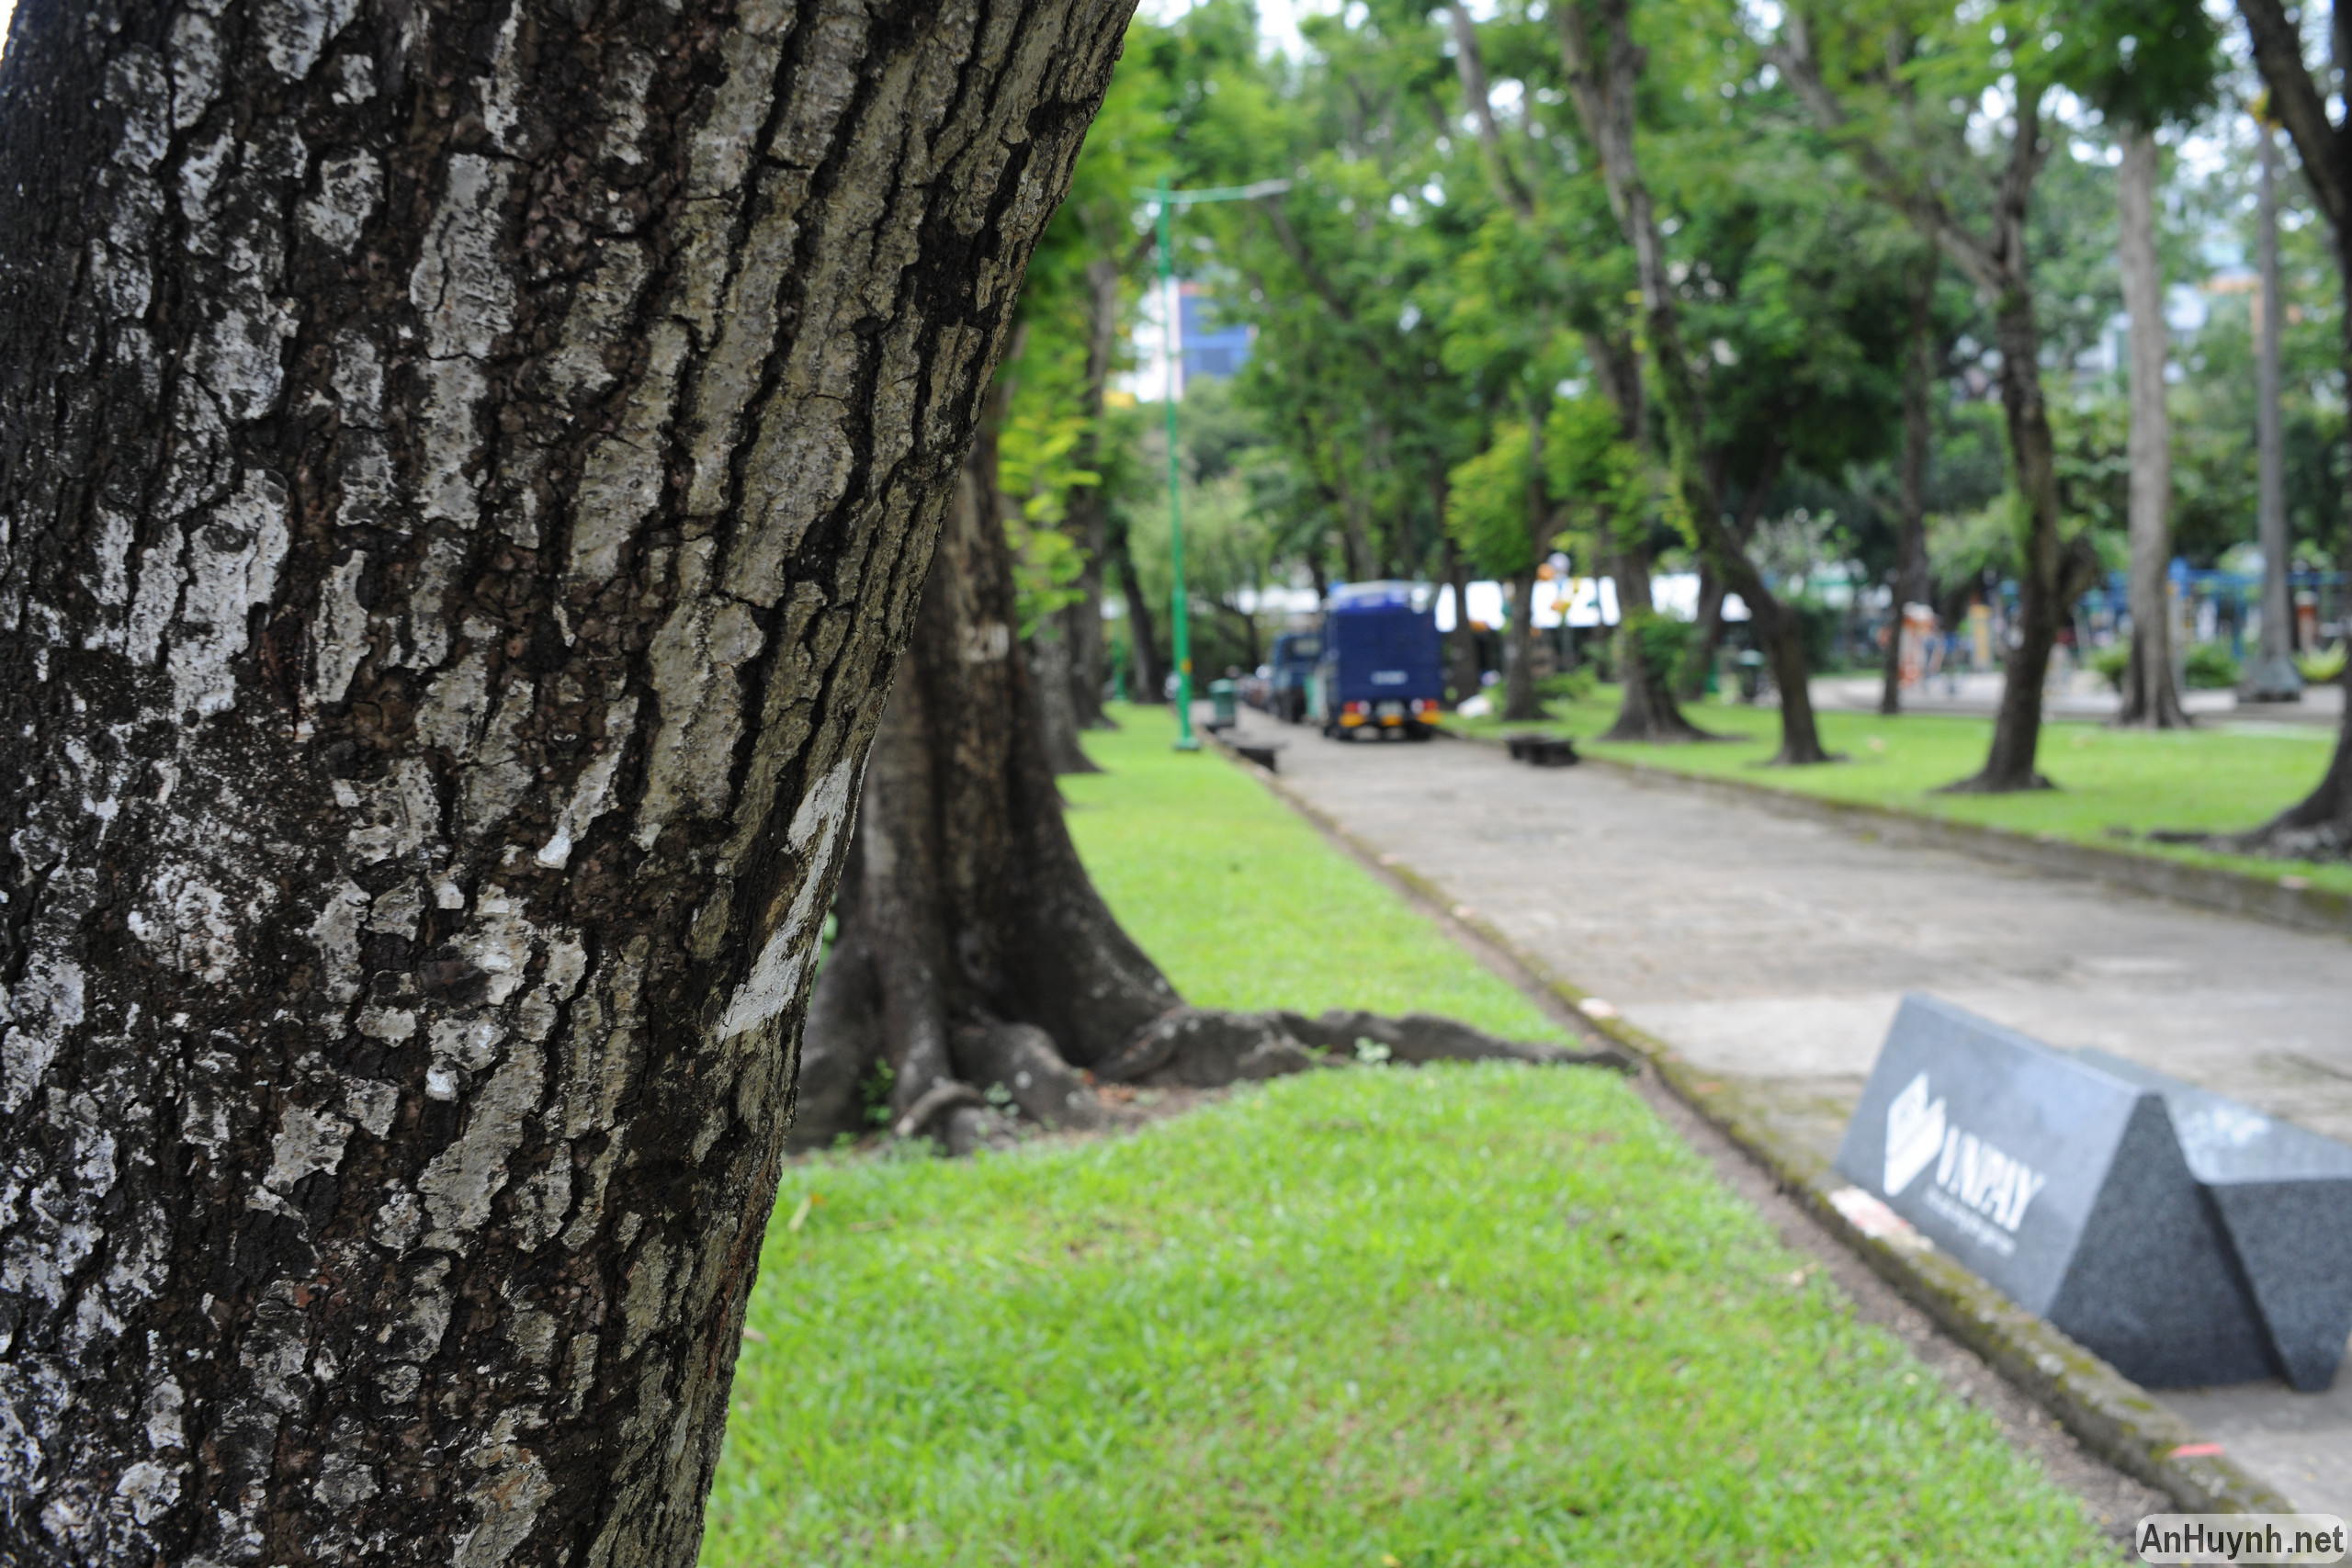
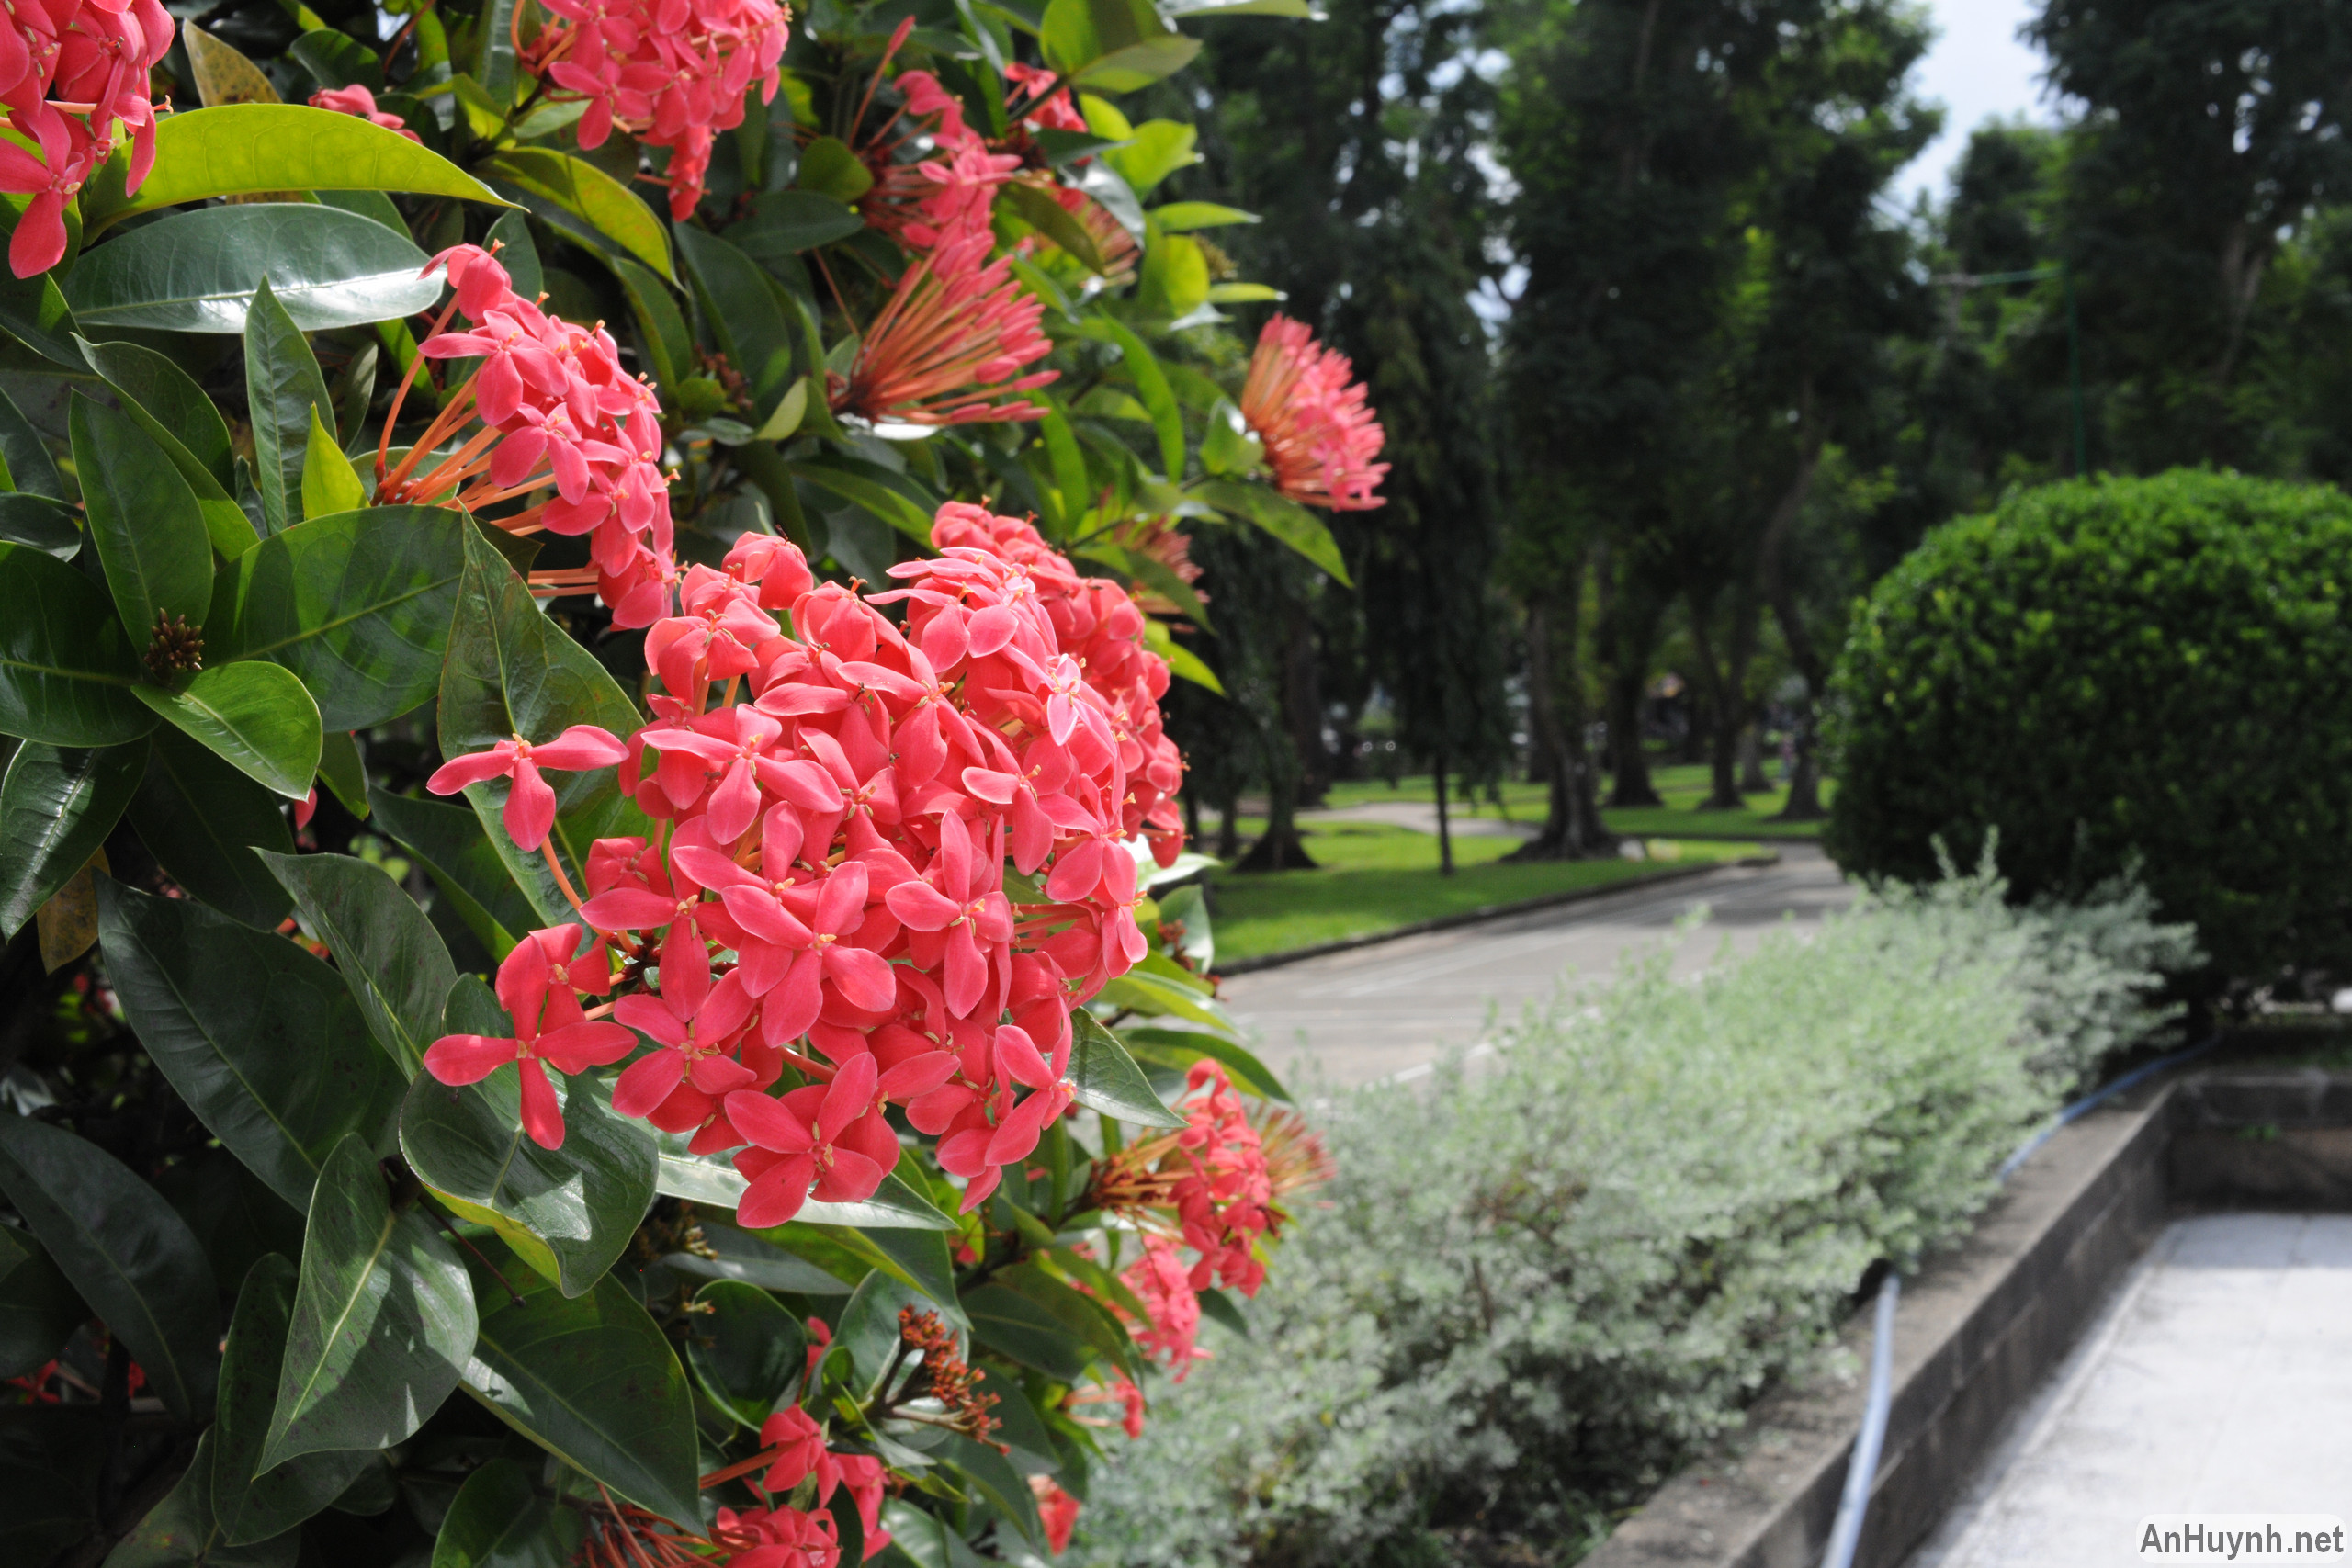
Hopefully, the test photos above haven’t bored you yet. If you’ve made it this far, please take a look at some more real life photos. This time, I didn’t take as many photos as last time.















Coming to an end
After two such rounds of testing, I have a few observations as follows.
Regarding the Speed Booster adapter:
When using the lens with the Speed Booster mount, the sharpness of the image, especially in the center, is very good. For everyday shooting, I almost never have to worry about whether this lens is sharp enough, as long as the subject is not too far off to the edge of the frame. I’ve taken pictures of my child with detailed, sharp eyebrows even at f/2. Of course, this is provided that I focus accurately and there is sufficient light.
The biggest drawback when using the Speed Booster mount is chromatic aberration, purple fringing not only at the edges but also right in the center of the image. For chromatic aberration in the center, stopping down the aperture will solve this problem. But for chromatic aberration at the edges, it still appears at any aperture and cannot be completely eliminated.
Regarding the lens:
My current need is mostly to photograph my child, capturing family moments and memories. For me, the 35mm focal length is my favorite and suitable for my shooting needs.
Do I like this lens? The answer is yes, during the time I used it, I liked it and I was very satisfied with it. Even after reviewing the test images, I admitted the lens has nothing outstanding, still having the familiar flaws including vignetting, distortion, chromatic aberration, and especially very poor sharpness at the edges. But with my not-too-high demands, this is still a suitable lens, and it has given me many beautiful photos. Honestly, in my daily use, the aforementioned flaws of the lens rarely bother me.
The AI version of this Nikkor 35mm f/2 lens was released in 1977, almost 50 years ago. In fact, the optical design of the AI version is identical to the very first Nikkor-O version released in 1965, still 8 elements (octa) divided into 6 groups, with the most significant difference being the more advanced coating applied on the AI lens. Even the later AI-S version, from 1981 until production ceased in 2005, still maintained that optical design. Throughout 40 years of production (1965-2005), Nikon only used one optical design for the manual focus 35mm f/2 lens. Only with the autofocus version of the 35mm f/2 released in 1989 did the company use a design of 6 elements in 5 groups.
So, if you are looking into the Nikkor 35mm f/2 AI lens, it is indeed an old lens, based on a very old design. The images produced by the lens will have that somewhat vintage, classic feel, that you cannot expect the sharpness and clarity of modern lenses. I know that many of you, including myself, actually prefer photos with such slight imperfections.
Part 2 of the Nikkor 35mm f/2 AI lens test concludes here. See you in the next post, I think I might talk about the Nikkor-H 50mm f/2 lens.
Merry Christmas!
An