Hello everyone!
So I have spent more than a month using the Nikon Nikkor 35mm f/2 AI lens with my Fujifilm X-T3 via the Metabones Speed Booster adapter. In preparation for this post, I took quite a few test photos – then rewrote, re-edited, and re-shot more times than I care to admit. I’m trying to develop a consistent review style that I can apply to future lens tests, so this first attempt has been a bit of a learning curve. It’s not perfect, but it’s a start – and I’ll refine the process as I go.
Originally, I intended this to be a full review of the 35mm f/2 AI. But after reviewing the photos taken with the Speed Booster on the X-T3, I realized that to properly evaluate the lens, I should also test it on a native Nikon body. So for now, this post will focus on photos samples and my initial observations.
All test shots were taken across the full aperture range – from f/2 to f/22. If you’re viewing on a computer, the photos are arranged in two rows: f/2 to f/5.6 on top, f/8 to f/22 below. On mobile, they appear in four rows, with two apertures per row. For some tests, I’ve included cropped images (center, mid-frame, corners) to highlight specific characteristics. The layout remains consistent throughout.
Test 1
The first test was a simple shot of the sky, focused at infinity. At the largest aperture, f/2, vignetting is clearly visible in all four corners. Closing down just one stop, at f/2.8, it improves quite a lot, and at f/4 it is no longer significant. Looking at the photos, I realized that from f/8 onward, colors appear noticeably paler and less contrasty, probably because of diffraction. I suspect that this diffraction is introduced by my Speed Booster adapter. I will revisit this test with my D3x to compare results without the adapter.


Test 2
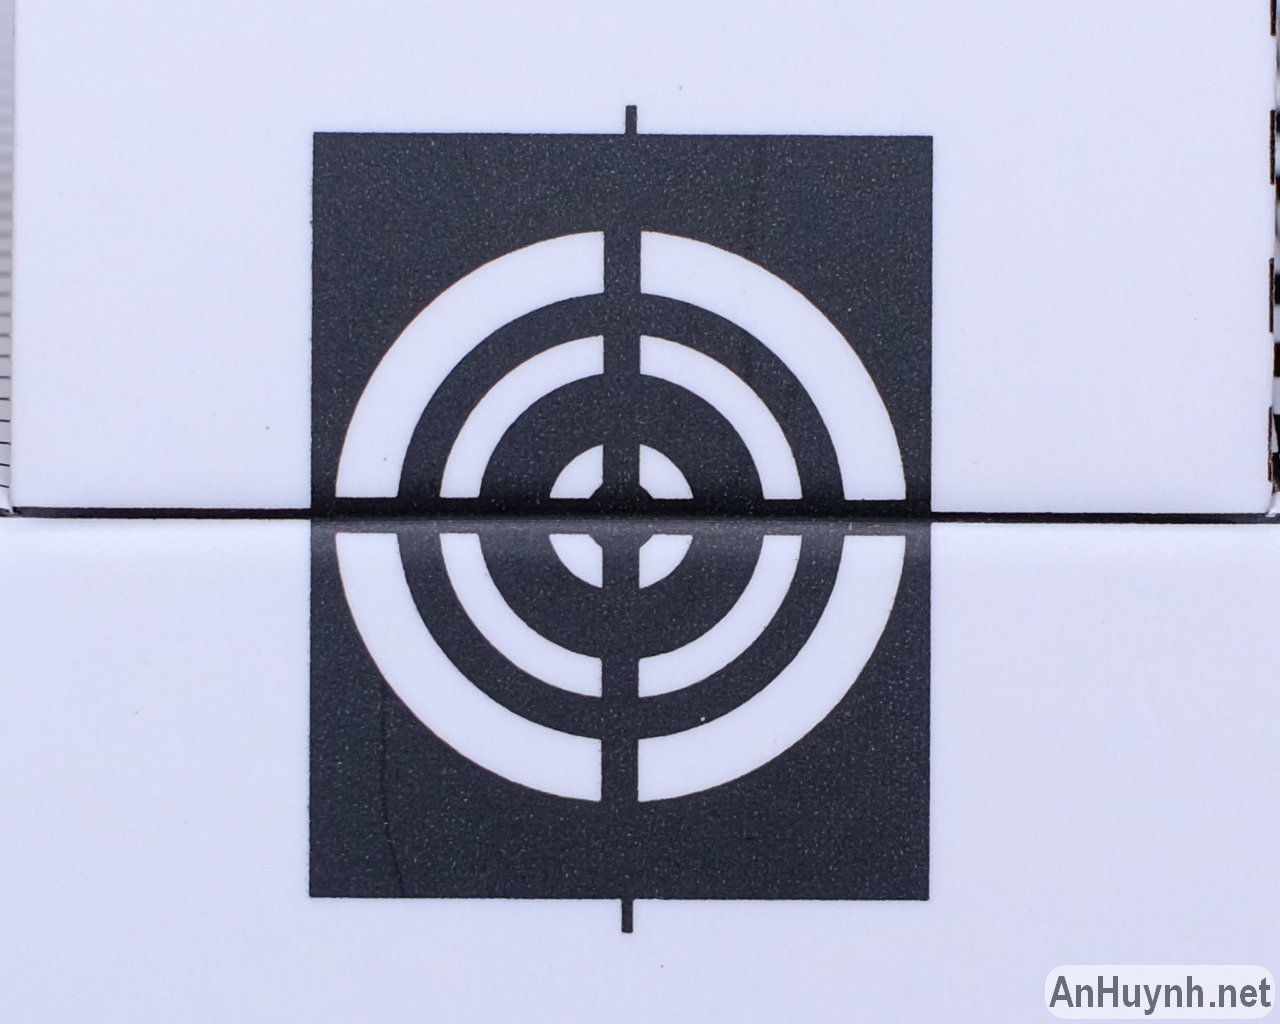
Next is the photos of a test chart, focusing distance is about 0.6 m. You can see at f/2, chromatic aberration is very heavy, color fringing is very obvious. Closing down just one stop, at f/2.8, it has improved dramatically, especially in the center. However, in areas far from the center of the frame, even when stopped down, chromatic aberration cannot be completely eliminated.


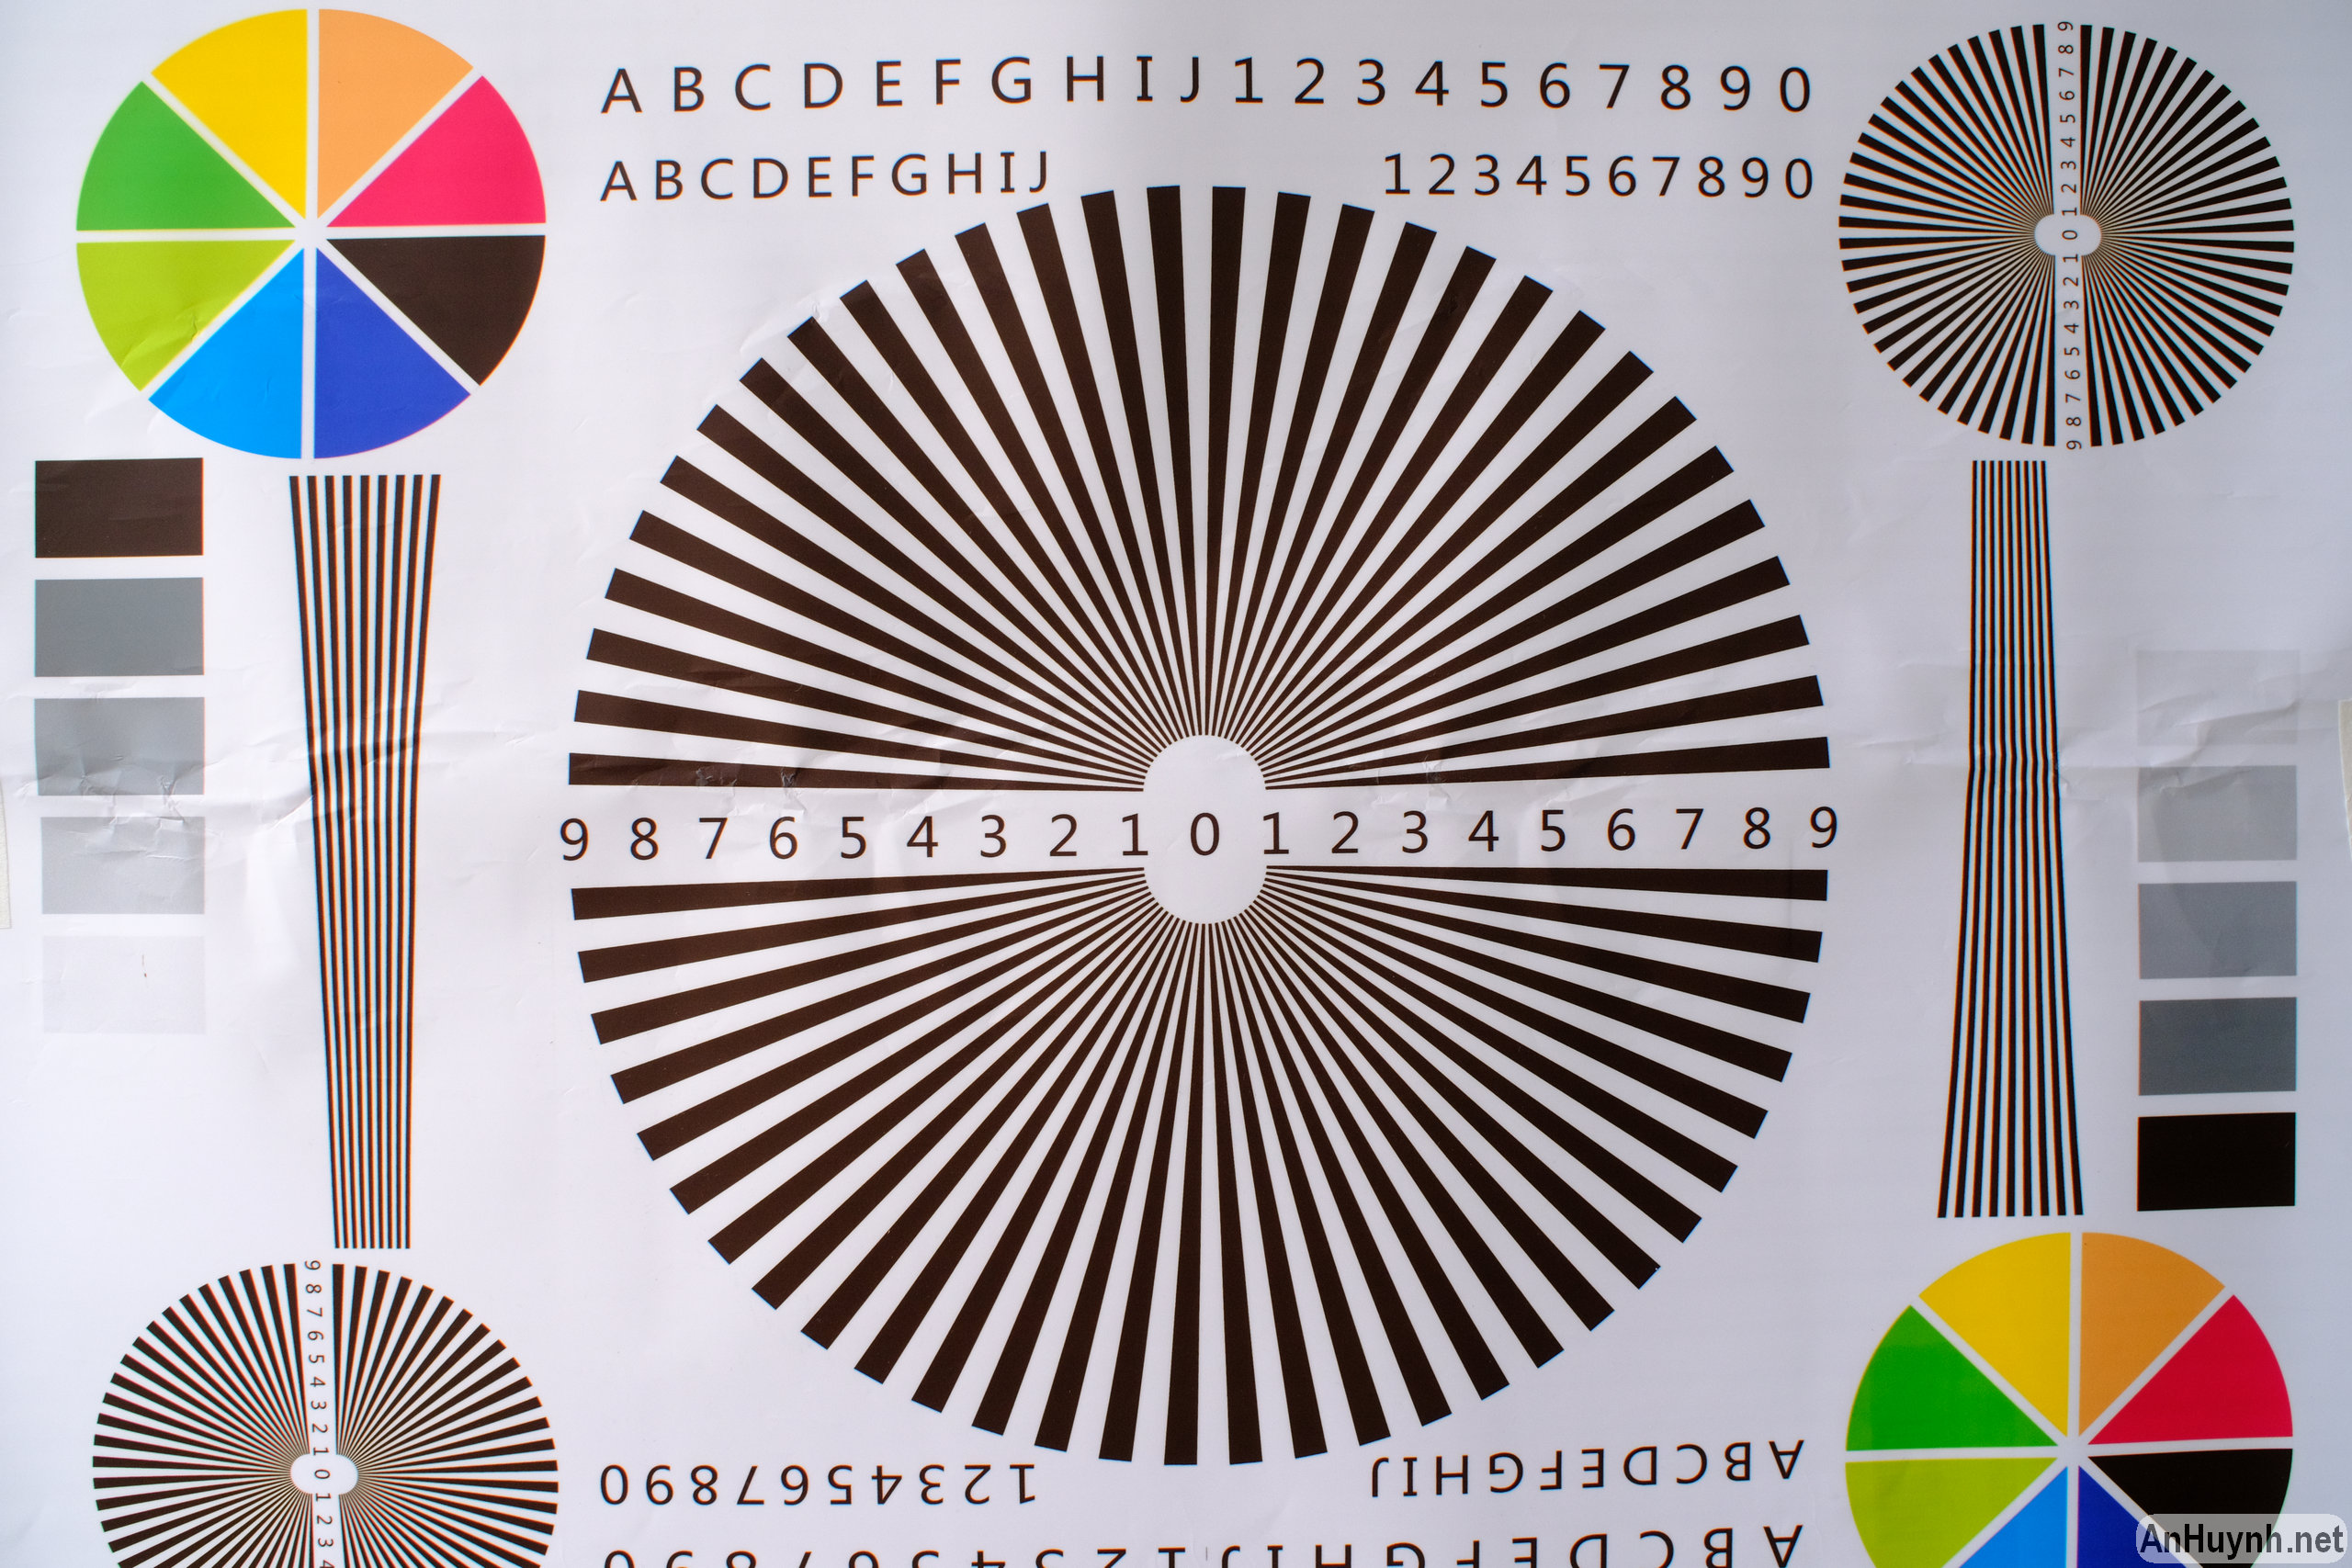

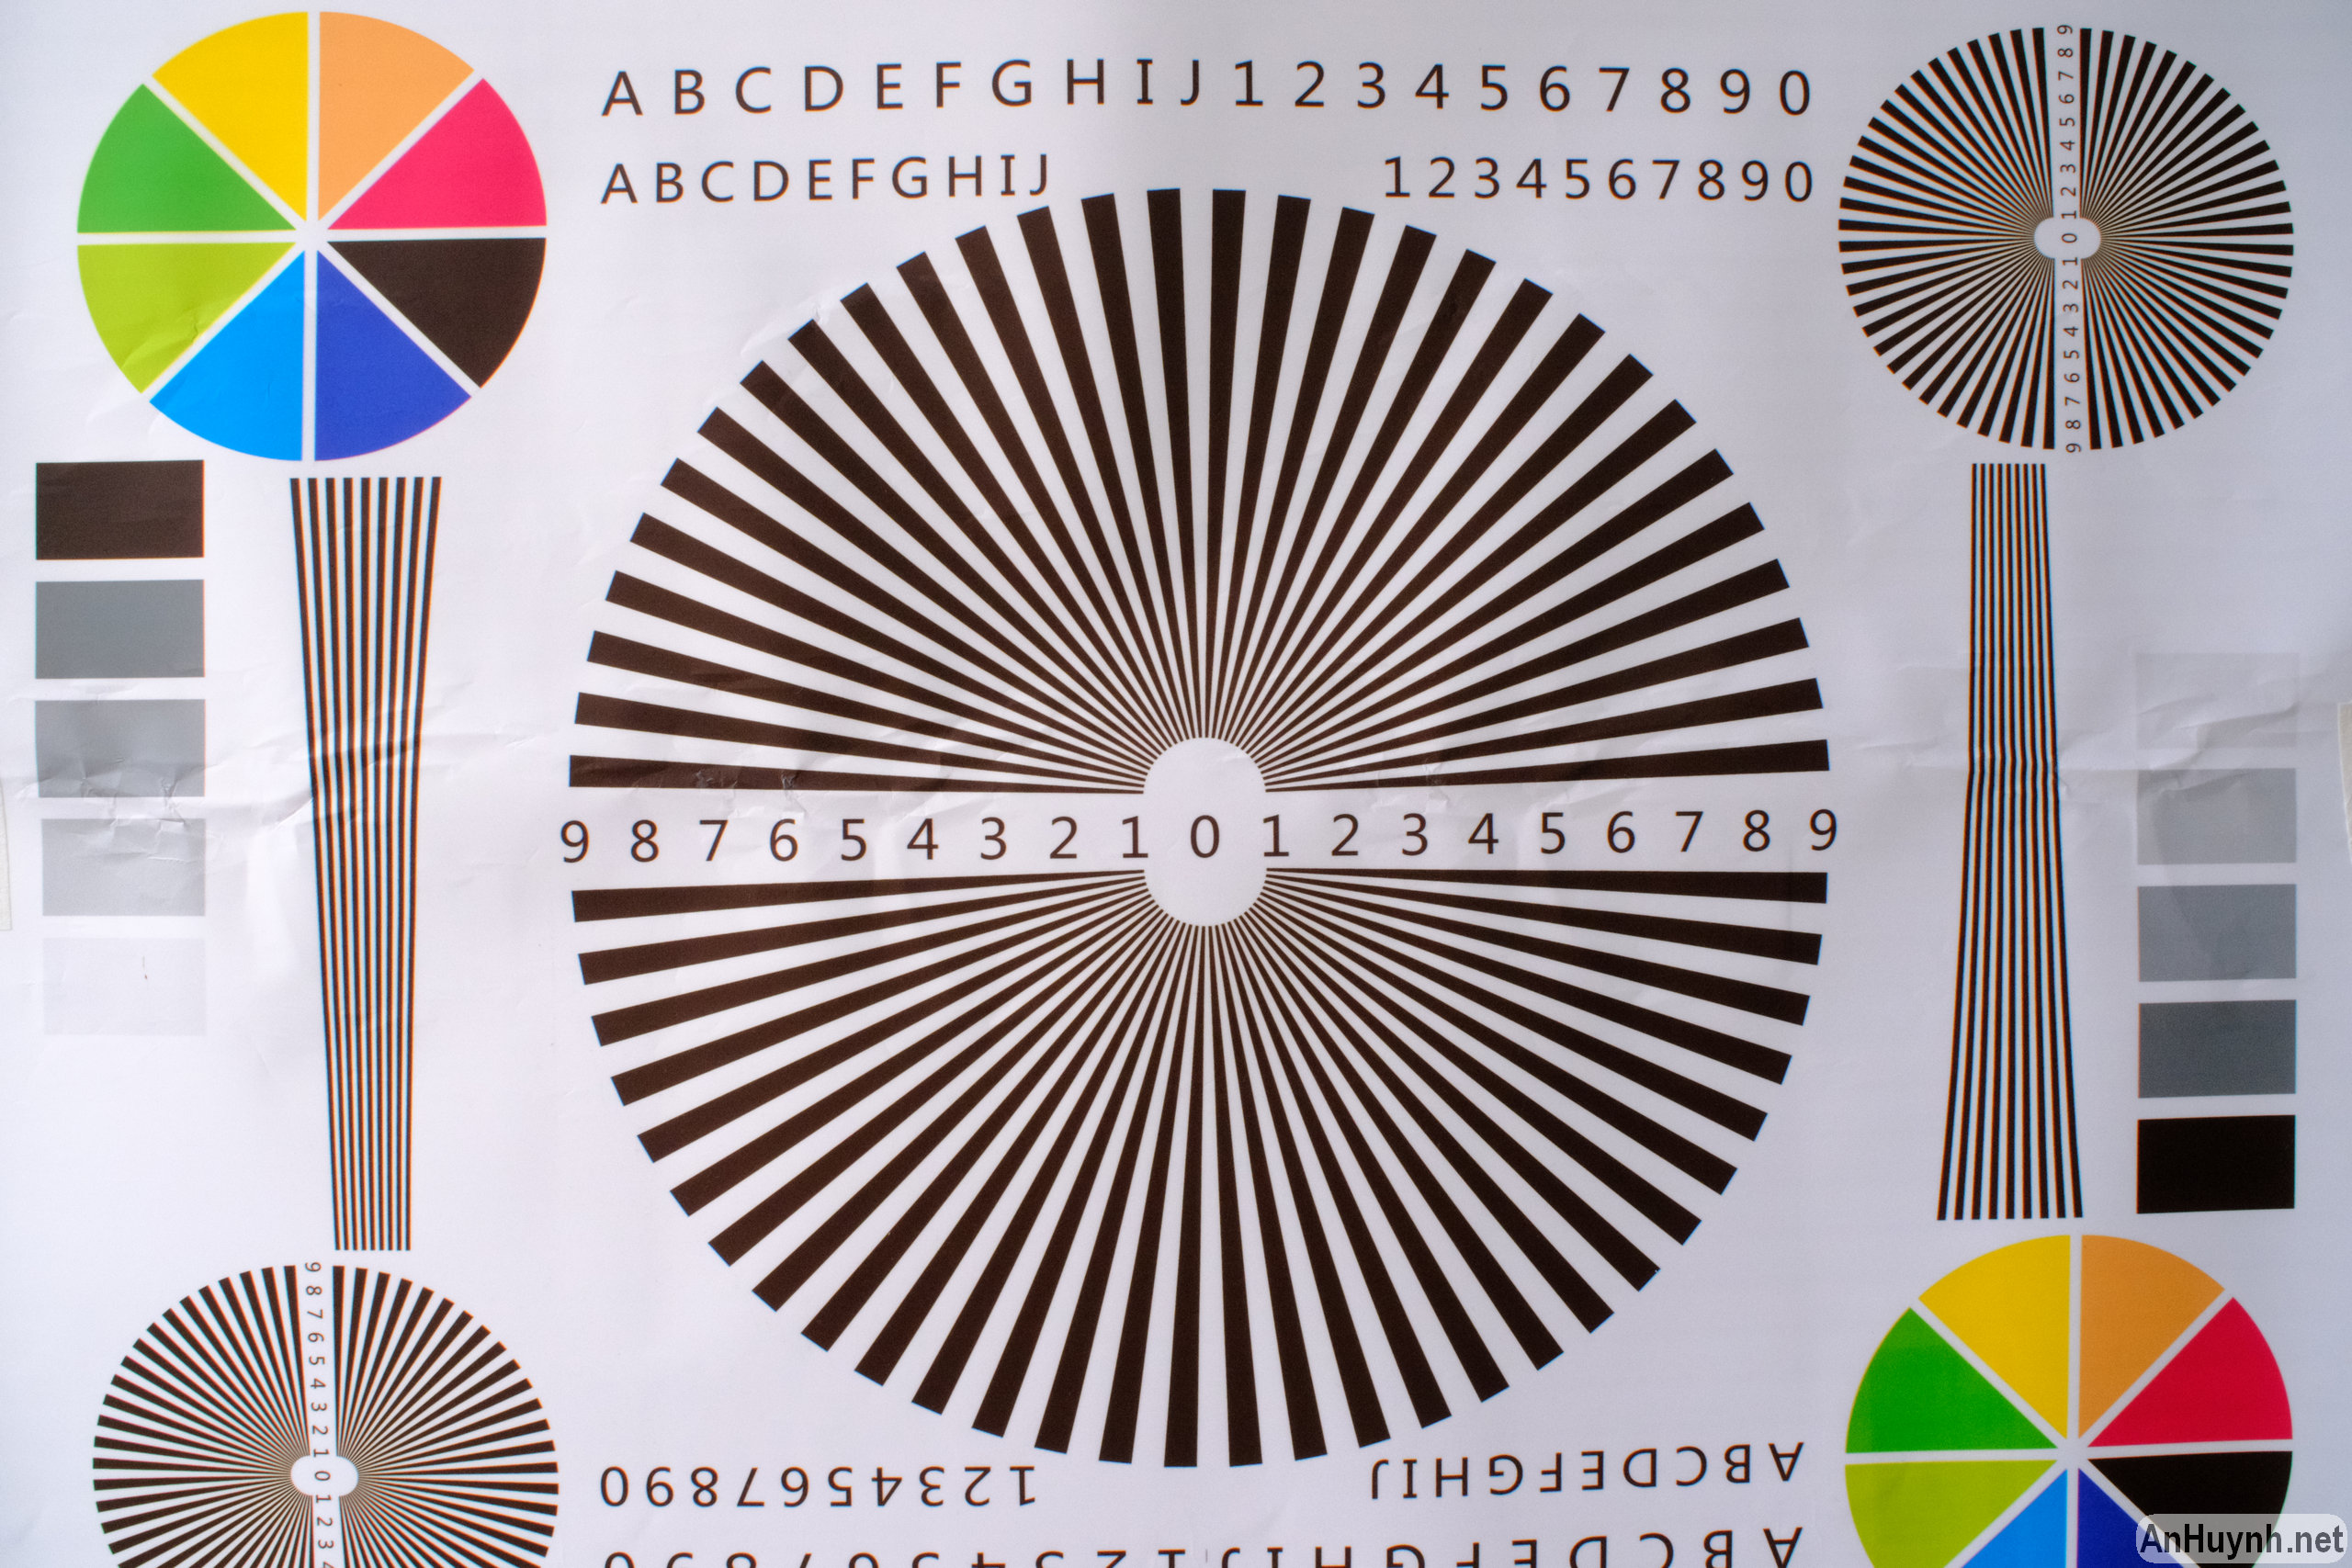
I cropped these photos in three places: right in the center, far left side (9 o’clock direction), and bottom left corner to make it easier for you to see.
Right in the center:


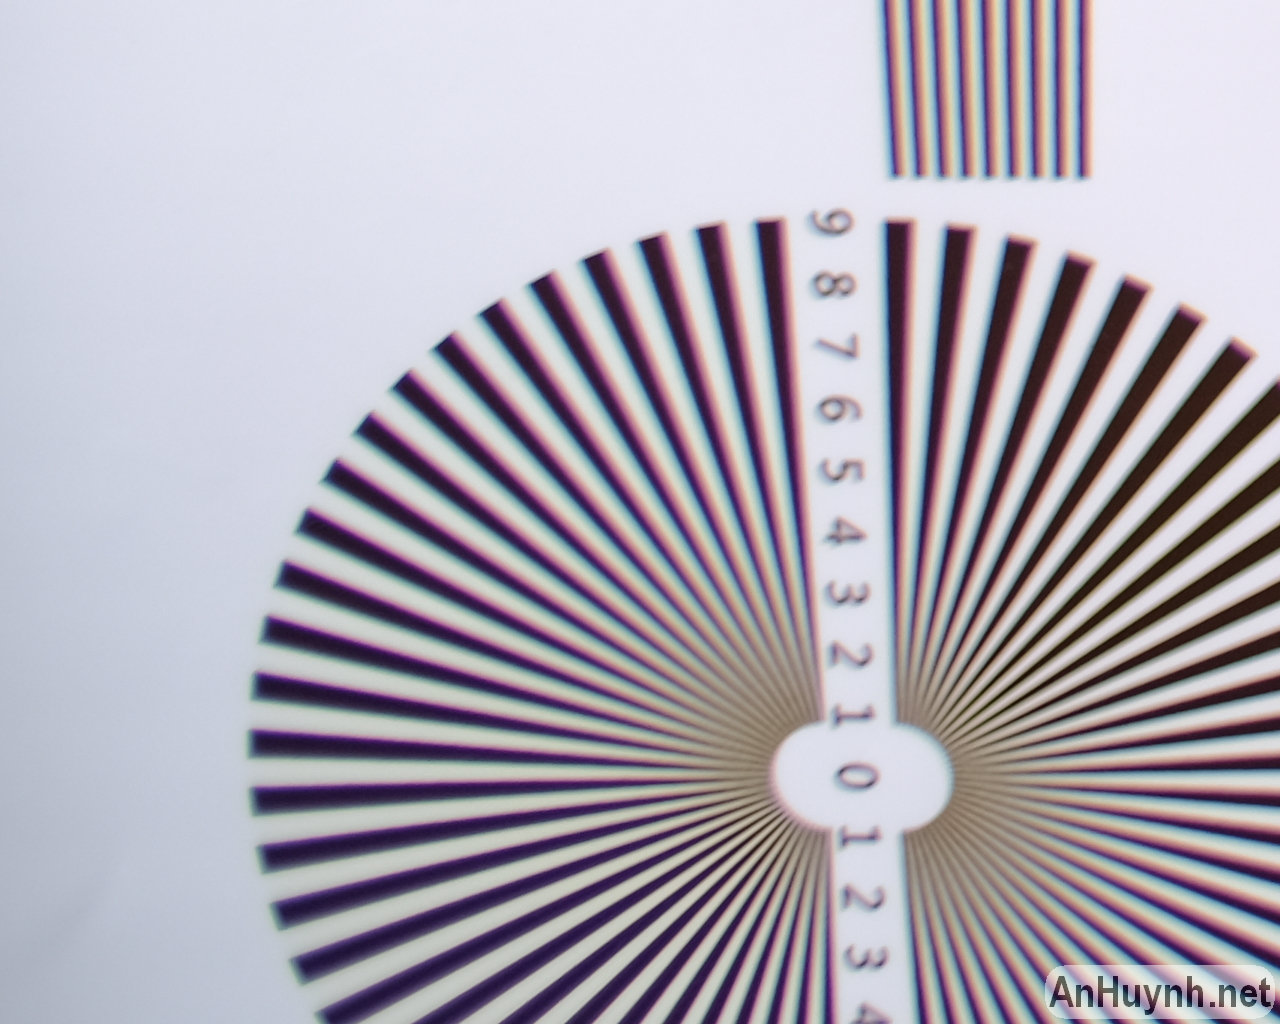
Far left side (9 o’clock direction):


Bottom left corner:


I also repeated the test at the lens’ minimum focusing distance of 0.3 m. Not excellent, but not too bad either. Sharpness isn’t stellar wide open, but from f/5.6 to f/11, it’s quite usable.


Test 3
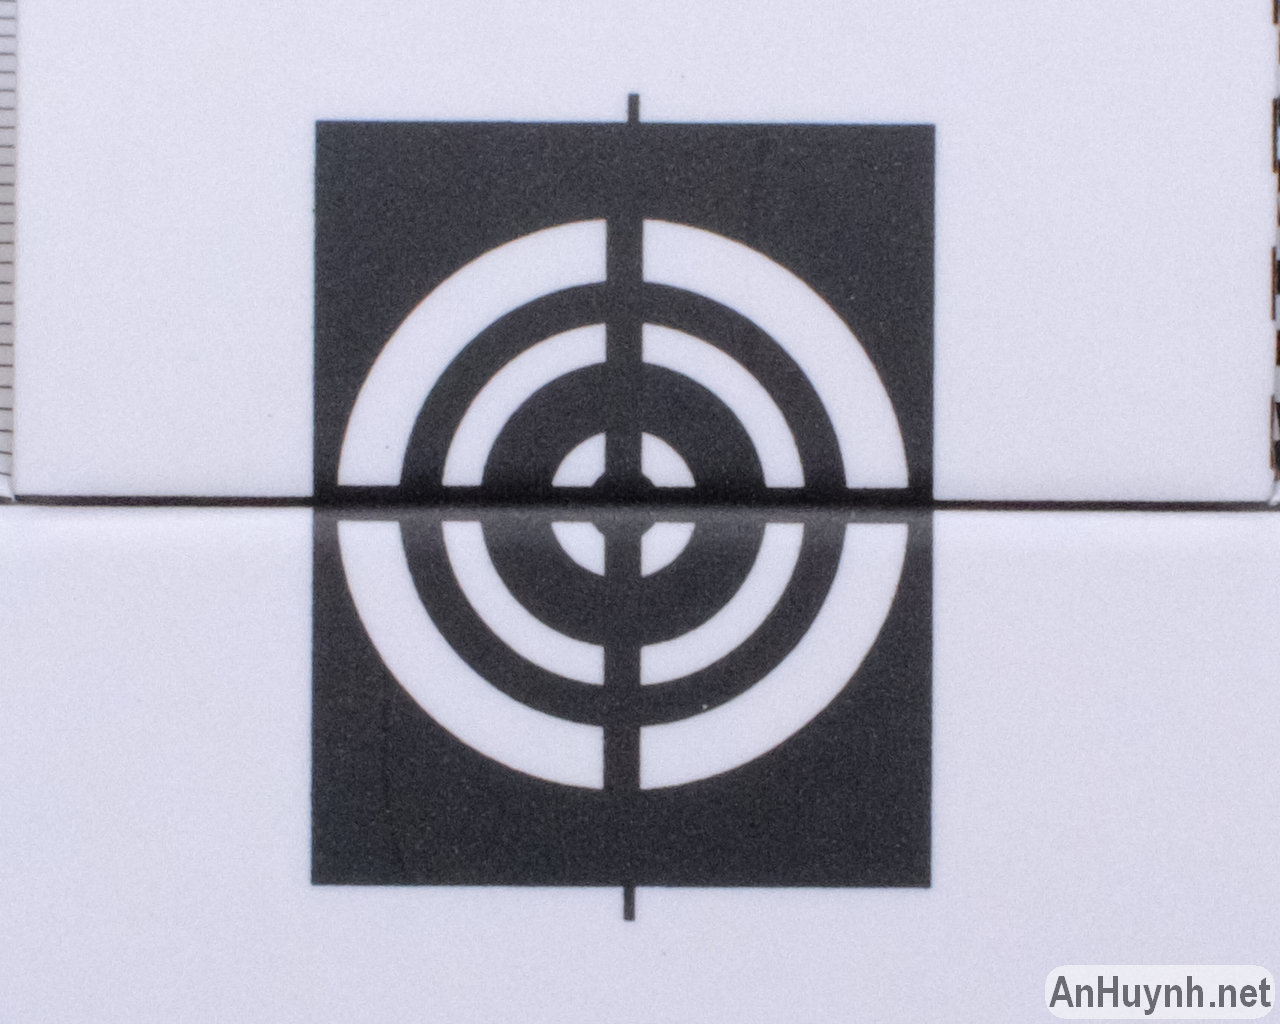
Next up is my other test chart, I also took these photos at the minimum focusing distance.
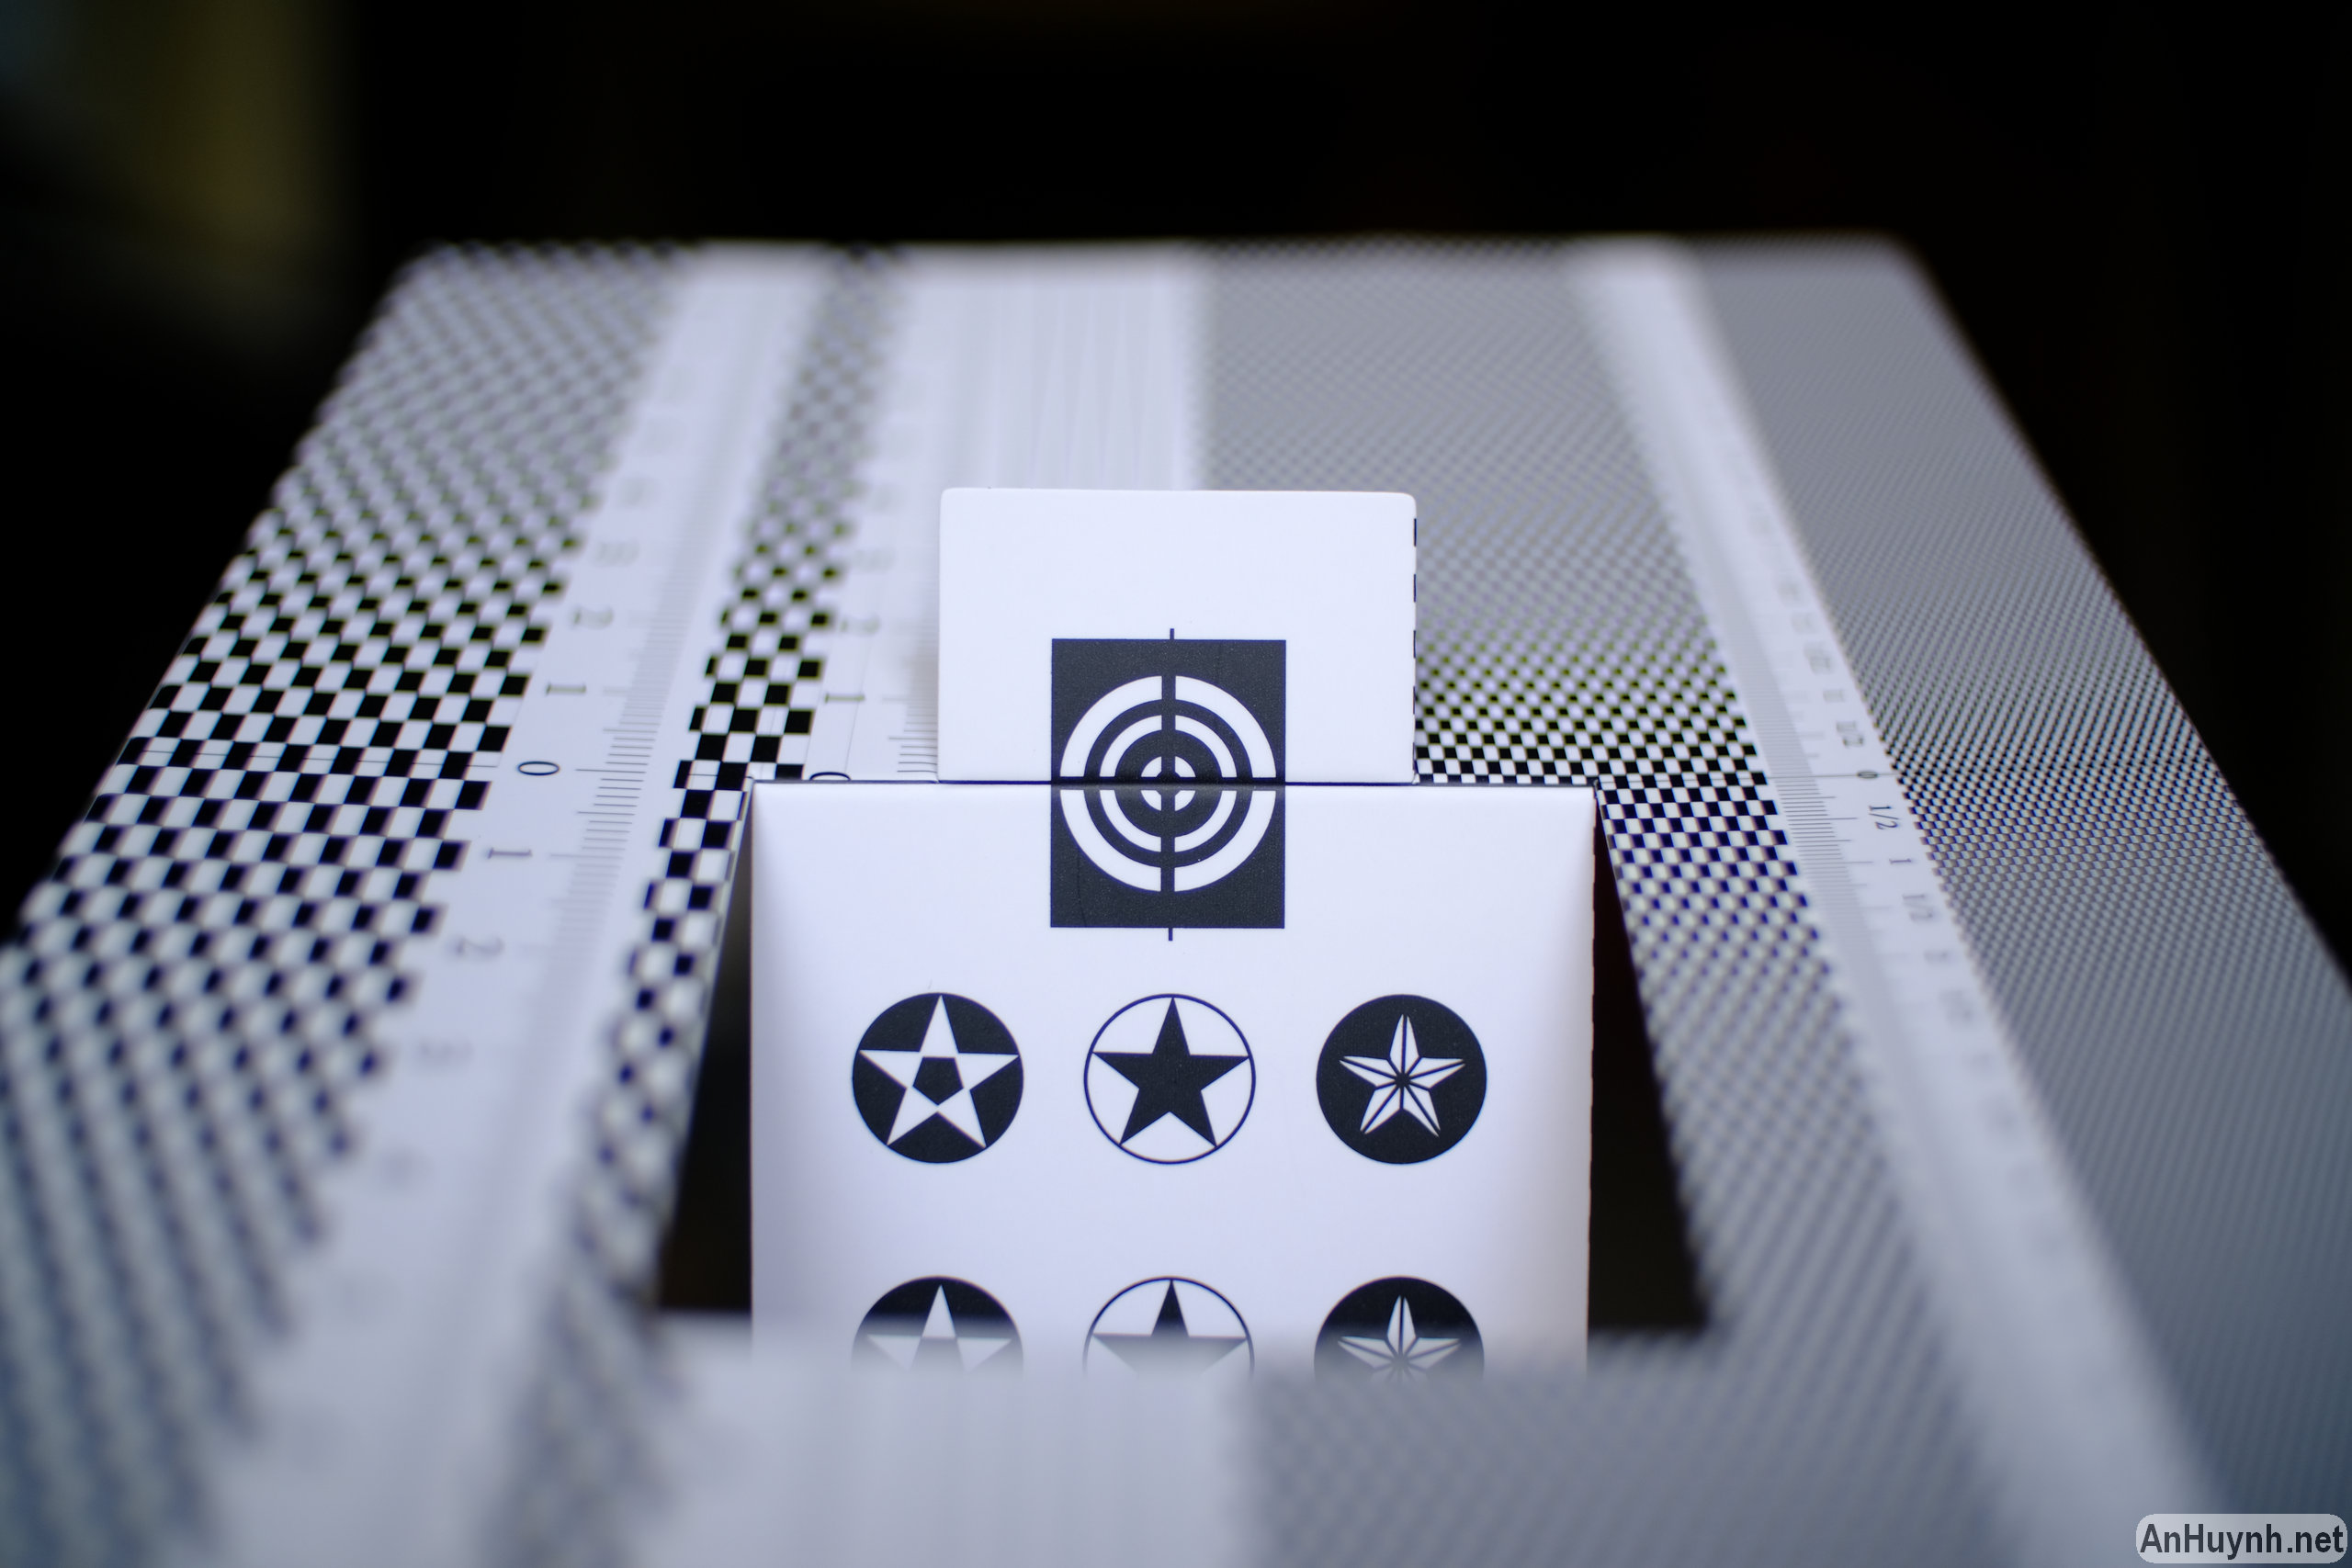


I cropped these photos in two places: right in the center and mid-frame towards left side area (9 o’clock direction). In the center, purple fringing due to chromatic aberration is very heavy at f/2, but just one stop down to f/2.8 it has improved quite a lot. As mentioned above, even when stopped down, there is still a slight chromatic aberration in the mid-frame and edges.
Right in the center:


Mid-frame left side area (9 o’clock direction):


Test 4
I took these photos of a brick wall (yuck!) to check for distortion, but when I took a closer look, I also noticed field curvature too.


In terms of distortion, you can see barrel distortion quite easily. Although I think such distortion is not too extreme, it can be corrected in post, but if you plan to use this lens for architecture photography, or to shoot photos with many parallel lines, this is obviously not the preferred choice. I have some more photos later in the section below, you will see that it is not too bad.
Regarding field curvature, this is what I noticed. In the center of the photo (which is where I focused to), sharpness is ok at f/2.8, and very good at f/4 & f/5.6, I’m impressed and satisfied. Moving far away from the center in any direction, at any aperture, there’s a noticeable decrease in sharpness, and closer to the corners of the frame, it dropped significantly, sharpness is very bad. Oddly, if you look at the extreme corners, you can see that sharpness has improved a bit. I think this is due to field curvature, and similar to diffraction, I guess this is possibly exaggerated by the Speed Booster adapter.
Here are the four places that I cropped: right in the center, mid-frame left side area, far left side, and bottom left corner.
Right in the center:


Mid-frame left side area (9 o’clock direction):


Far left side (9 o’clock direction):


Bottom left corner:


Real world samples – going on a photo walk
Enough with test charts and brick walls, let’s see some real world photos now. Many of these were handheld, I didn’t use tripod, so framing vary slightly between shots.
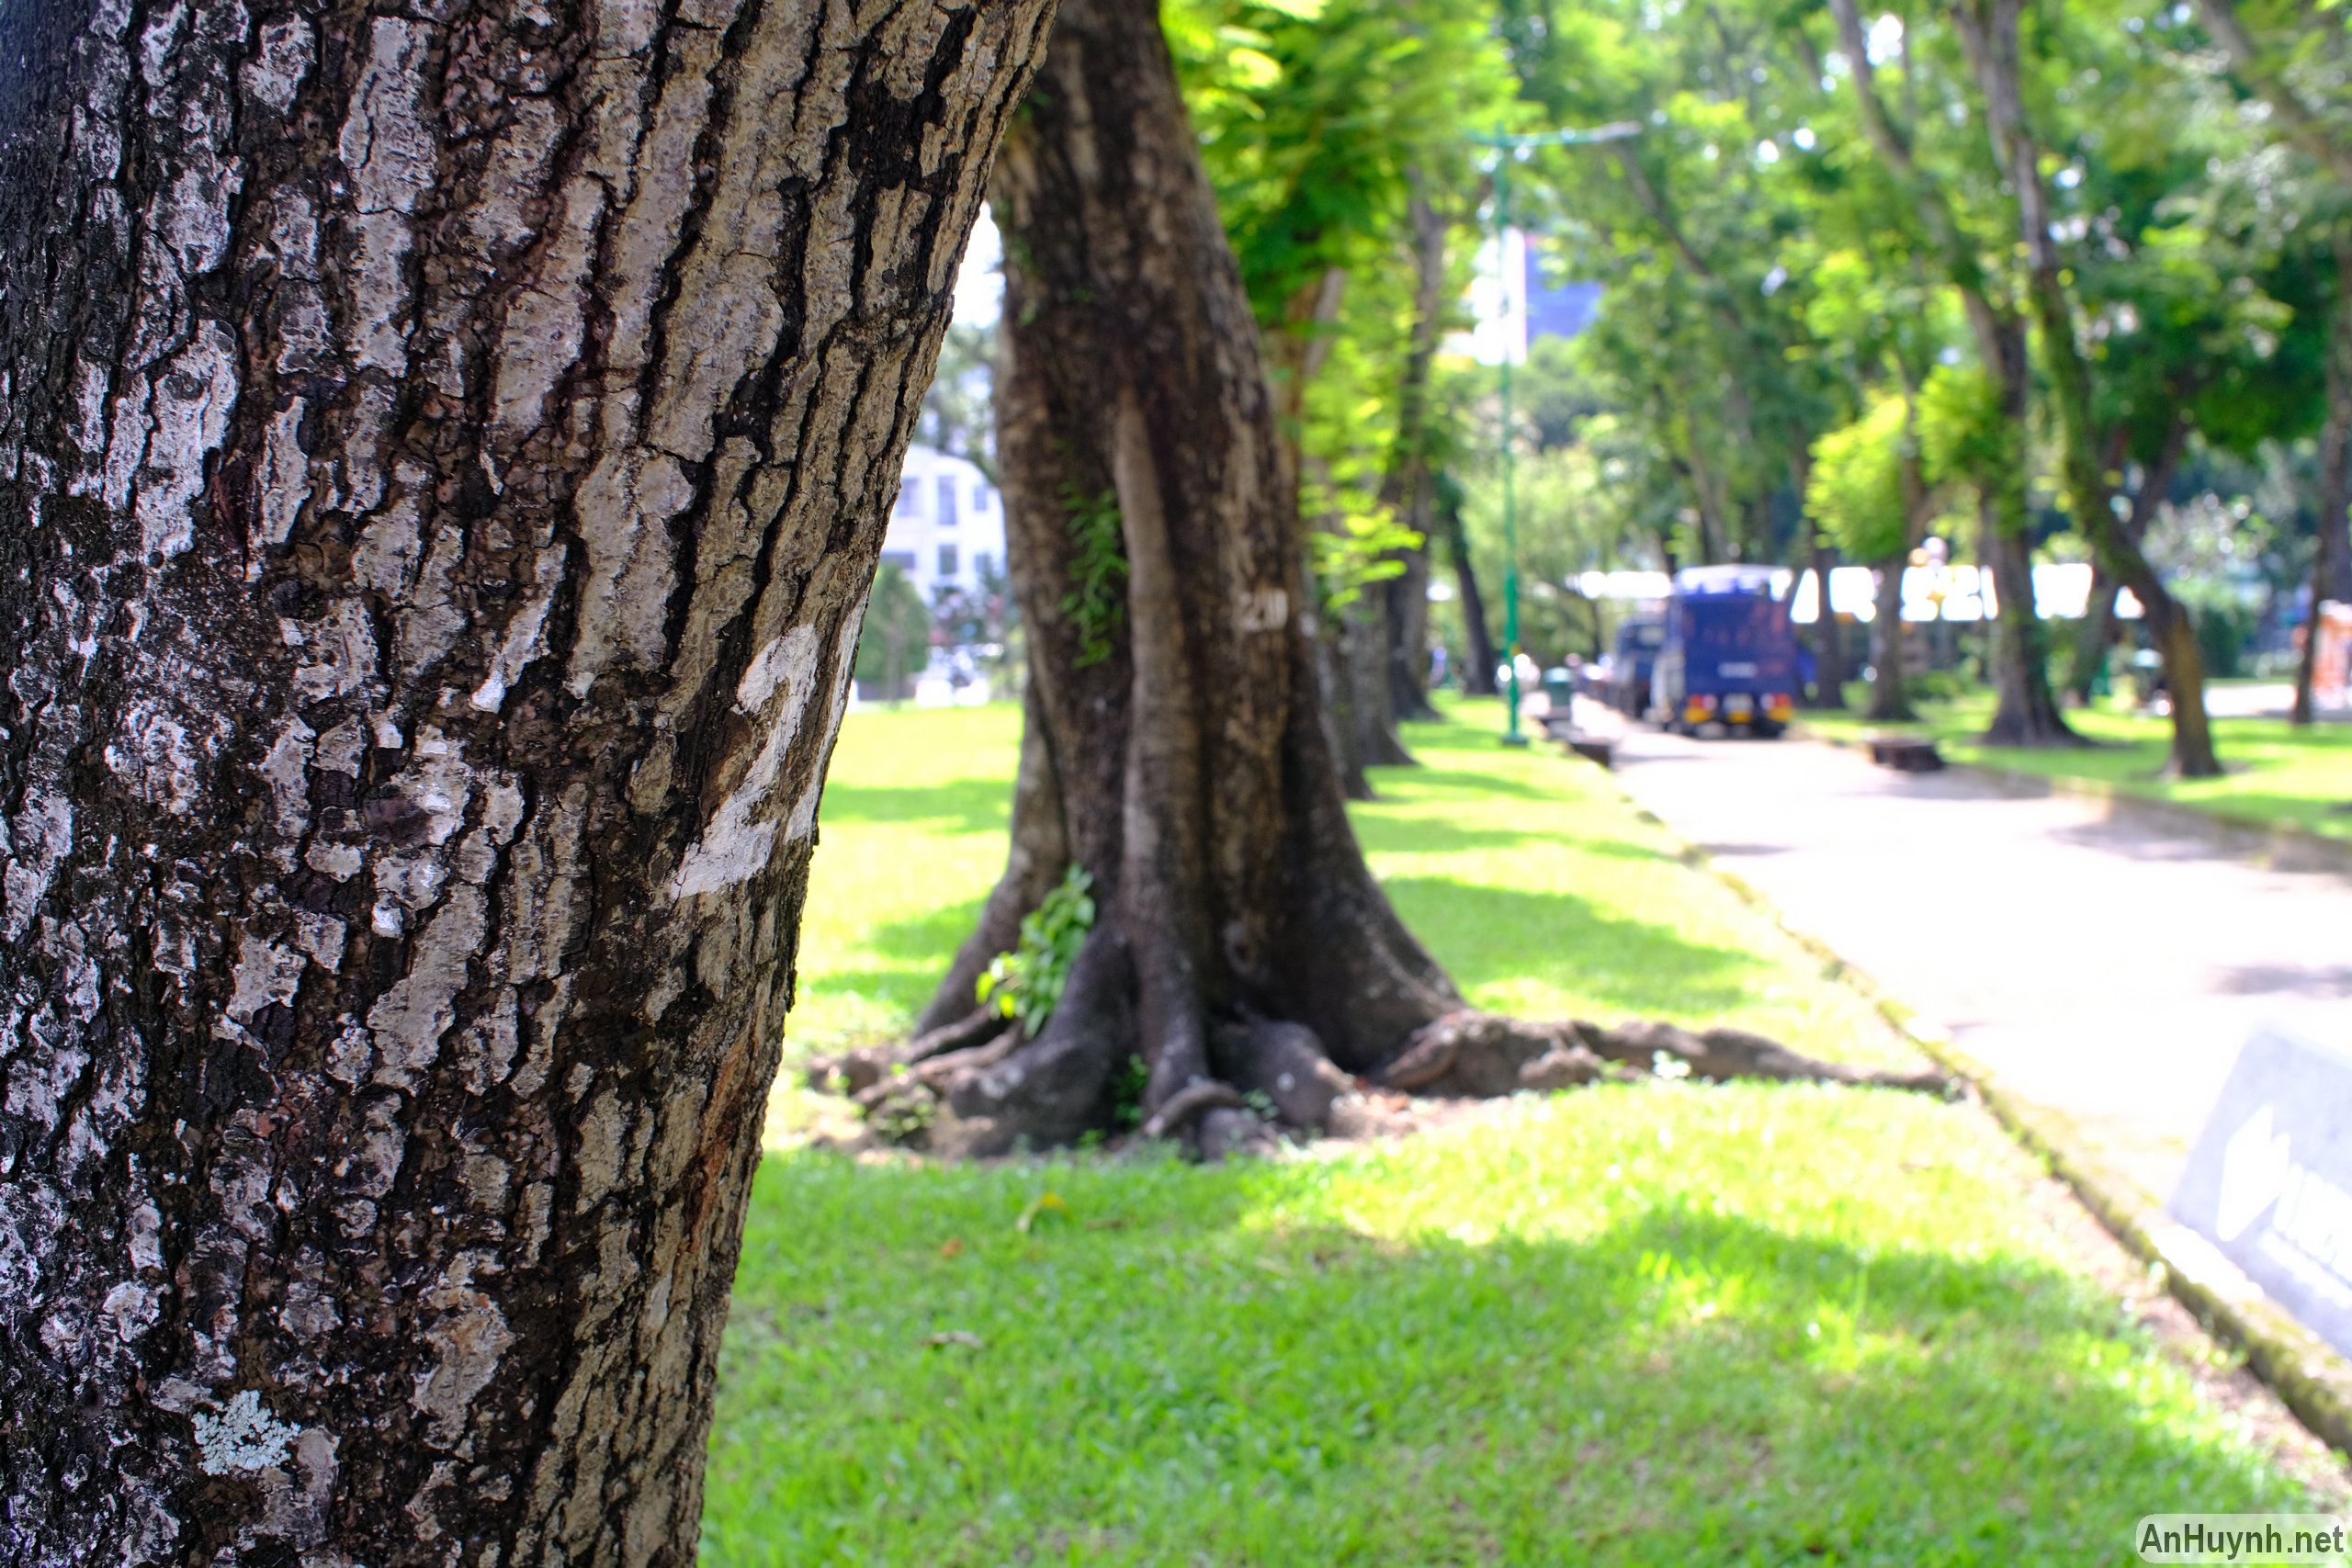
In the following photos, you can see the bokeh that the lens produces when shooting the subject at close distance. At f/2 and f/2.8, because of the large aperture, the ability to blur the background and separate the subject is good. The bokeh isn’t the smoothest though.


The following photos were shot in backlight. Again, at f/2, purple fringing is prominent. I don’t see much flare and ghosting. At the smallest apertures, f/16 and f/22, there is pronounced starburst.


The below photos to demonstrate distortion.


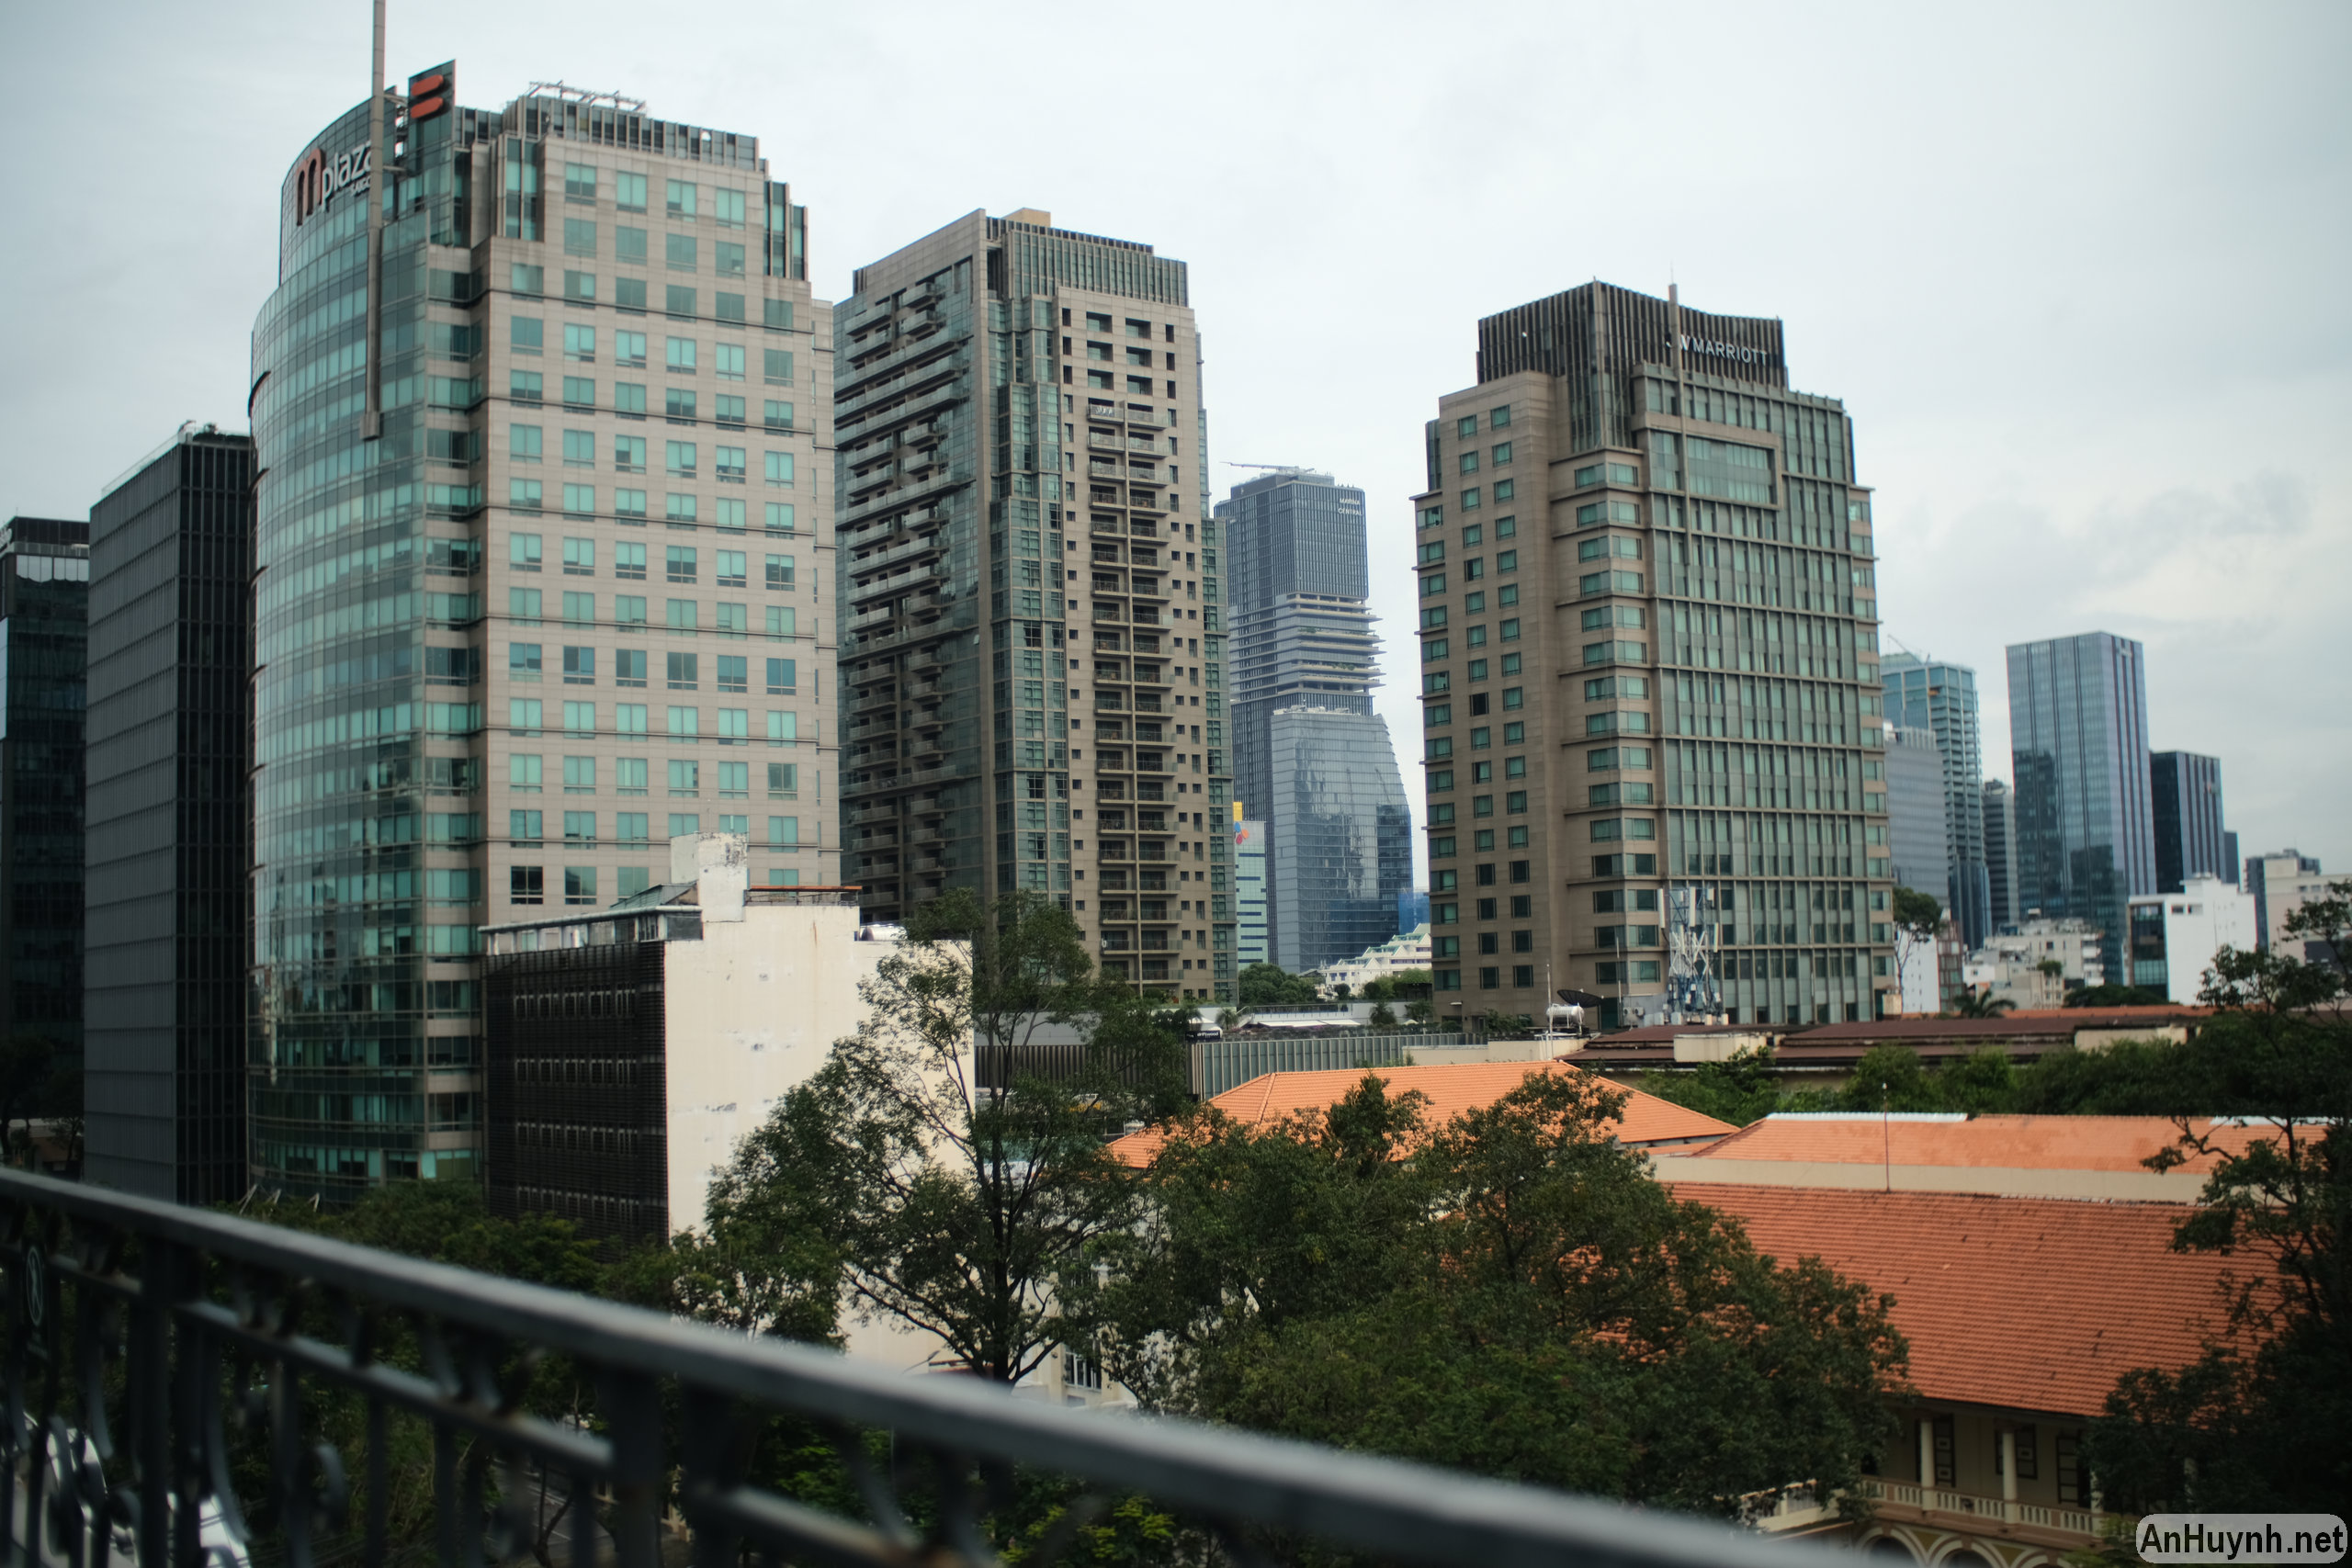
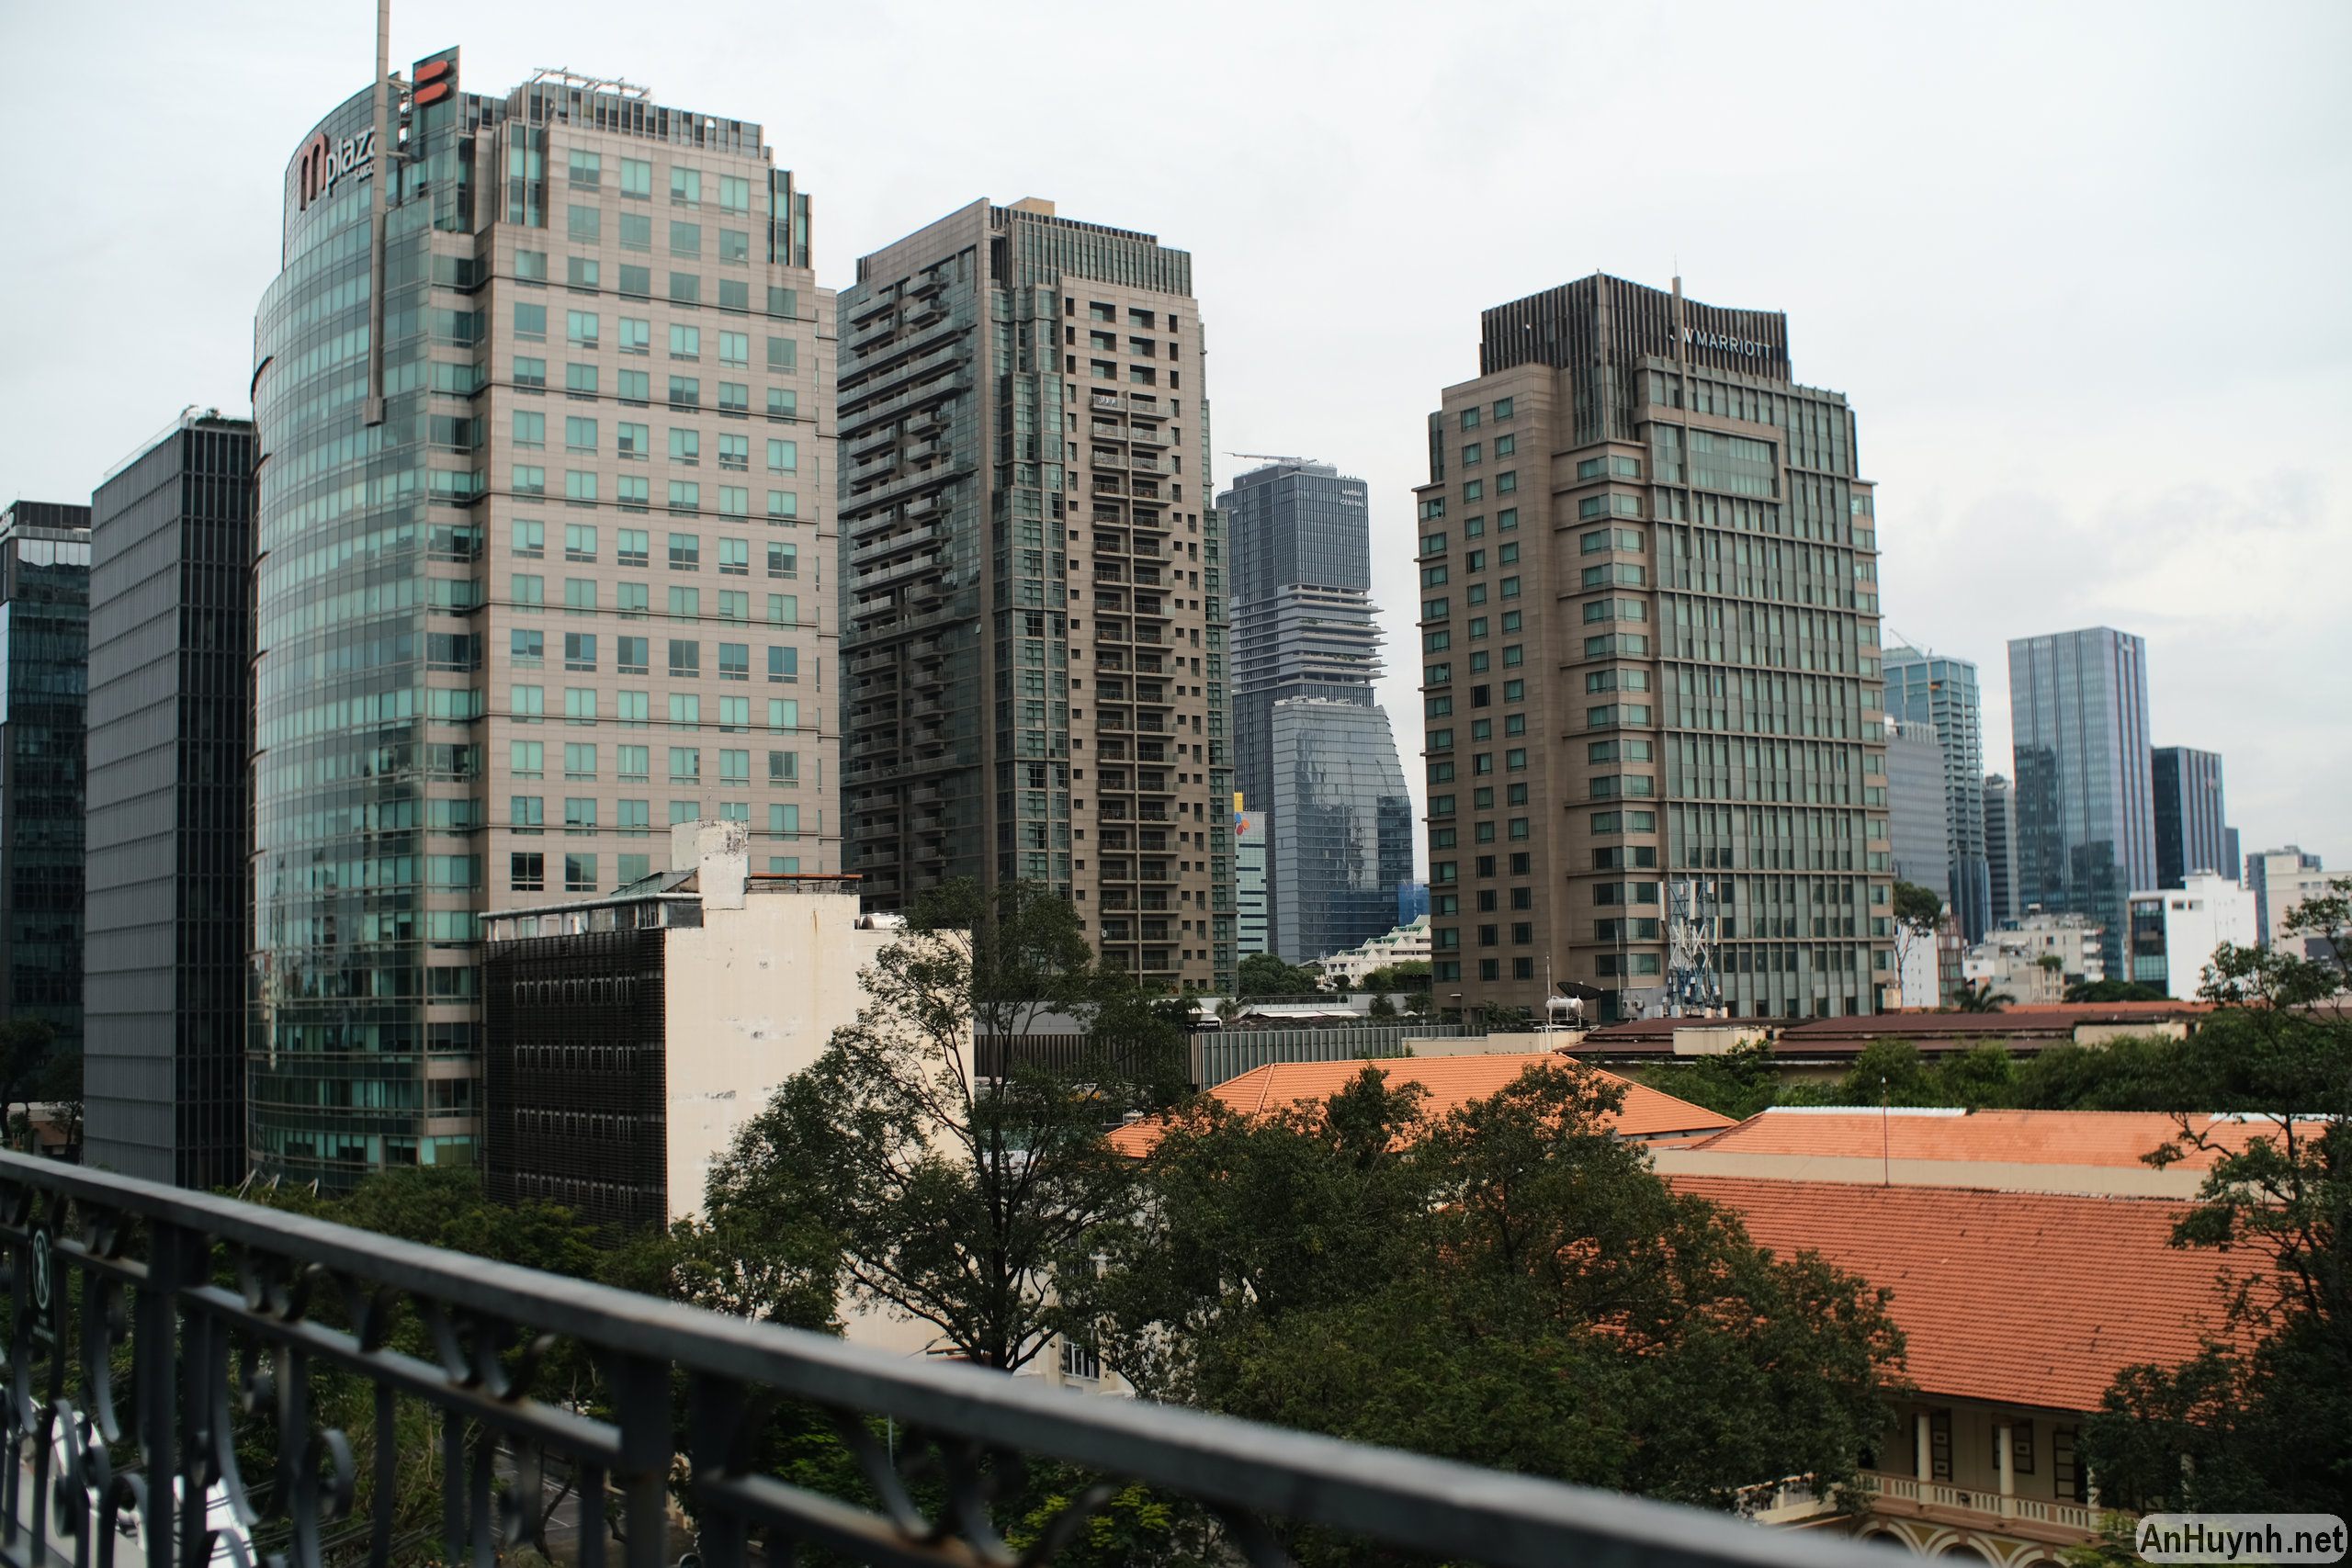
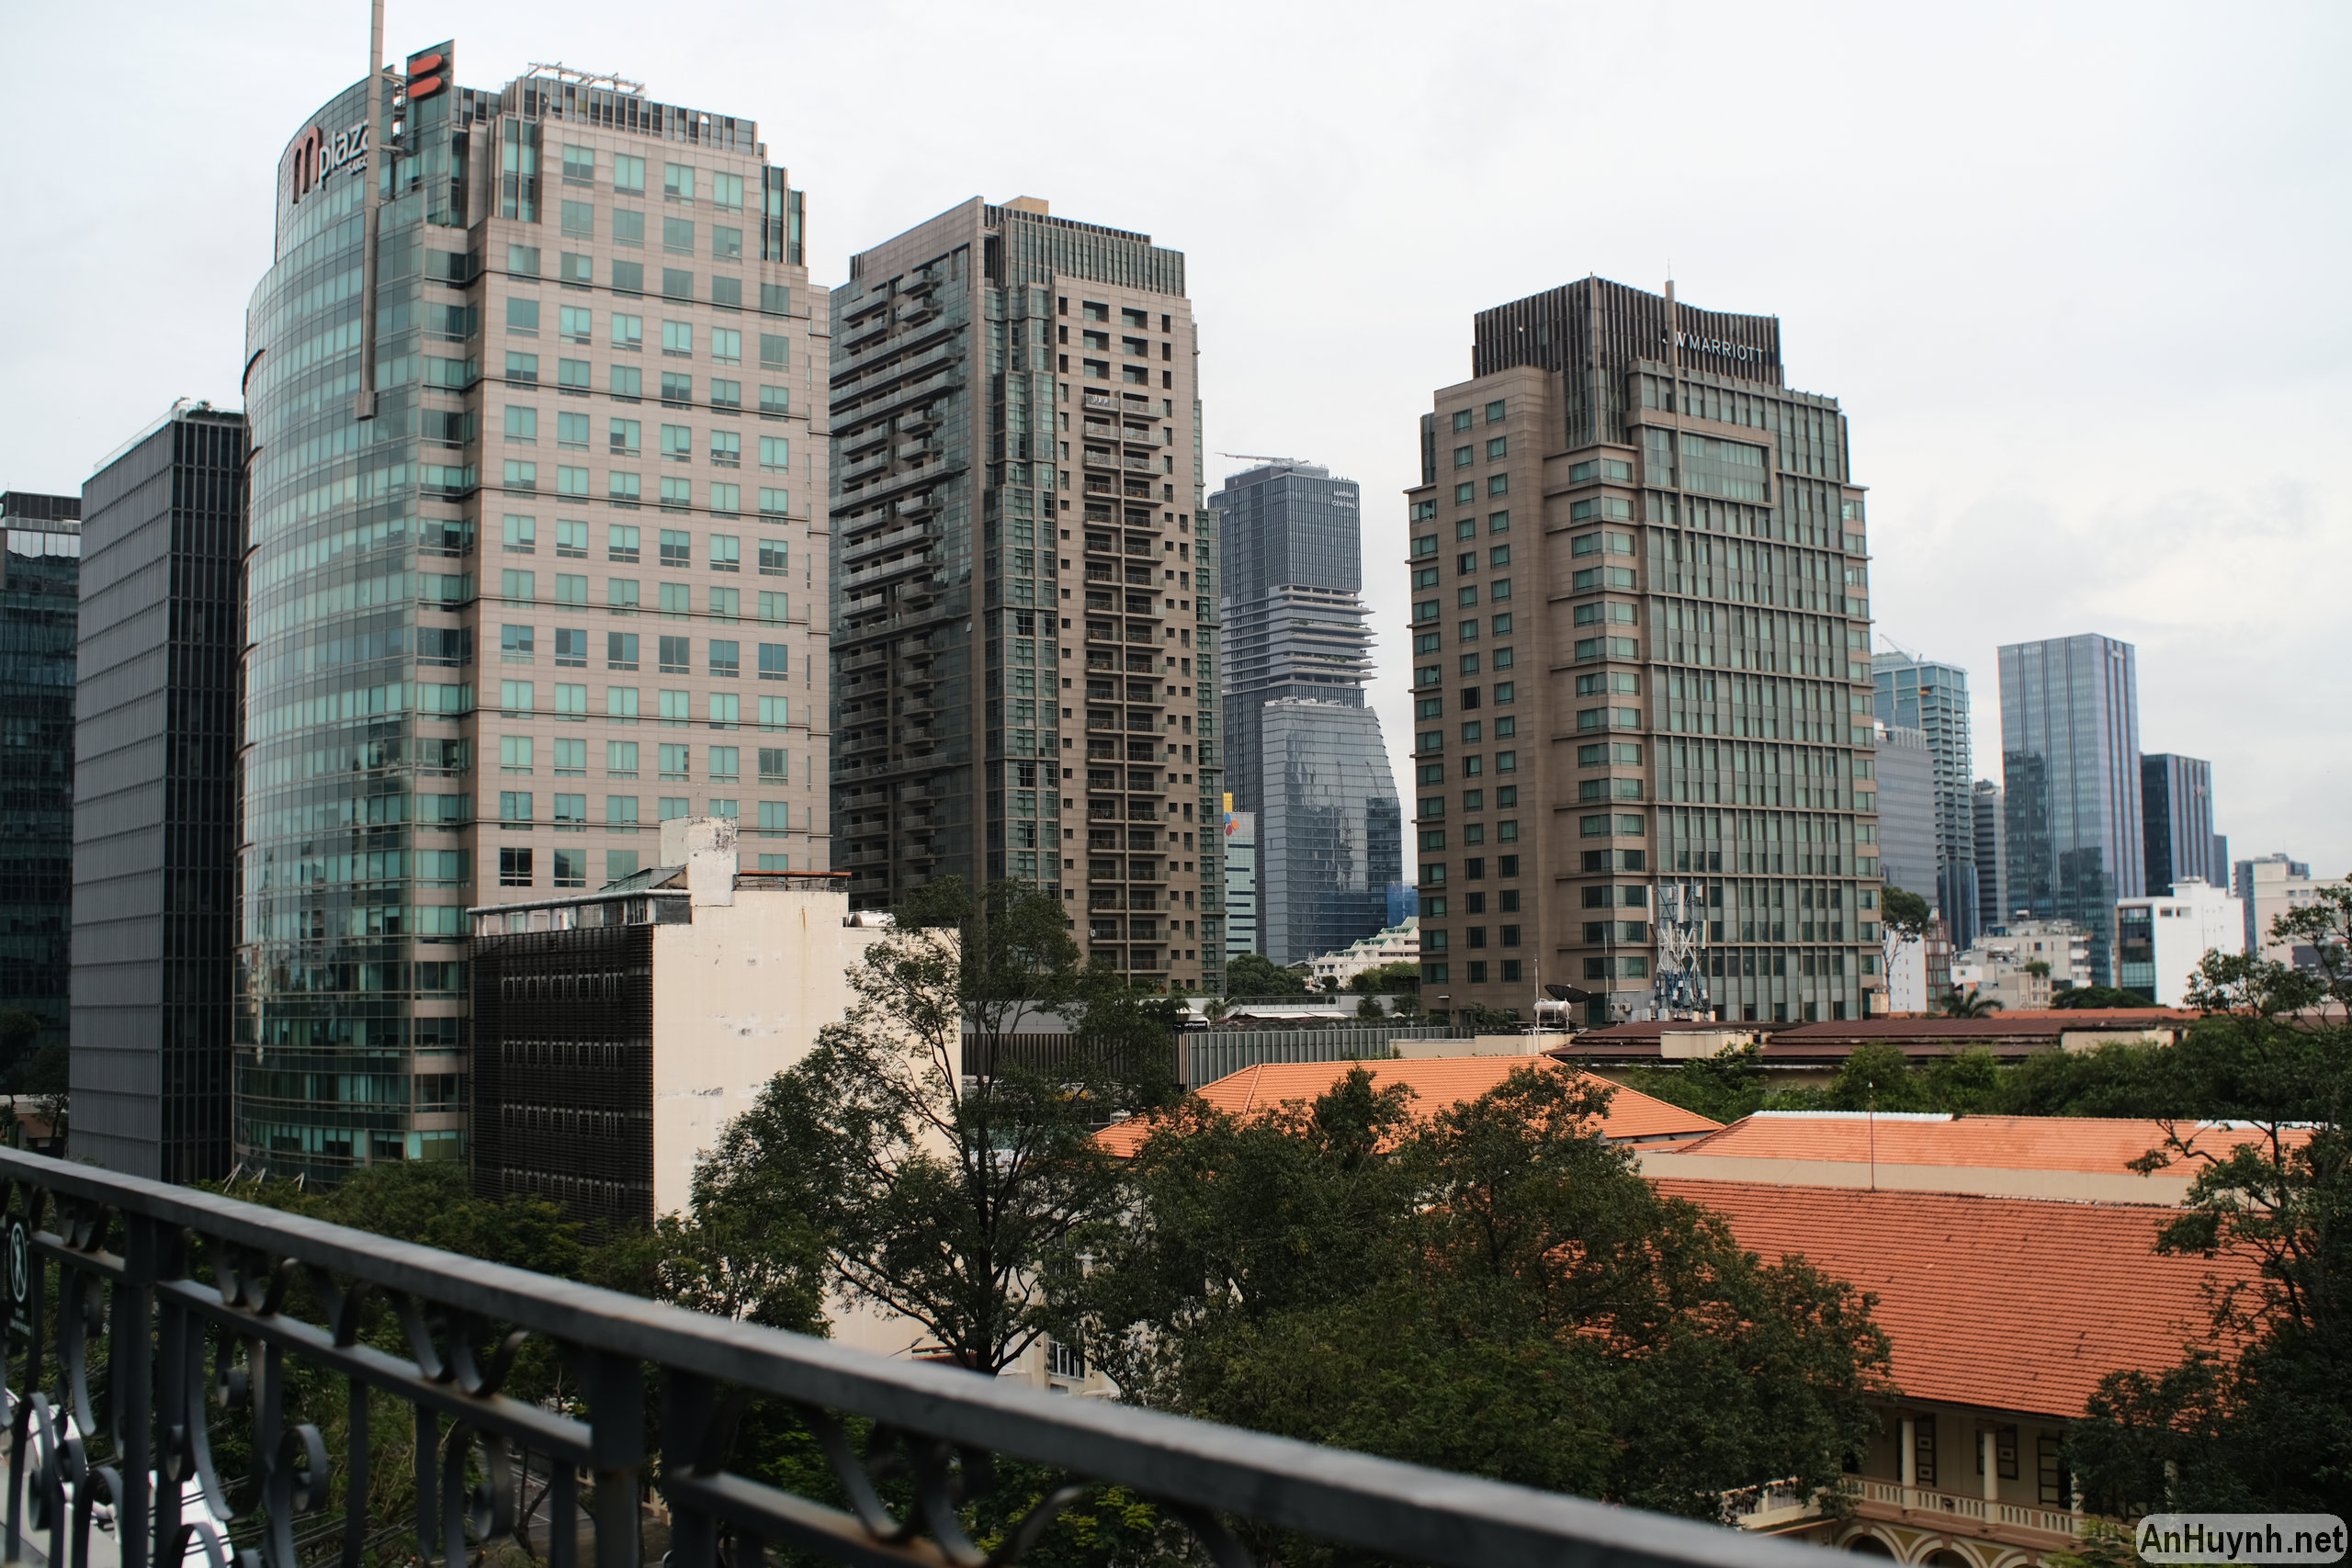
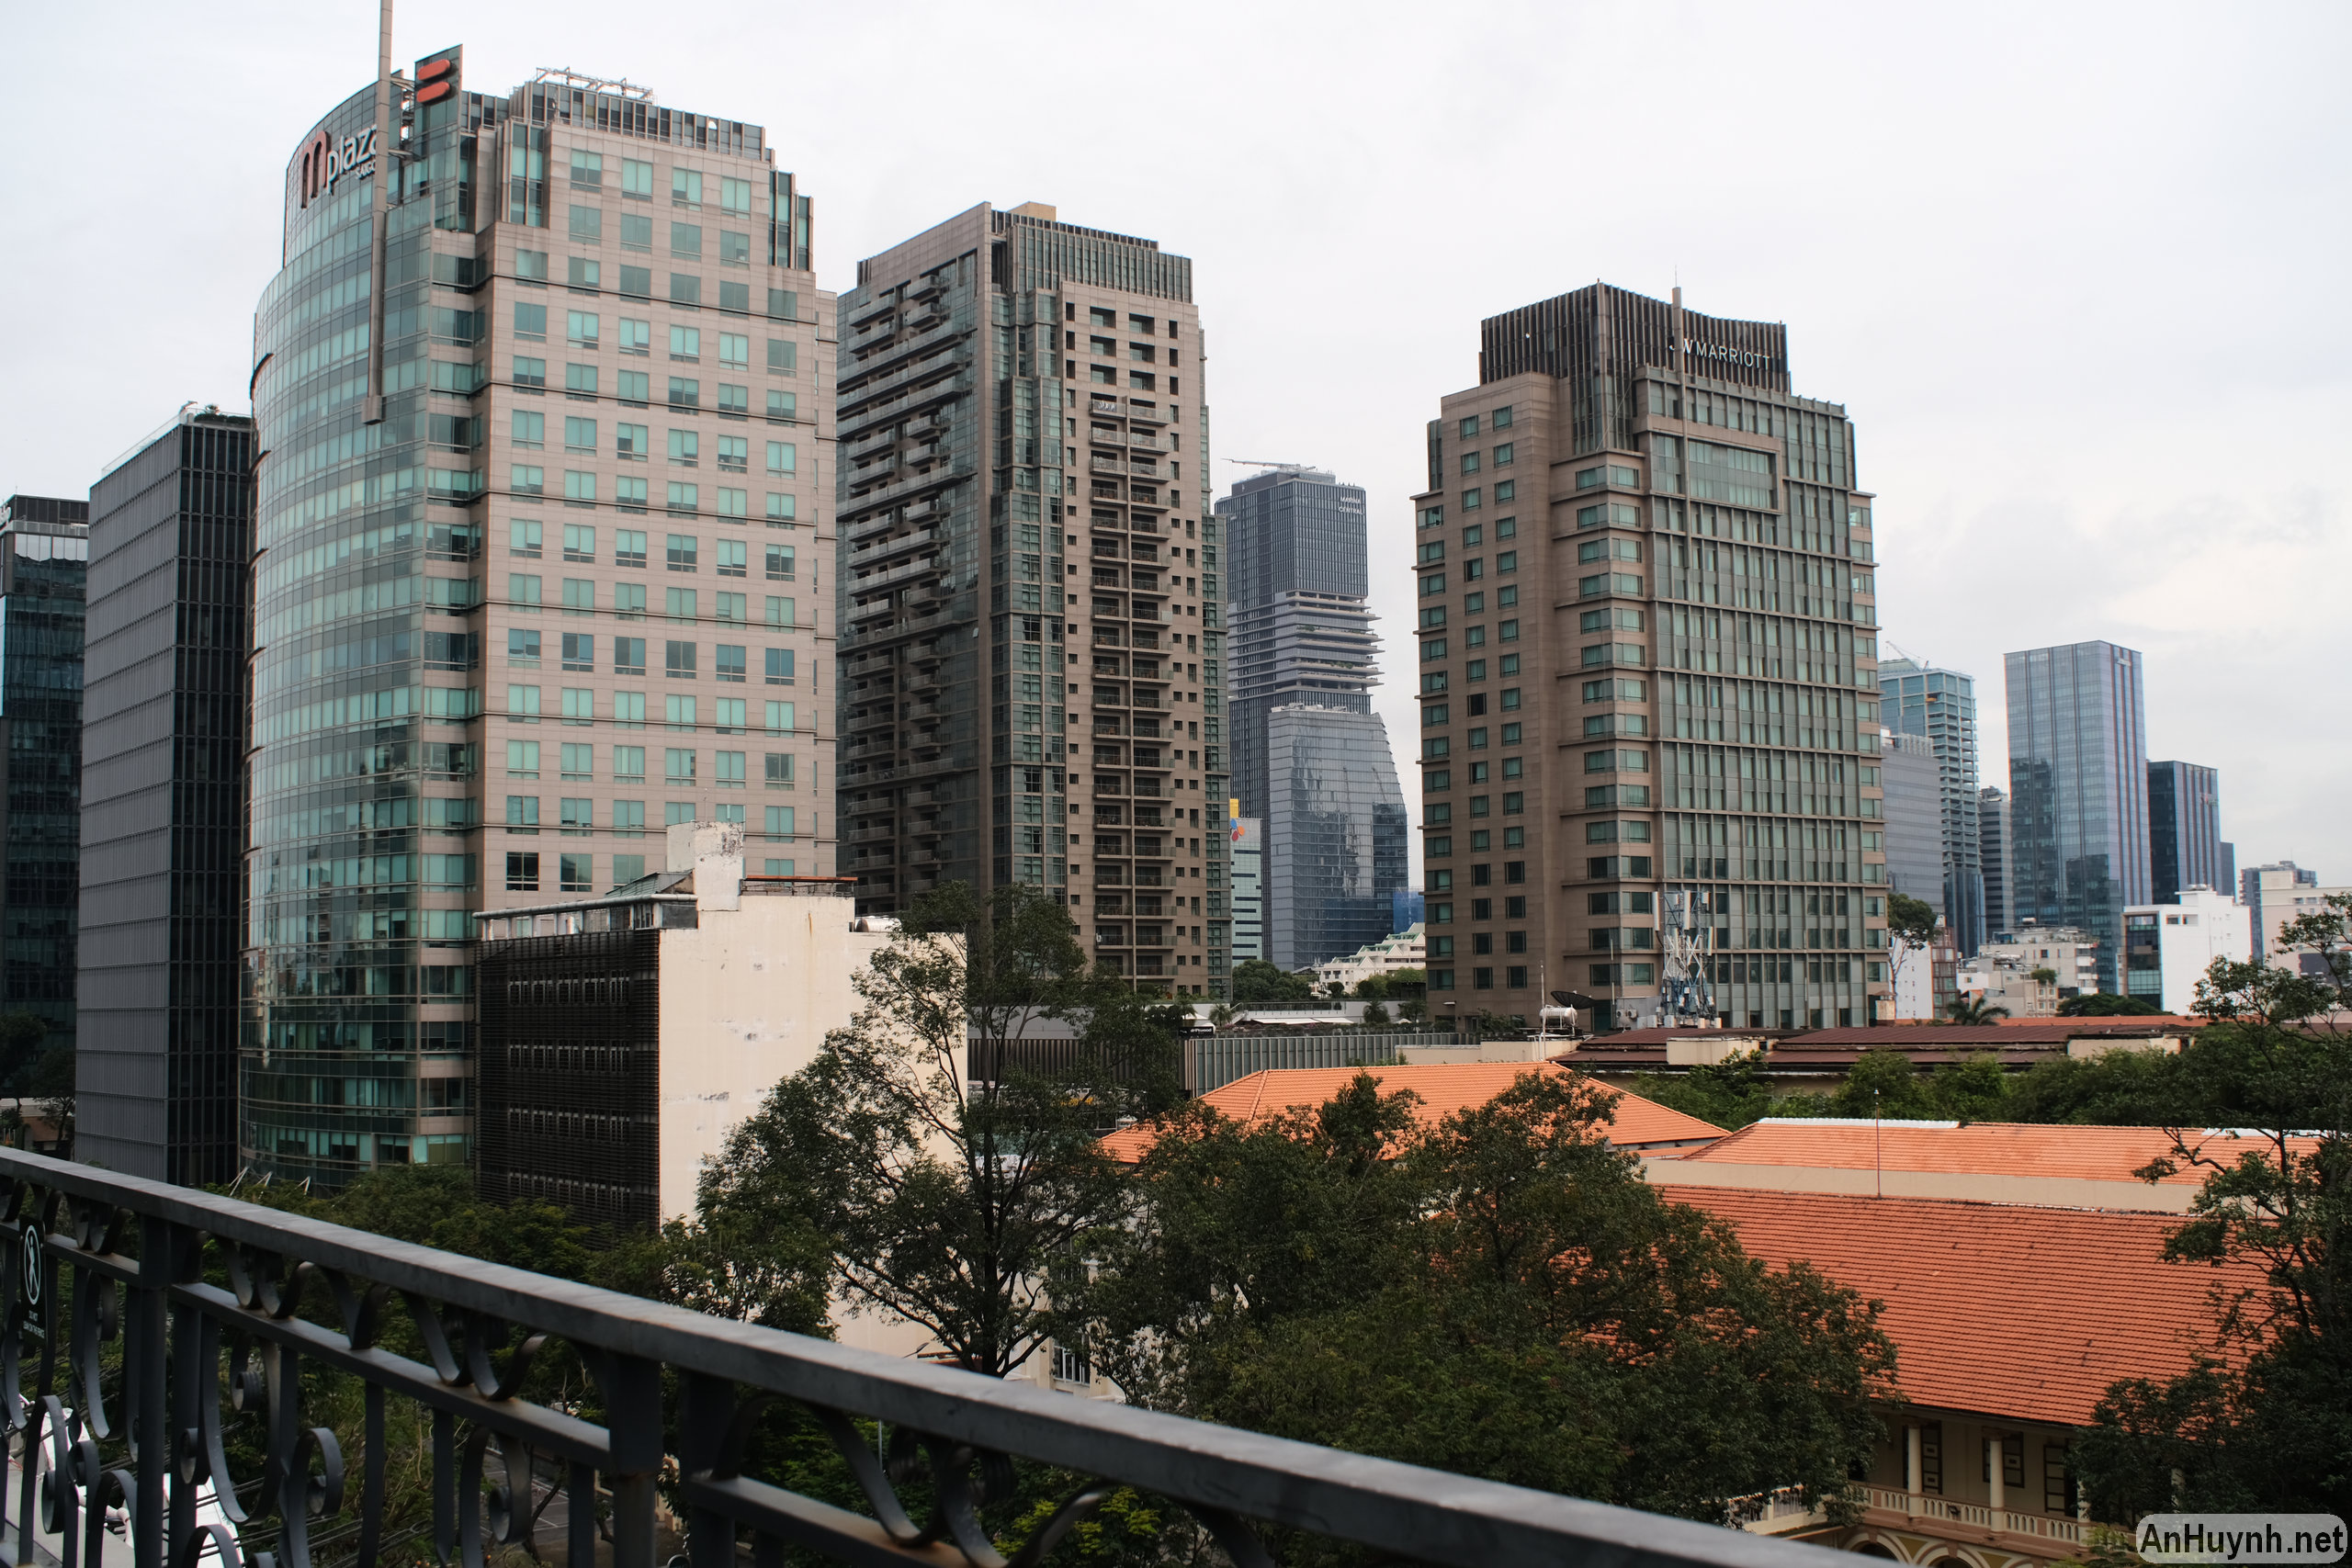
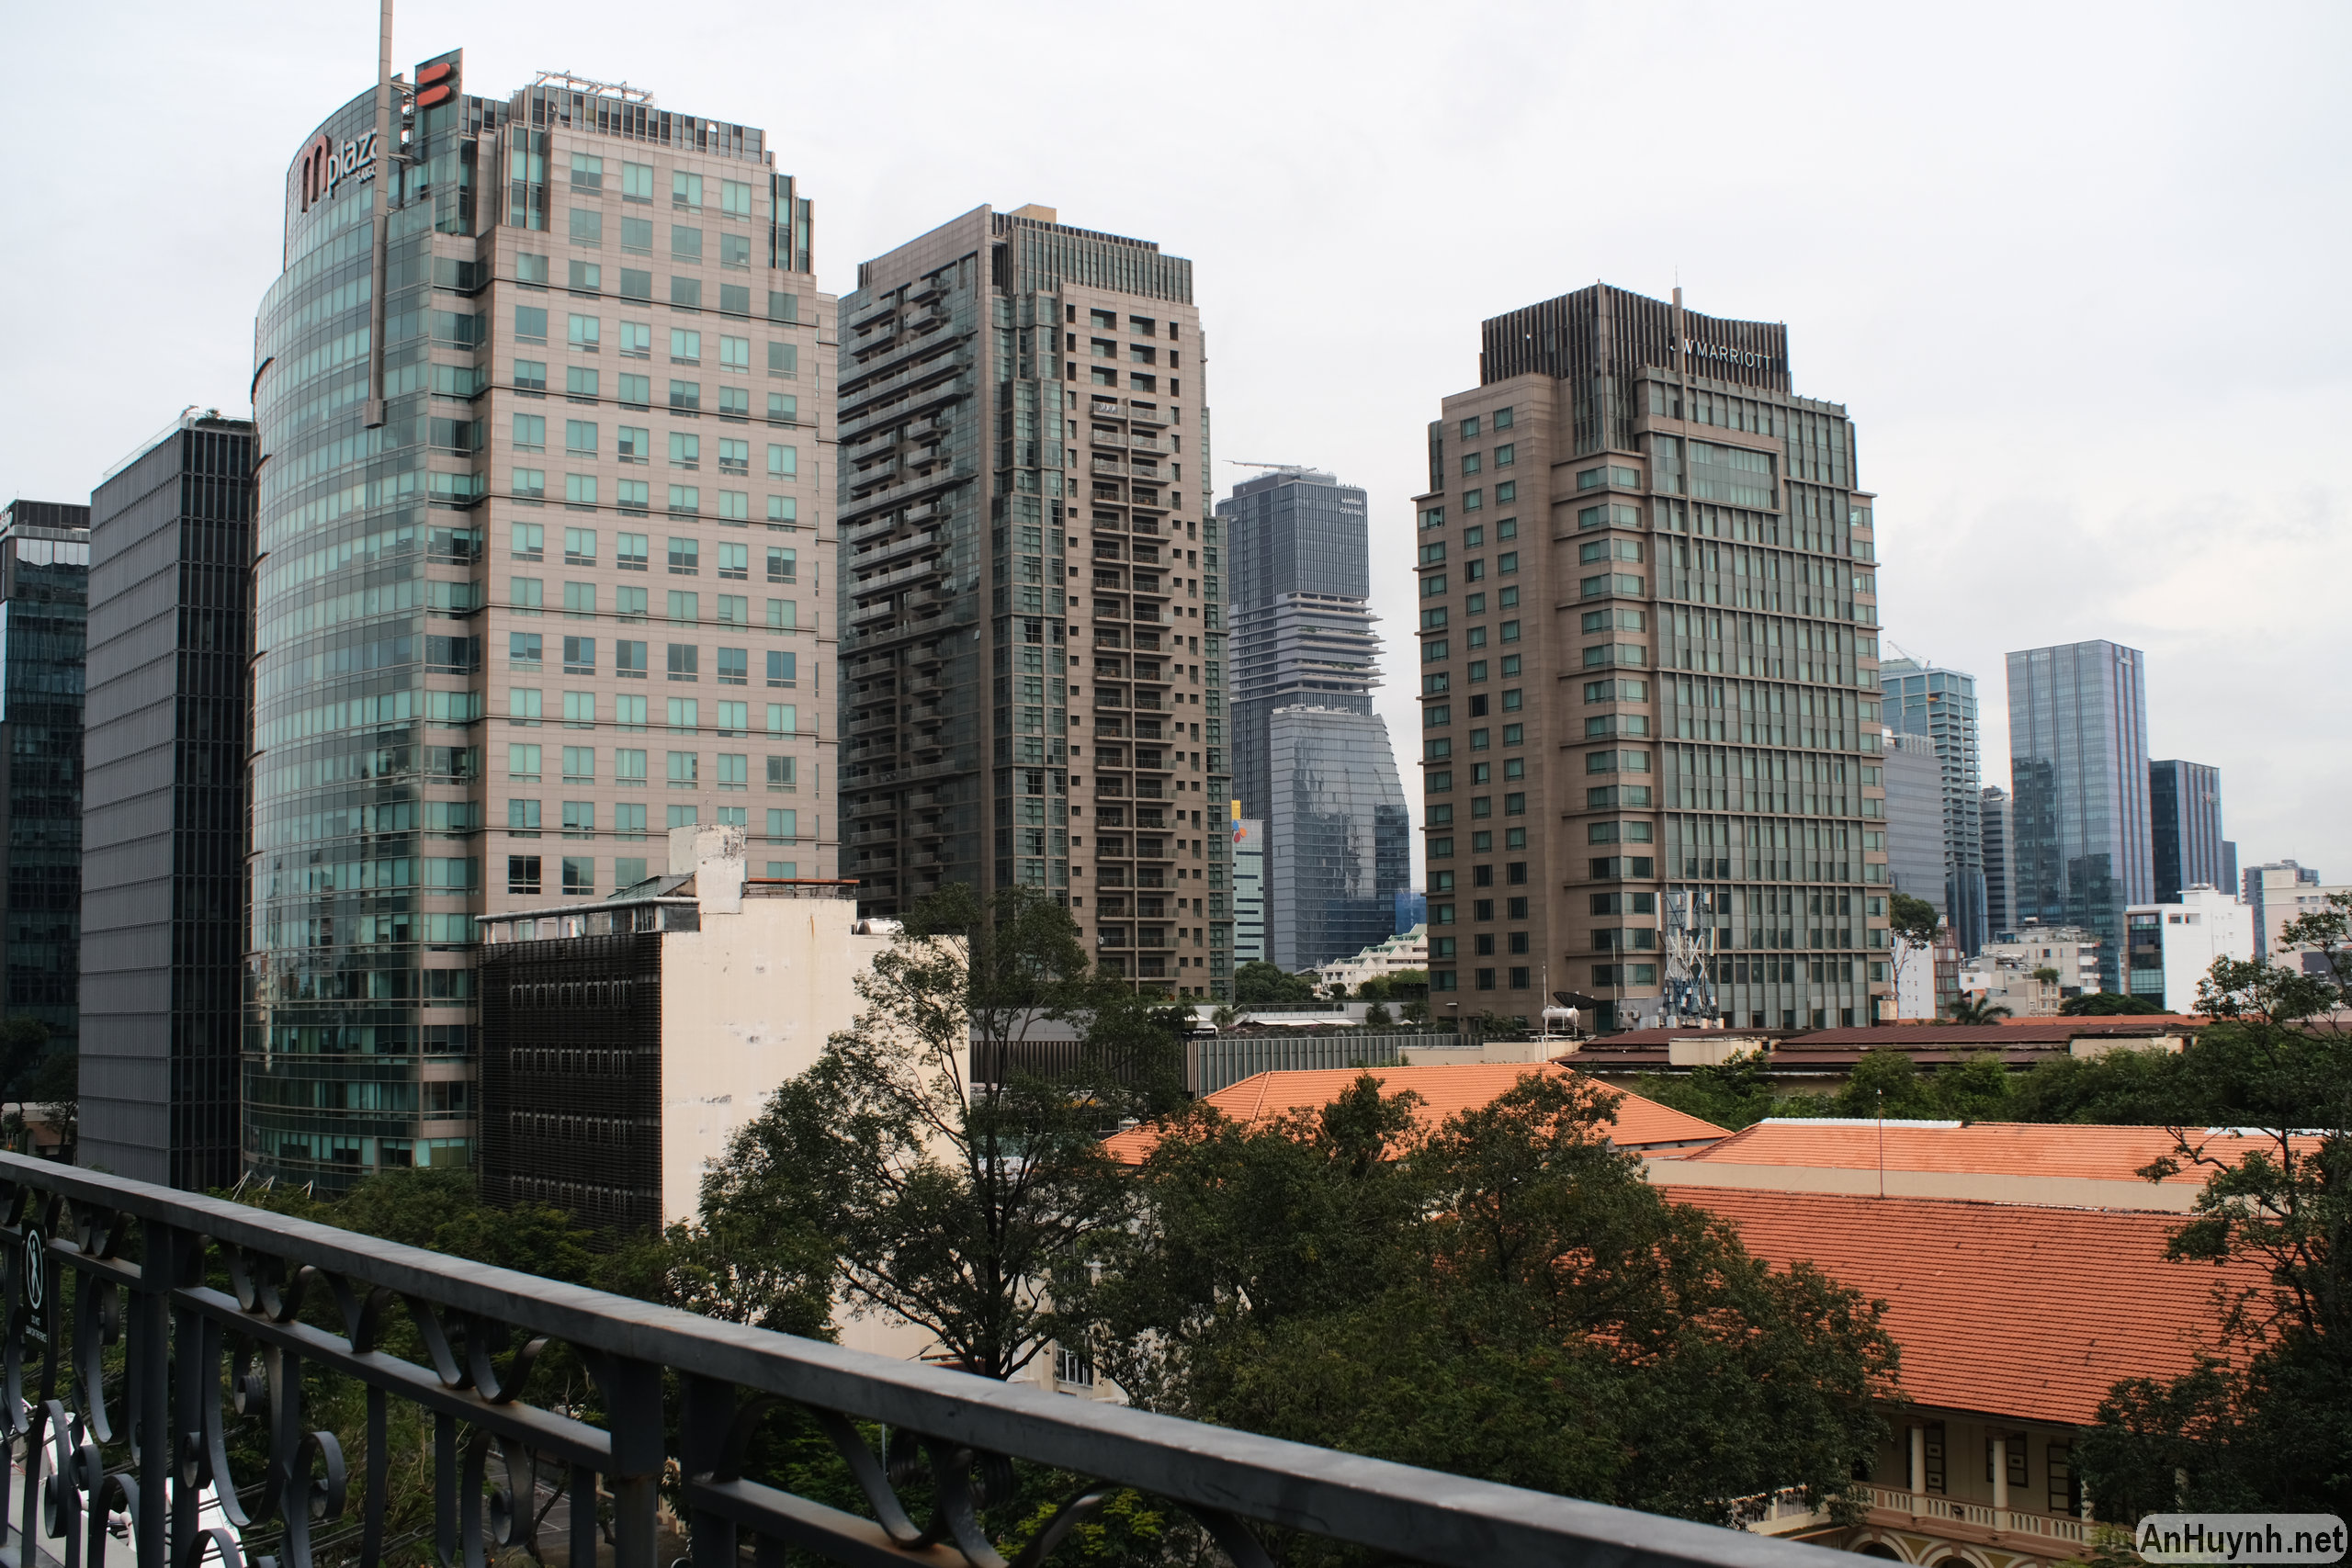
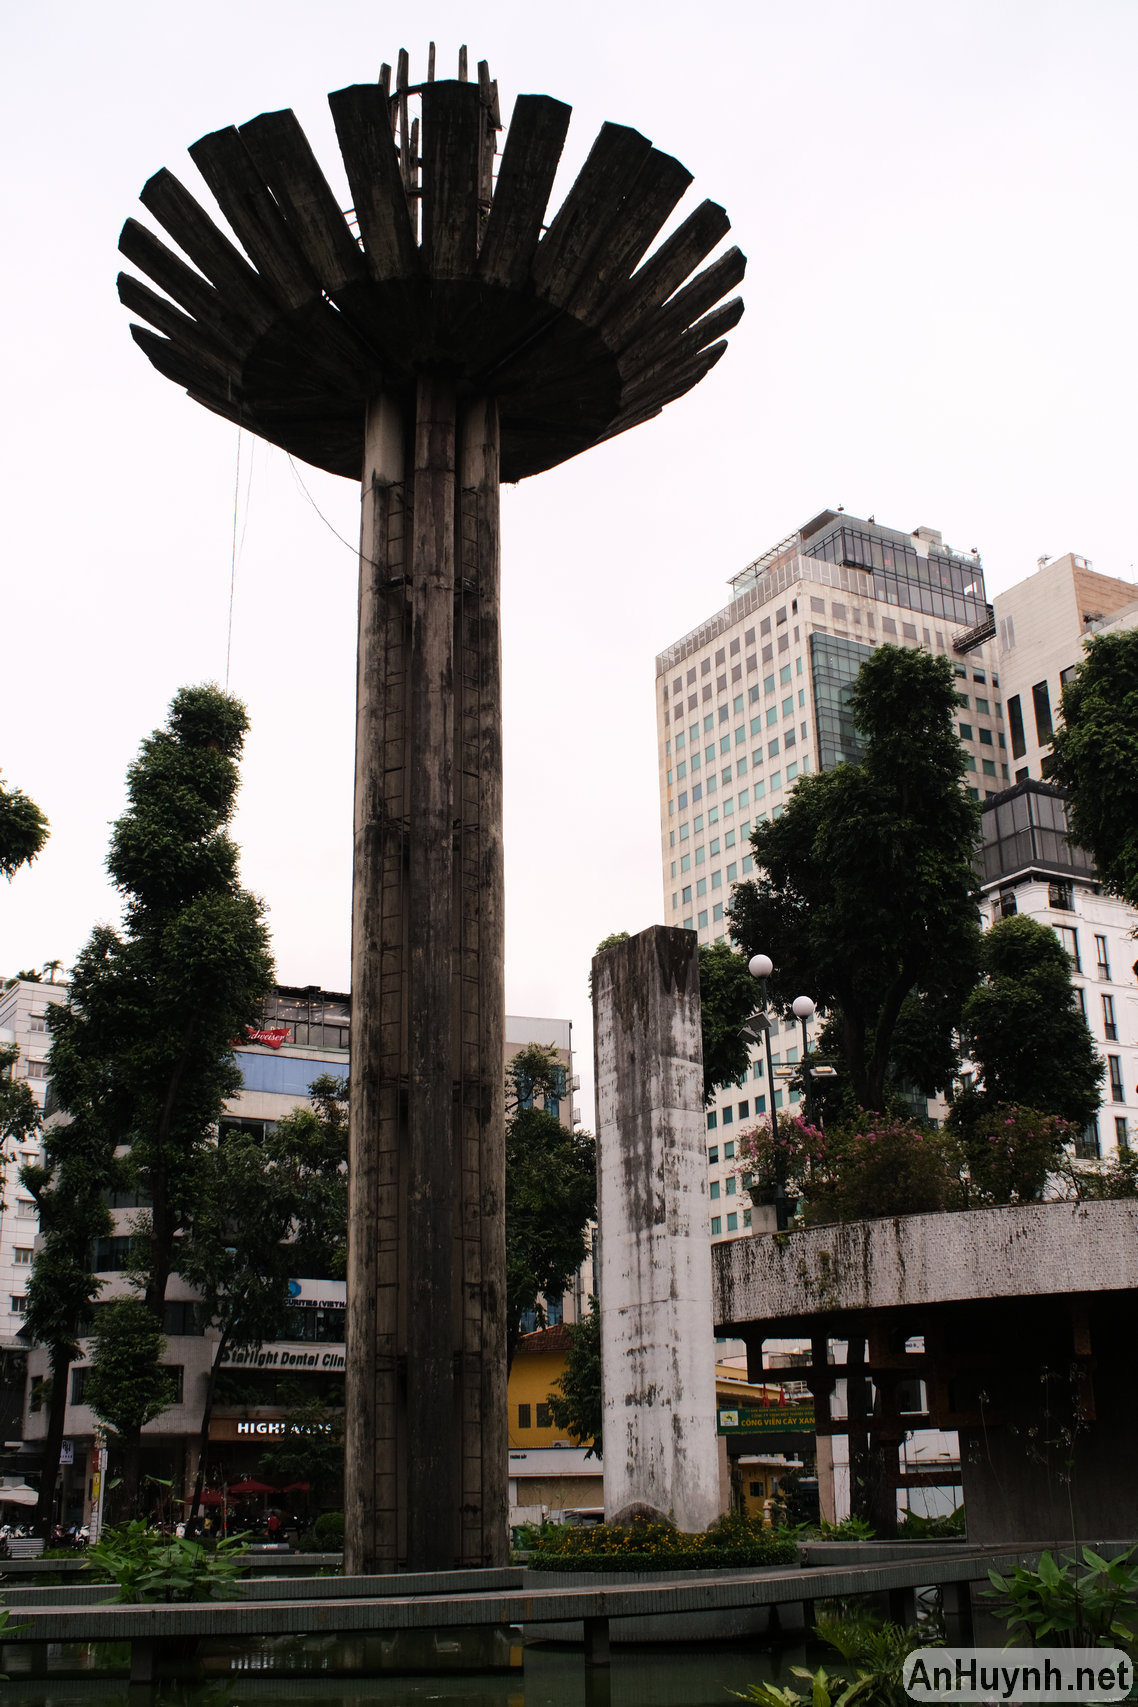
You can use this lens to take urban landscapes like the ones below. I think sharpness is good, and at f/5.6 and f/8 it doesn’t reveal too many flaws.


Add some more photos to illustrate the bokeh. I forgot to note the distance from the subject, probably around 1 m.


Some more vertical shots.


And vertical again.


Coming to an end
Phew, the post is too long now. Hopefully, with these photos, those of you who are curious about the Nikon 35mm f/2 AI lens or the Speed Booster adapter will have some reference for your research.
I’ll see you again in the next post, when I’ll test this lens using my D3x, and share more insights.
An